
When using a Samsung laptop, there are times when you want to keep Windows as it is while running Android apps directly on the laptop screen. One option for that is Android OS dual boot.
Dual boot means choosing, when you turn on the computer, whether to enter Windows or Android OS. However, if you select the wrong partition during installation, Windows data can be damaged. For that reason, this article focuses on the safe preparation and installation flow for Samsung laptops.
This article is written for recent Samsung laptops that boot in UEFI mode, such as the Samsung Galaxy Book and Samsung Notebook series. BIOS screen names may differ slightly depending on the model.
What You Must Know Before Installation
When installing Android OS on a laptop, the following distributions are commonly used.
- Bliss OS: an Android-based OS for PC installation
- Android-x86: an open-source project for running Android on x86 PCs
- PrimeOS: an Android-based OS emphasizing gaming and desktop usability
If you are a beginner, choosing either Bliss OS or Android-x86 first is a reasonable path. Samsung laptops may differ by model in Wi-Fi, touchpad and sound compatibility, so it is best to run a live USB test before installation.
What You Need
Before installation, be sure to back up important files. Dual-boot installation involves partitions, and mistakes can be difficult to recover from.
The Full Installation Flow at a Glance
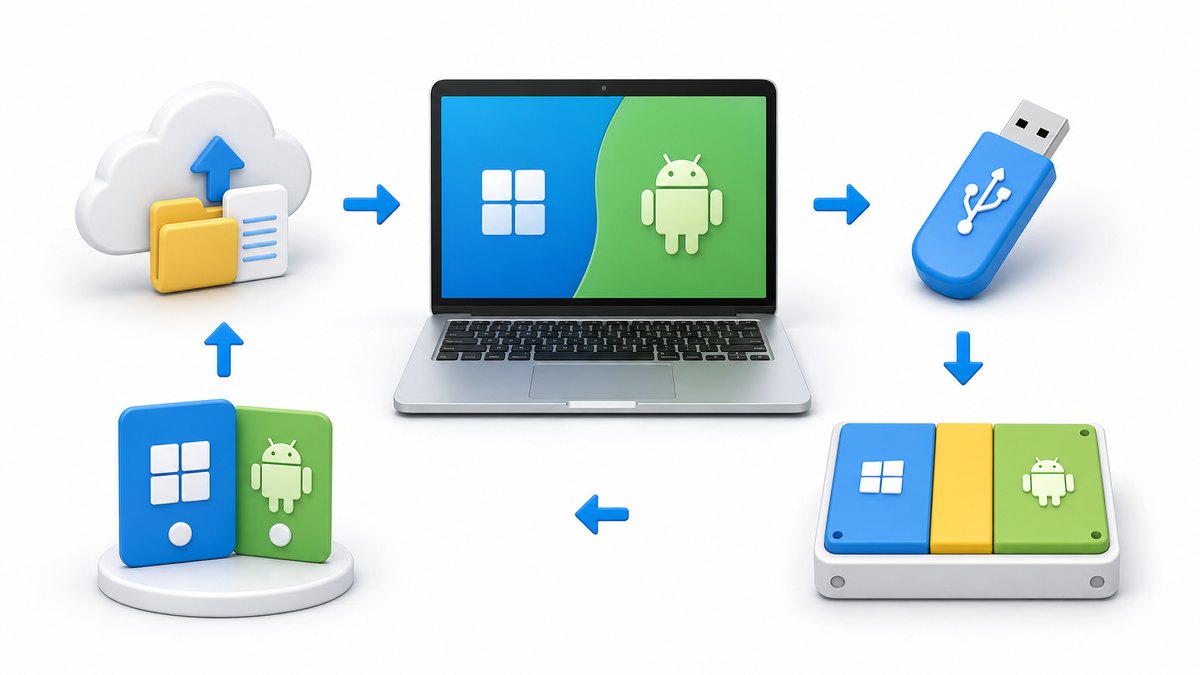
The installation flow may look complicated, but in practice it follows this order.
- Back up Windows data
- Download the Android OS ISO
- Create a bootable USB
- Secure Android installation space in Windows
- Set USB boot in Samsung BIOS/UEFI
- Install Android OS
- Confirm Windows and Android selection in the boot menu
Step 1: Check Whether Your Laptop Uses UEFI
Most recent Samsung laptops use UEFI. You can check in Windows with the following command.
msinfo32When the System Information window opens, check the BIOS Mode item.
- If it displays
UEFI, you can proceed with the method in this article. - If it displays
Legacy, the installation method may differ.
If you want to check with a command, you can use the following in PowerShell.
Get-ComputerInfo | Select-Object BiosFirmwareTypeStep 2: Back Up Windows and Check BitLocker
Some Samsung laptops may have Windows device encryption or BitLocker enabled. If you change boot settings in this state, Windows may ask for the recovery key.
Open PowerShell as administrator and run the following command.
manage-bde -statusIf BitLocker is enabled, check the recovery key in your Microsoft account or suspend protection before installation.
manage-bde -protectors -disable C:You can enable protection again after installation is complete.
manage-bde -protectors -enable C:Step 3: Download the Android OS ISO
Download the ISO file for the Android-based OS you want.
- Bliss OS: an Android distribution for PC installation
- Android-x86: a lightweight and basic Android PC version
- PrimeOS: focused on gaming and desktop usability
After downloading, it is best to verify the checksum to make sure the file is not corrupted. In Windows PowerShell, use the following command.
Get-FileHash .ndroid-os.iso -Algorithm SHA256On Linux or WSL, you can check it as follows.
sha256sum android-os.isoIf it matches the SHA256 value provided on the official download page, the file is normal.
Step 4: Create a Bootable USB
On Windows, Rufus is commonly used.
Example Rufus settings are as follows.
Creating the USB will erase the files inside it. Move any needed files elsewhere first.
Step 5: Create Space for Android Installation
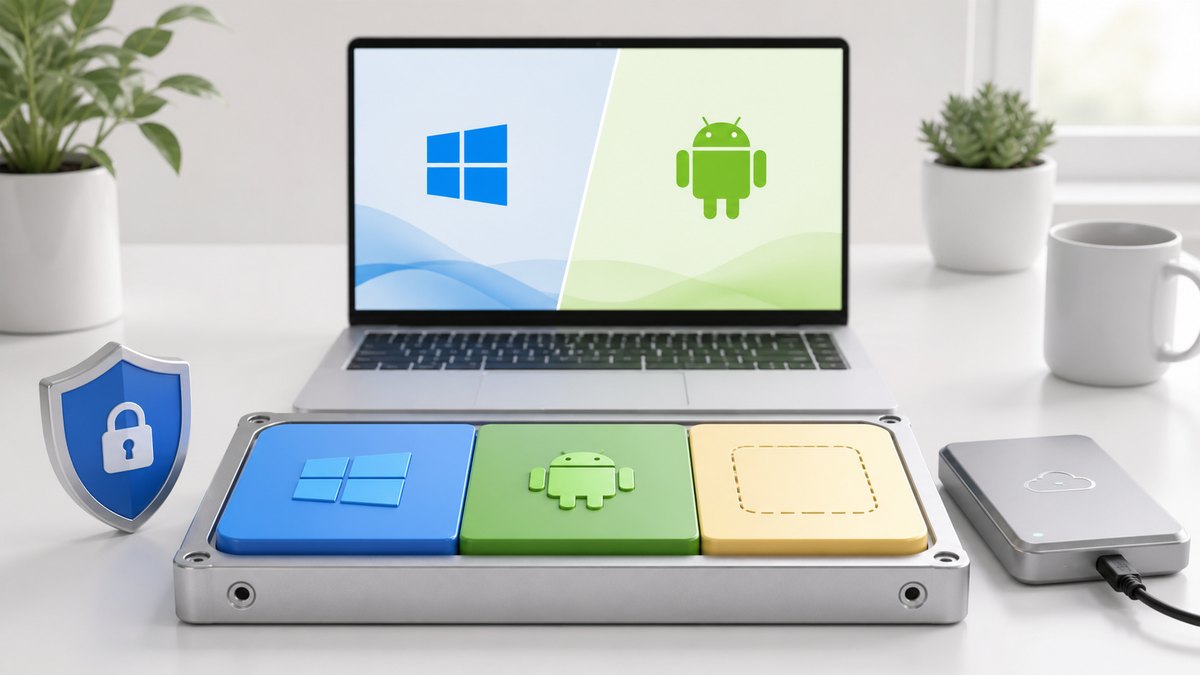
You need to create separate space for Android OS in Windows. Usually, 32GB or more is recommended, and 64GB or more is better if you have room.
Proceed in Windows Disk Management.
- Press
Win + X. - Open Disk Management.
- Right-click the
C:drive. - Select Shrink Volume.
- Enter the capacity to use for Android OS.
- Leave the space created after shrinking as unallocated.
The important point is not to delete the Windows partition, EFI partition or Recovery partition. Android OS should be installed only in the newly secured empty space.
Step 6: Enter BIOS/UEFI on a Samsung Laptop
Samsung laptops usually use the following keys immediately after power-on.
It may vary by model. When the Samsung logo appears right after turning on the power, press the key repeatedly to enter.
The BIOS items to check are as follows.
If the Android OS installation USB does not appear, check Secure Boot and Fast BIOS Mode settings.
Step 7: Boot from USB and Test Live Mode First
Before installing immediately, if possible, first run it in Live Mode or Try without installing mode.
Check the following items.
- Does Wi-Fi connect?
- Does the touchpad work?
- Is keyboard input normal?
- Can you adjust screen brightness?
- Does sound play?
Some devices may not work immediately depending on the Samsung laptop model. Wi-Fi and sound in particular differ by distribution version.
Step 8: Install Android OS
On Android-x86-family installation screens, the typical flow is as follows.
- Select
InstallationorInstall Android-x86 to harddisk - Select the Android installation partition
- Select the file system
- Choose whether to install the GRUB bootloader
- Reboot after installation completes
You need to be most careful on the partition selection screen.
Examples of partitions you must never select
- EFI System Partition
- The C: partition where Windows is installed
- Recovery partition

Partition you should select
- The newly created empty space or new partition dedicated to Android
The file system is usually one of the following.
In general, ext4 is recommended.
Step 9: Configure the GRUB Bootloader
During installation, you may be asked whether to install GRUB. A bootloader is required for dual booting.
In most cases, choose as follows.
Install GRUB bootloader? → Yes
Make system directory read-write? → Optional
However, because you need to keep the Windows boot entry, after installation you should check that Windows Boot Manager has not disappeared from the BIOS boot order.
Step 10: Reboot and Check the Boot Menu
When installation is complete, remove the USB and reboot. If everything is normal, you should be able to choose Android OS and Windows from the boot menu.
If it boots directly only into Android or only into Windows, check the boot order in Samsung BIOS.
After entering BIOS, check the following item.
Boot Priority
1. Android or GRUB-related item
2. Windows Boot Manager
If you want to return to Windows, move Windows Boot Manager to first priority.
Common Problems and Fixes
When the USB Boot Entry Does Not Appear
Check the following.
- Check whether the USB was created properly
- Enable USB Boot in BIOS
- Disable Fast BIOS Mode
- Disable Secure Boot
- Recreate it in Rufus using GPT / UEFI mode
When Windows Does Not Appear After Installation
Do not panic; check whether Windows Boot Manager exists in BIOS. If you did not delete the Windows partition, it is usually a boot-entry issue.
If you have a Windows installation USB or recovery environment, you can recover the boot entry with the following command.
bcdboot C:\Windows /f UEFIHowever, if Windows is assigned a different drive letter, it may not be C:. In the recovery environment, check the drive letter first.
diskpart
list volume
exit
When Wi-Fi Does Not Work
Android OS may not immediately support the laptop’s wireless LAN chipset. In this case, try the following methods.
- Test another Android OS distribution version
- Use USB tethering
- Use a USB Wi-Fi dongle
- Use an ISO with a newer kernel version
When the Screen Freezes Black
Some graphics environments may require a boot option. On the GRUB screen, edit the boot entry and try adding the following option.
nomodesetAn example is shown below.
linux /kernel root=/dev/ram0 androidboot.selinux=permissive quiet nomodesetBasic Settings Checklist After Installation
After booting into Android OS, check the following settings.
- Whether you are signed in to a Google account
- Wi-Fi connection
- Korean keyboard settings
- Screen resolution
- Sound output
- Sleep mode
- Touchpad sensitivity
- Whether the Play Store is available
- Whether the Windows boot entry is preserved
For Korean input, it is convenient to add a keyboard in Android settings or install Gboard.
If You Want to Remove It and Use Only Windows Again
To delete Android OS and use only Windows, proceed as follows.
- Boot into Windows.
- Delete the Android partition in Disk Management.
- Extend the Windows partition.
- Set Windows Boot Manager as the first priority in BIOS.
If the Windows boot entry becomes tangled, you can use the following command in the recovery environment.
bcdboot C:\Windows /f UEFIThings to Be Especially Careful About on Samsung Laptops
Samsung laptops have slightly different BIOS menu names depending on the model. But the core points are the same.
- Enter BIOS setup with
F2. - If the USB does not appear, turn off
Fast BIOS Mode. - If Secure Boot blocks booting, temporarily disable it.
- Do not delete Windows Boot Manager.
- Install Android on a separate partition.
Especially if it is a work laptop, company security policies, BitLocker or device encryption may be enabled. In that case, you must check with the administrator before installing dual boot personally.
Wrap-Up
The core of installing Android OS as dual boot on a Samsung laptop is not difficult. What matters is the preparation before pressing the install button.
To summarize, the following three points are most important.
- Back up Windows data and the recovery key first.
- Create a separate Android-only partition.
- Check USB boot and boot order in Samsung BIOS.
If you want to use Android apps directly on a laptop, dual boot is a fairly attractive method. However, compatibility differs by model, so it is safest to first check Wi-Fi, touchpad and sound with a live USB before installation.
FAQ
If I Install Android OS on a Samsung Laptop, Will Windows Be Deleted?
If you install Android OS on a separate partition, Windows is not deleted. However, if you choose the wrong Windows partition during installation, data may be damaged, so you must be careful during the partition selection step.
Can Dual Boot Be Installed on a Samsung Galaxy Book?
Many models can support it, but Wi-Fi, sound and touchpad compatibility differ depending on the model and Android OS distribution. It is best to test first with a live USB before installation.
Do I Have to Turn Off Secure Boot?
It depends on the Android OS distribution and laptop settings. If USB boot is blocked or you cannot enter the installation screen, you can try temporarily disabling Secure Boot.
Can I Run Only Android Apps in Windows Instead of Installing Android OS?
Yes. If dual boot feels burdensome, it may be safer to first consider an Android emulator, an Android app runtime for Windows, or a cloud-based app player.
How Do I Go Back to Using Only Windows After Installation?
Boot into Windows, delete the Android partition in Disk Management, and extend the Windows partition. After that, set Windows Boot Manager as the first priority in BIOS.