
[태그:] Tech Tips

  • How to Open and Manage SQLite Files on Windows 11

    SQLite files are a way of storing data in a single file without a separate database server. The file extension is usually .db, .sqlite, .sqlite3 In the form. Even in Windows 11, you can open SQLite files, check the table structure, query data, and modify it with SQL queries if you have the right tools installed.

    For beginners, the easiest choice is DB Browser for SQLiteIf you need to check with the development environment VS Code extension programis convenient, and if you need repetitive tasks or automation SQLite command-line toolis useful.

    What is an SQLite file?

    SQLite is a lightweight database that can be used without running a separate server. Unlike MySQL or PostgreSQL, which connect to a server, the entire database is contained in a single file.

    For example, the following file can be an SQLite database.

    data.db
    database.sqlite
    app.sqlite3
    backup.db

    SQLite is often used in mobile apps, desktop programs, browser local data, test databases, and small web applications. The advantage is that you can open and view the contents with just one file, but if you modify the original file incorrectly, it can affect the entire data.

    Three Ways to Open SQLite Files in Windows 11

    There are three main ways to check SQLite files in Windows 11.

    MethodRecommended forAdvantages
    DB Browser for SQLiteBeginners, general usersEasily view tables and data on the screen
    SQLite CLIDevelopers, automation usersQuickly query with commands and enable scripting
    VS Code extensionDevelopers in progressDB verification possible within code editor

    If you just need to check the file contents and modify some data, it’s better to use DB Browser for SQLite first.

    Method 1. Open with DB Browser for SQLite

    DB Browser for SQLite is a free tool that allows you to open and manage SQLite files in a graphical interface. You can view table data like in Excel and execute SQL queries directly.

    Installation

    1. Access the official DB Browser for SQLite website.
    2. Download the installation file for Windows.
    3. Run the installation file.
    4. After installation, run DB Browser for SQLite from the start menu.

    The official download page is organized at the bottom of this article in the references.

    Open an SQLite file

    After running the program, proceed in the following order:

    1. Top Open DatabaseClick
    2. Open .db, .sqlite, .sqlite3 Select a file
    3. When the file is opened, the database structure is displayed on the screen

    The screen usually displays the following tabs

    TabsFunction
    Database StructureCheck table, column, and index structure
    Browse DataInquire and modify table data
    Edit PragmasCheck SQLite settings
    Execute SQLExecute SQL queries

    Check table structure

    If you have opened the file, first check the tabs. Database Structure This is where you can see what tables are in the database.

    For example, there may be tables like the following.

    users
    orders
    products
    settings
    logs

    By selecting each table, you can check the column name, data type, and whether it is a primary key.

    Column NameTypeMeaning
    idINTEGERUnique Number
    nameTEXTName
    emailTEXTEmail
    created_atTEXTCreation Date

    If it’s your first time seeing an SQLite file, it’s safe to check the table structure before modifying the data.

    Viewing and Editing Data

    If you want to view the data directly Browse Data Use the tabs.

    1. Click the Browse Data tab.
    2. Select the desired table from the table selection list at the top.
    3. The data is displayed in a table format.

    Clicking a cell allows you to modify its value. After modification, you must click the Write Changes button at the top to save it to the actual file. On the other hand, to cancel without saving, use the Revert Changesbutton.

    If it’s an important file, it’s recommended to make a copy and test it instead of modifying the original directly.

    Executing SQL Queries

    DB Browser for SQLite’s Execute SQL You can execute SQL queries directly in the tab.

    To check all the data, enter the following:

    SELECT * FROM users;

    If you want to see only the last 10 data, run the following:

    SELECT *
    FROM users
    ORDER BY id DESC
    LIMIT 10;

    You can also find only the data that matches specific conditions.

    SELECT *
    FROM users
    WHERE email LIKE '%gmail.com';

    Before executing a delete or modify query, you must first check the target data with SELECT.

    SELECT *
    FROM users
    WHERE id = 10;

    After checking, execute UPDATE only when necessary.

    UPDATE users
    SET name = '김철수'
    WHERE id = 10;

    UPDATE or DELETE without conditions can affect all data, so be especially careful.

    Frequently used SQLite commands

    When checking SQLite files, the following queries are often used:

    Check the list of all tables

    SELECT name
    FROM sqlite_master
    WHERE type = 'table';

    Check the columns of a specific table

    PRAGMA table_info(users);

    Check the number of data

    SELECT COUNT(*)
    FROM users;

    Check for duplicate values

    SELECT DISTINCT category
    FROM products;

    Search for specific strings

    SELECT *
    FROM users
    WHERE name LIKE '%홍길동%';

    Method 2. Using the SQLite command-line tool

    If you’re a developer, you can use sqlite3.exethe official SQLite command-line tool.

    After downloading the tool for Windows from the official SQLite download page and unzipping it, you can use sqlite3.exe the file.

    Run it in PowerShell or the command prompt as follows:

    sqlite3 database.db

    Once the SQLite prompt opens, you can use the following commands.

    .tables

    If you want to see the table structure, run the following command.

    .schema users

    To view some data, enter the following:

    SELECT * FROM users LIMIT 10;

    To finish the task, terminate with the following command:

    .quit

    The command-line tool is beneficial for repetitive tasks, backup checks, and simple automation. However, for first-time users, GUI tools are more intuitive.

    Method 3. Open SQLite file in VS Code

    If you are already using Visual Studio Code, you can install the SQLite extension to open the file.

    The order of use is as follows:

    1. Run VS Code.
    2. Open the Extensions menu.
    3. SQLite Or SQLite ViewerSearch for
    4. Install the extension.
    5. .db Or .sqlite Open the file to check the table.

    It is useful when you need to quickly check the database contents within a project under development. Another advantage is that you can view SQL files, code, and databases together on one screen.

    If you are not familiar with VS Code, it is a good idea to learn the basic installation and terminal usage first. For more information, you can also refer to Thinknote’s Reasons why Vib coding beginners get stuck, IT map that you should know before codingYou can also refer to this.

    Exporting and importing as CSV

    In DB Browser for SQLite, you can export table data as a CSV file.

    1. Select a table in the Browse Data tab.
    2. Click File in the top menu.
    3. Select Export.
    4. Select Table(s) as CSV file.
    5. Specify the save location.

    You can check the data in Excel or Google Sheets by exporting it as a CSV file.

    Conversely, you can also import a CSV file into an SQLite table.

    1. Open the File menu.
    2. Select Import.
    3. Select Table from CSV file.
    4. Select the CSV file.
    5. Check the delimiter and encoding.
    6. Run the import.

    If the Korean text is broken, you need to check the encoding again based on UTF-8 or CP949.

    Things to check when an SQLite file cannot be opened

    If the SQLite file cannot be opened, check the following items.

    Do not judge based on the extension alone.

    .db Not all files with extensions are SQLite files. Some programs use extensions for their own data formats as well. .db If it doesn’t open in DB Browser for SQLite, it may not be in SQLite format.

    Close the program being used

    If a program is using the file, it may be locked and cannot be modified. In this case, close the program or create a copy of the file and try opening the copy.

    Check integrity

    If you suspect file damage, you can run the following command in the SQLite CLI.

    PRAGMA integrity_check;

    If the result is okthen the basic integrity check has passed.

    Always back up before modifying

    SQLite stores the entire database in a single file, so backing up before modifying is crucial.

    For example, you can copy the original like this.

    database.db
    database_backup.db

    In particular, backup is essential in the following situations.

    • When modifying the database of a program in operation
    • When customer data or business data is included
    • When executing DELETE, UPDATE, DROP TABLE commands
    • When changing the table structure
    • When importing bulk data with CSV import

    Directly editing an SQLite file may seem simple, but if you make a mistake, it can be difficult to recover. It’s a good habit to always test modifications in a copy first.

    What tools should I choose?

    The recommended tools vary slightly depending on the purpose.

    PurposeRecommended tool
    Quickly check the file contentsDB Browser for SQLite
    Directly edit dataDB Browser for SQLite
    Checking DB during developmentVS Code SQLite extension
    Command-based inspectionSQLite CLI
    Automating repetitive tasksSQLite CLI or Python
    Excel integrationExporting and importing CSV

    If it’s your first time, it’s best to start with DB Browser for SQLite and then use SQLite CLI and VS Code extensions together once you get used to it.

    Conclusion

    Opening an SQLite file in Windows 11 is not difficult. The easiest way is to install DB Browser for SQLite and .db, .sqlite, .sqlite3 open the file.

    Once the file is opened, you can check the table structure, query data, and search or modify it using SQL queries if necessary. However, since all data is stored in a single SQLite file, it’s essential to back it up before making any modifications.

    To summarize, the following applies.

    • For beginners, DB Browser for SQLite is the easiest to use.
    • Developers can use VS Code extensions or SQLite CLI together for convenience.
    • Before modifying data, you must back up the original file.
    • Delete and modify queries must be executed after verifying the target with SELECT first.
    • Using CSV export and import makes it easy to work with Excel.

    SQLite is a lightweight but very practical database. With the right tools, you can safely open and manage SQLite files even on Windows 11.

    FAQ

    Do I need to install an SQLite server to open an SQLite file?

    No, SQLite is not server-based. You only need a program or command-line tool that can open SQLite files.

    .db Are all files SQLite files?

    No. .db Even if a file has an extension, it may be a proprietary format file that is not SQLite. If it does not open in DB Browser for SQLite, you need to check the file format again.

    Are changes to SQLite files saved immediately?

    In DB Browser for SQLite, you need to click Write Changes after modifying values to save them to the actual file. Before saving, you can revert changes using Revert Changes.

    Can SQLite files be opened directly in Excel?

    It’s not common to open SQLite files directly in Excel. The easiest way is to export them as CSV from DB Browser for SQLite and then open them in Excel.

    What is the most recommended SQLite tool for Windows 11?

    For first-time users, DB Browser for SQLite is recommended. For developers, using SQLite CLI and VS Code extension together is a good option.

    Reference materials

    Original Korean article: https://www.thinknote.co.kr/windows-11-sqlite-file-open-manage/
  • Mac File Organizer: How to easily extract only files in subfolders

    Mac File Organizer: How to easily extract only files in subfolders

    When you need to collect files in subfolders separately on Mac

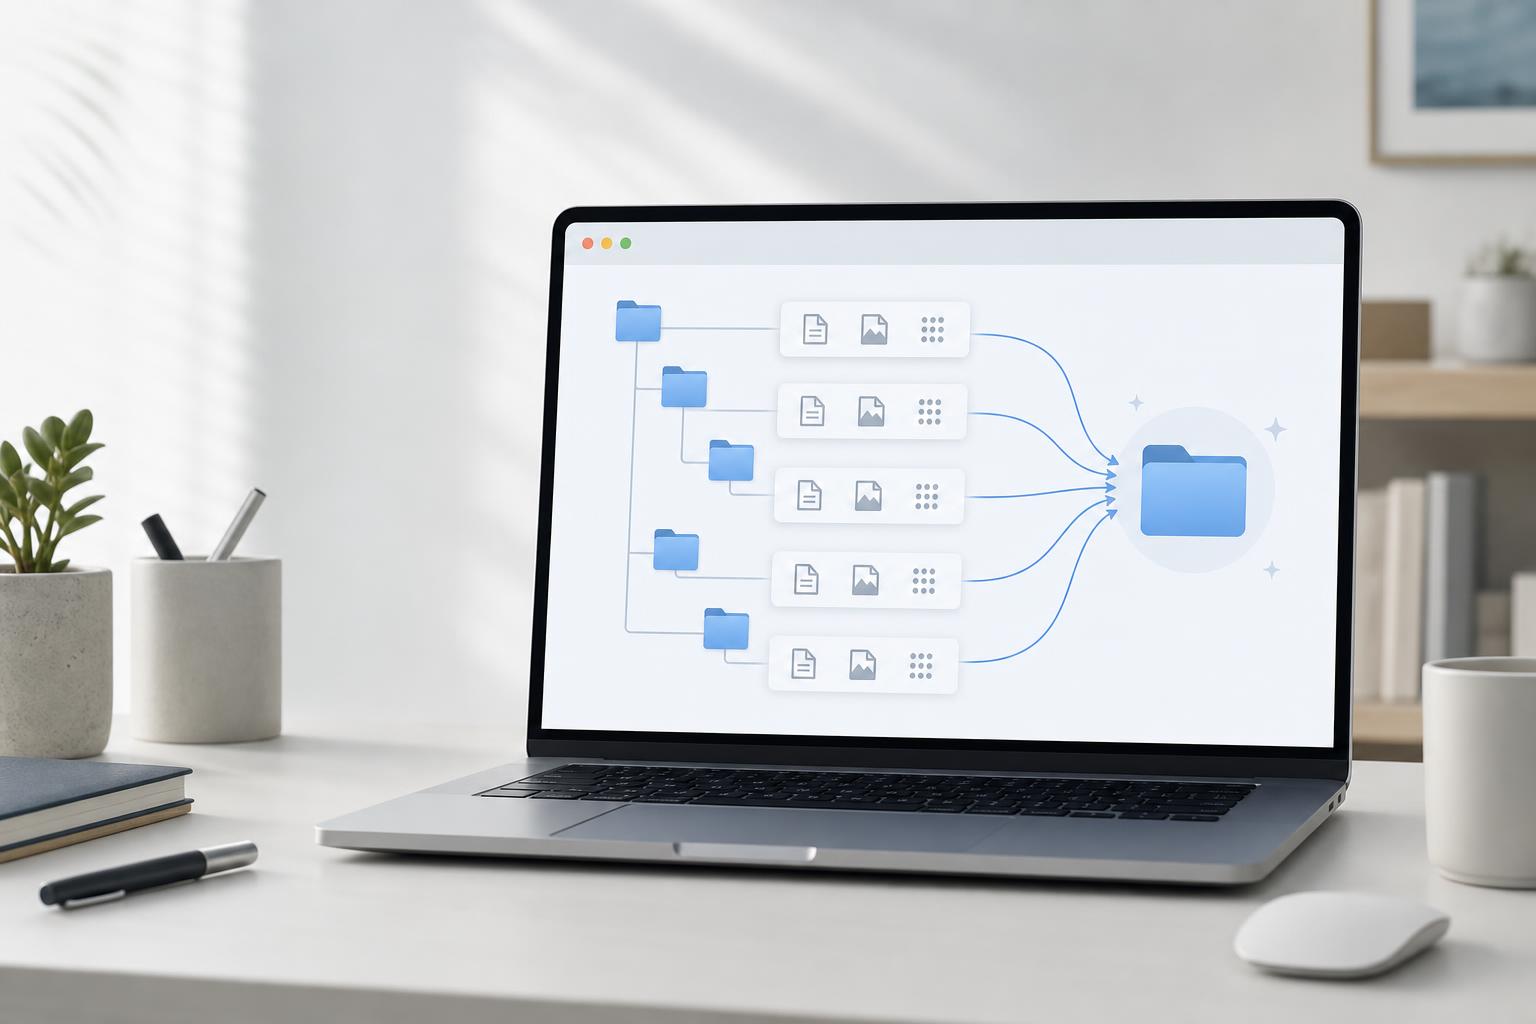
    When using a Mac, there are times when you need to gather files scattered across several subfolders into one place.

    맥에서 하위 폴더 파일을 정리하고 추출하는 작업 화면 이미지
    하위 폴더에 흩어진 파일을 하나의 폴더로 정리하는 과정을 표현한 이미지

    Original Korean article: Mac File Organizer: How to easily extract only files in subfolders

    For example, you might have project materials, photos, downloads, and scanned documents divided into folders. At this time, if you do not need a folder structure and just want to collect files separately, you can use two methods.

    The first way is to utilize the Finder search function. The second method is to use the find command in the terminal.

    If you don’t have a lot of files, Finder is convenient. If you have a lot of files or need to do repetitive tasks, the Terminal method is faster.

    First things first: copying and moving are different

    Before you start, you need to distinguish the difference between copying and moving.

    Copying is a method of leaving the original file as is and creating another identical file in a new location. Moving involves removing files from their original location and moving them to a new location.

    If it’s important material, it’s best not to move it in the first place. Test by copying first, check the results, and move only when necessary.

    Method 1. Collect only files through Finder search

    The easiest way is to use Finder’s search function. You don’t need to know the commands, and you can work while visually checking the results.

    Step 1. Open top level folder

    Open Finder and navigate to the top-level folder containing your files.

    For example, let’s say you have the following structure:

    project-folder
    ├── source-files-1
    │   ├── document1.pdf
    │   └── document2.docx
    ├── source-files-2
    │   ├── image1.jpg
    │   └── image2.png
    └── references
        └── memo.txt

    The goal is to collect only the files in one place, ignoring the subfolder structure under the project folder.

    Step 2. Open Finder search bar

    With the top-level folder open, press the following shortcut key:

    Cmd(⌘) + F

    Alternatively, you can click the search icon at the top right of Finder.

    Step 3. Enter search term

    Enter the search term below in the search box.

    NOT kind:folder

    The important thing here is to type NOT in capital letters.

    This search term means “Show me only items, not folders.” This means that only files will appear in search results, and no subfolders will be included.

    Step 4. Change search scope to current folder

    At the bottom of the search bar, you have the option to select a search location.

    If the default is This Mac, your entire Mac can be searched. This may cause unwanted files to be mixed into the results.

    So you need to change the search scope to the name of the folder you are currently working in.

    For example, if you’re searching within a project folder, select Project Folder, not This Mac.

    Step 5. Select all files and copy or move them

    If only files are displayed in the search results, select all with the following shortcut key.

    Cmd(⌘) + A

    To copy, follow these steps:

    Cmd(⌘) + C → move-to-target-folder → Cmd(⌘) + V

    To move, follow these steps:

    Cmd(⌘) + C → move-to-target-folder → Cmd(⌘) + Option(⌥) + V

    If you select Move, the files in their original location will disappear and be moved to the destination folder.

    When the Finder method is suitable

    The Finder method is suitable for the following situations:

    • When there are not many files
    • If you are not familiar with using commands
    • When you want to move a file while visually checking it
    • When you want to avoid accidentally making the wrong move

    However, if you have more than a few thousand files, Finder may become slow. In this case, the terminal method is more stable.

    Method 2. Copy only files using terminal command

    If you have a lot of files or complex subfolders, you might want to use the Terminal.

    In the terminal, you can only find files in subfolders with the find command. And you can copy or move the found files to any folder you want.

    Step 1. Run terminal

    Press the following shortcut key:

    Cmd(⌘) + Space

    When the Spotlight search box opens, type Terminal or Terminal and run it.

    Step 2. Create a folder to collect files

    We recommend that you first create a new folder to collect your files.

    For example, you can create a folder called Collected Files on your desktop. To create it in the terminal, enter the following command:

    mkdir ~/Desktop/collected-files

    You can also create a new folder directly in Finder.

    Command to copy files

    To copy the original files to the destination folder while leaving them intact, use the following format:

    find source-folder-path -type f -exec cp {} target-folder-path \;

    For example, to copy all files in the Downloads/Data folder to the collected files folder on the desktop, enter the following:

    find ~/Downloads/files -type f -exec cp {} ~/Desktop/collected-files \;

    Here the last \; is not an unnecessary character. This is a required marker that tells you where the find -exec command ends. In zsh/bash on a Mac terminal, if you write a semicolon as is, the shell will interpret it first, so you must precede it with a backslash \; You must enter it like this:

    This command will scan all subfolders under the Materials folder. Then, find only the files, excluding folders, and copy them to the collected files folder.

    Command to move files

    To remove a file from its original location and move it to a destination folder, use mv instead of cp.

    find source-folder-path -type f -exec mv {} target-folder-path \;

    An example can be seen like this.

    find ~/Downloads/files -type f -exec mv {} ~/Desktop/collected-files \;

    When you run this command, the files in the source folder will be moved to the destination folder. After the move, no files will remain inside the existing subfolders.

    If entering the path is difficult, use drag and drop.

    The most confusing part of the terminal is entering the folder path.

    If you find it difficult to enter the path directly, drag and drop the folder from Finder into the terminal window. The folder path will then be automatically entered.

    When moving files, the entire flow can be viewed like this:

    find [drag-source-folder] -type f -exec mv {} [drag-target-folder] \;

    The actual command will have a form similar to the following.

    find /Users/username/Downloads/files -type f -exec mv {} /Users/username/Desktop/collected-files \;

    Folder names with spaces are automatically processed when you drag and drop them, so they are safer than entering them manually.

    Be careful if there are files with the same name

    There may be files with the same name in different subfolders.

    For example, let’s say you have the following files:

    Aexample/report.pdf
    Bexample/report.pdf

    If you put two files together in the same folder, the file names will conflict. In this case, existing files may be overwritten depending on the command method.

    If it is important material, test it by copying it first. It is safer to proceed after checking the results.

    Safe copy command to avoid overwriting

    If you do not want to overwrite files with the same name, you can use the cp -n option.

    find source-folder-path -type f -exec cp -n {} target-folder-path \;

    An example can be seen like this.

    find ~/Downloads/files -type f -exec cp -n {} ~/Desktop/collected-files \;

    The -n option prevents overwriting if a file with the same name already exists in the destination folder.

    If you are doing this for the first time, this method is safer.

    Which method should you choose: Finder or Terminal?

    Situation Recommended method There are a small number of files. You are not familiar with Finder commands. You want to move Finder files while visually checking them. There are a lot of Finder files. Terminal. Subfolders are very complicated. Terminal. Repeated work is required. Terminal. You want to batch process quickly. Terminal.

    If this is your first time trying it, we recommend checking it out using the Finder method. If you need to do a lot of work or the Finder is slow, you can use the terminal method.

    Checklist before work

    To collect files without mistakes, check the items below first.

    • Check that the original folder is correct.
    • Create a destination folder in advance to collect files.
    • Important material is tested by copy first.
    • Check to see if they can have the same file name.
    • Move commands are used after testing.

    Just checking these five things can significantly reduce your risk of file loss.

    organize

    There are two main ways to ignore the subfolder structure on Mac and collect files in one place.

    In Finder, you can easily pick out just the files by using the NOT kind:folder search. In the terminal, you can quickly process large files by using the find command and the -type f option.

    If you are a beginner, I recommend the Finder method. If there are many files or repetitive tasks are required, the terminal method is recommended.

    When dealing with important material, don’t move it right away; test it with a copy first. In particular, since files with the same name may exist in multiple folders, it is recommended to check whether they will be overwritten.

    Related Reading

    Continue with these related Thinknote English articles in the Productivity & Tech Tips cluster.

    FAQ

    What is this article about?

    This article provides a practical technology or productivity tip for readers who want to solve a concrete workflow problem.

    How should I use this guide?

    Use it as a step-by-step reference and adapt file names, app versions, shortcuts, or operating-system details to your own environment.

    Where can I read the original Korean article?

    The original Korean article is available here: Original Korean article.