1. 사전 준비
아래의 설치 과정은 ubuntu 22 환경에서 진행되는 절차입니다. 사전 준비가 필요하면 아래 단계를 참고해주세요
- Ubuntu 22.04.1 설치(VirtualBox)
- ubuntu update 및 upgrade
- Ubuntu 방화벽 iptables 설치 및 활성화
- Ubuntu 방화벽 iptables 설정 및 관리
- Ubuntu OpenSSH 설치 및 MobaXterm 설치
- Ubuntu SSH 포트 설정 및 연결
- Nginx 웹서버 설치(ubuntu)
- PHP 8 설치(ubuntu)
- Nginx + Php8 설정
- MariaDB 설치 및 관리(MySQL)
- OpenSSL 설치
- 무료 HTTPS 설정(Let’s Encrypt, Cloudflare)
- 메모리 caching APCu, Redis, Memcached 설치
2. 설치형 클라우드 Nextcloud 이해
Nextcloud는 개인 및 기업용 클라우드 저장소 및 협업 플랫폼입니다. Nextcloud는 2016년 Frank Karlitschek이 ownCloud 프로젝트를 떠나 개발한 오픈 소스 소프트웨어로 ownCloud의 커뮤니티 구성원들이 Nextcloud를 만들기 위해 모여 개발을 시작하였습니다.
1) Nextcloud 특징
Nextcloud는 개인 및 기업에서 안전하고 효율적인 클라우드 저장소 및 협업 도구로 많이 사용되고 있습니다.
- 파일 동기화 및 공유: Nextcloud를 사용하면 여러 디바이스 간에 파일을 동기화하고 공유할 수 있습니다.
- 보안: Nextcloud는 데이터 암호화, 2단계 인증 등 다양한 보안 기능을 제공하여 사용자의 데이터 보호를 강화합니다.
- 협업 도구: 문서 편집, 캘린더, 주소록 등과 같은 협업 도구를 포함하여 다양한 작업을 팀원들과 함께 수행할 수 있습니다.
- 앱 생태계: 다양한 앱과 확장 기능을 제공하여 사용자의 요구에 맞게 Nextcloud를 확장할 수 있습니다.
- 자체 호스팅: Nextcloud는 온프레미스나 클라우드에서 사용할 수 있으며, 사용자는 자신만의 서버를 운영하여 데이터를 관리할 수 있습니다.
2) 장점
- 개인정보 보호: Nextcloud는 사용자가 직접 데이터를 관리할 수 있으므로 개인정보 보호에 용이합니다.
- 확장성: 다양한 앱과 확장 기능을 통해 사용자의 요구에 맞게 Nextcloud를 확장할 수 있습니다.
- 협업 기능: 문서 편집, 캘린더 등 다양한 협업 도구를 제공하여 팀원들과 함께 작업하기 용이합니다.
3) 단점
- 기술적 지식 필요: 서버 설정 및 유지보수에 대한 기술적인 이해가 해야 합니다.
- 초기 설정 복잡성: 처음에 Nextcloud를 설정하는 과정은 다소 복잡할 수 있습니다.
4) 시스템 요구사항
| 플랫폼 | 옵션 |
|---|---|
| 운영 체제 (64비트) | Ubuntu 22.04 LTS(권장) 우분투 20.04 LTS Red Hat Enterprise Linux 8(권장) 데비안 12 리눅스 엔터프라이즈 서버 15 openSUSE Leap 15.4 CentOS 스트림 |
| 데이터베이스 | MySQL 8.0+ 또는 MariaDB 10.3/10.4/10.5/10.6(권장) Oracle Database 11g(엔터프라이즈 구독의 일부로만 해당)) PostgreSQL 10/11/12/13/14/15 SQLite(테스트 및 최소 인스턴스에만 권장됨)) |
| 웹서버 | Apache 2.4 및 or (권장) mod_phpphp-fpmnginx php-fpm |
| PHP 런타임 | 8.0(더 이상 사용되지 않음)) 8.1 8.2(권장) |
3) 하드웨어 요구사항
- 프로세서: 1GHz 이상의 듀얼 코어 프로세서
- 메모리: 최소 512MB RAM (추천: 2GB 이상)
- 저장 공간: 최소 10GB 이상의 여유 공간
- 네트워크: 인터넷 연결을 위한 네트워크 인터페이스
2. Nextcloud 설치
nextcloud 설치는 all-in-one VM, all-in-one Docker, 웹 인스톨러 설치 등의 방법이 있습니다. 여기서는 웹 인스톨러를 사용해서 설치를 진행하겠습니다.
1) 폴더 생성 및 설치 파일 다운로드
nextcloud를 설치할 폴더를 생성합니다. 하위에 웹 로그를 저장할 logs 폴더와 nextcloud 를 설치할 public 폴더를 생성합니다.
sudo mkdir  /var/www/nc.skdream.com
sudo mkdir  /var/www/nc.skdream.com/logs
sudo mkdir  /var/www/nc.skdream.com/public
public 폴더에 설치 파일을 다운로드 합니다. https://download.nextcloud.com/server/installer/setup-nextcloud.php
cd /var/www/nc.skdream.com/public
sudo wget https://download.nextcloud.com/server/installer/setup-nextcloud.php
public 폴더 사용자를 www-data로 변경합니다.
sudo chown -R www-data:www-data /var/www/nc.skdream.com/public2) Nginx의 서버 블럭 생성
도메인 연결을 위한 서버 블럭 파일을 생성합니다.
sudo nano /etc/nginx/sites-available/nc.skdream.com아래 코드를 붙여넣고 도메인 부분을 자신의 도메인으로 변경합니다.
upstream php-handler {
        server unix:/var/run/php/php8.2-fpm.sock;

}
# Set the `immutable` cache control options only for assets with a cache busting `v` argument
map $arg_v $asset_immutable {
        "" "";
        default "immutable";
}
server {
        listen 443 ssl http2;
        listen [::]:443 ssl http2;

        server_name example.com;

        ssl_certificate /etc/letsencrypt/live/example.com/fullchain.pem;
        ssl_certificate_key /etc/letsencrypt/live/example.com/privkey.pem;
        ssl_trusted_certificate /etc/letsencrypt/live/example.com/chain.pem;
        ssl_dhparam /etc/ssl/certs/dhparam.pem;

        ssl_protocols TLSv1.2 TLSv1.3;
        ssl_prefer_server_ciphers on;
        ssl_ciphers TLS_AES_256_GCM_SHA384:TLS_CHACHA20_POLY1305_SHA256:TLS_AES_128_GCM_SHA256:ECDHE-RSA-AES256-GCM-SHA384:DHE-RSA-AES256-GCM-SHA384:ECDHE-RSA-AES128-GCM-SHA256;
        ssl_ecdh_curve secp384r1;
        ssl_session_timeout 10m;
        ssl_session_cache shared:SSL:10m;
        ssl_session_tickets off;
        ssl_stapling on;
        ssl_stapling_verify on;
        resolver 1.1.1.1 1.0.0.1 valid=300s;
        resolver_timeout 5s;

        access_log /var/www/nc.skdream.com/logs/access.log;
        error_log /var/www/nc.skdream.com/logs/error.log;

        root /var/www/nc.skdream.com/public/;
        #index index.php index.html;

        #Nextcloud
        # Prevent nginx HTTP Server Detection
        server_tokens off;

        # HSTS settings
        # WARNING: Only add the preload option once you read about
        # the consequences in https://hstspreload.org/. This option
        # will add the domain to a hardcoded list that is shipped
        # in all major browsers and getting removed from this list
        # could take several months.
        add_header Strict-Transport-Security "max-age=15768000; includeSubDomains; preload" always;

        # set max upload size and increase upload timeout:
        client_max_body_size 512M;
        client_body_timeout 300s;
        fastcgi_buffers 64 4K;

        # Enable gzip but do not remove ETag headers
        gzip on;
        gzip_vary on;
        gzip_comp_level 4;
        gzip_min_length 256;
        gzip_proxied expired no-cache no-store private no_last_modified no_etag auth;
        gzip_types application/atom+xml text/javascript application/javascript application/json application/ld+json application/manifest+json application/rss+xml application/vnd.geo+json application/vnd.ms-fontobject application/wasm application/x-font-ttf application/x-web-app-manifest+json application/xhtml+xml application/xml font/opentype image/bmp image/svg+xml image/x-icon text/cache-manifest text/css text/plain text/vcard text/vnd.rim.location.xloc text/vtt text/x-component text/x-cross-domain-policy;

        # Pagespeed is not supported by Nextcloud, so if your server is built
        # with the `ngx_pagespeed` module, uncomment this line to disable it.
        #pagespeed off;

        # The settings allows you to optimize the HTTP2 bandwitdth.
        # See https://blog.cloudflare.com/delivering-http-2-upload-speed-improvements/
        # for tunning hints
        client_body_buffer_size 512k;

        # HTTP response headers borrowed from Nextcloud `.htaccess`
        add_header Referrer-Policy                   "no-referrer"       always;
        add_header X-Content-Type-Options            "nosniff"           always;
        #add_header X-Download-Options                "noopen"            always;
        add_header X-Frame-Options                   "SAMEORIGIN"        always;
        add_header X-Permitted-Cross-Domain-Policies "none"              always;
        add_header X-Robots-Tag                      "noindex, nofollow" always;
        add_header X-XSS-Protection                  "1; mode=block"     always;

        # Remove X-Powered-By, which is an information leak
        fastcgi_hide_header X-Powered-By;

        # Add .mjs as a file extension for javascript
        # Either include it in the default mime.types list
        # or include you can include that list explicitly and add the file extension
        # only for Nextcloud like below:
        include mime.types;

        # Specify how to handle directories -- specifying `/index.php$request_uri`
        # here as the fallback means that Nginx always exhibits the desired behaviour
        # when a client requests a path that corresponds to a directory that exists
        # on the server. In particular, if that directory contains an index.php file,
        # that file is correctly served; if it doesn't, then the request is passed to
        # the front-end controller. This consistent behaviour means that we don't need
        # to specify custom rules for certain paths (e.g. images and other assets,
        # `/updater`, `/ocs-provider`), and thus
        # `try_files $uri $uri/ /index.php$request_uri`
        # always provides the desired behaviour.
        index index.php index.html /index.php$request_uri;
        #types {
        #        text/javascript js mjs;
        #}
        # Rule borrowed from `.htaccess` to handle Microsoft DAV clients
        location = / {
                if ( $http_user_agent ~ ^DavClnt ) {
                        return 302 /remote.php/webdav/$is_args$args;
                }
        }

        location = /robots.txt {
                allow all;
                log_not_found off;
                access_log off;
        }


        # Make a regex exception for `/.well-known` so that clients can still
        # access it despite the existence of the regex rule
        # `location ~ /(\.|autotest|...)` which would otherwise handle requests
        # for `/.well-known`.
        location ^~ /.well-known {
                # The rules in this block are an adaptation of the rules
                # in `.htaccess` that concern `/.well-known`.

                location = /.well-known/carddav { return 301 /remote.php/dav/; }
                location = /.well-known/caldav  { return 301 /remote.php/dav/; }

                location /.well-known/acme-challenge    { try_files $uri $uri/ =404; }
                location /.well-known/pki-validation    { try_files $uri $uri/ =404; }

                # Let Nextcloud's API for `/.well-known` URIs handle all other
                # requests by passing them to the front-end controller.
                return 301 /index.php$request_uri;
        }


        # Rules borrowed from `.htaccess` to hide certain paths from clients
        location ~ ^/(?:build|tests|config|lib|3rdparty|templates|data)(?:$|/)  { return 404; }
        location ~ ^/(?:\.|autotest|occ|issue|indie|db_|console)                { return 404; }

        # Ensure this block, which passes PHP files to the PHP process, is above the blocks
        # which handle static assets (as seen below). If this block is not declared first,
        # then Nginx will encounter an infinite rewriting loop when it prepends `/index.php`
        # to the URI, resulting in a HTTP 500 error response.

        # to the URI, resulting in a HTTP 500 error response.
        location ~ \.php(?:$|/) {
                # Required for legacy support
                rewrite ^/(?!index|remote|public|cron|core\/ajax\/update|status|ocs\/v[12]|updater\/.+|ocs-provider\/.+|.+\/richdocumentscode\/proxy) /index.php$request_uri;

                fastcgi_split_path_info ^(.+?\.php)(/.*)$;
                set $path_info $fastcgi_path_info;

                try_files $fastcgi_script_name =404;

                include fastcgi_params;
                fastcgi_param SCRIPT_FILENAME $document_root$fastcgi_script_name;
                fastcgi_param PATH_INFO $path_info;
                fastcgi_param HTTPS on;

                fastcgi_param modHeadersAvailable true;         # Avoid sending the security headers twice
                fastcgi_param front_controller_active true;     # Enable pretty urls
                fastcgi_pass php-handler;

                fastcgi_intercept_errors on;
                fastcgi_request_buffering off;

                fastcgi_max_temp_file_size 0;
        }
        # Javascript mimetype fixes for nginx
        # Note: The block below should be removed, and the js|mjs section should be
        # added to the block below this one. This is a temporary fix until Nginx
        # upstream fixes the js mime-type
        location ~* \.(?:js|mjs)$ {
            types {
                text/javascript js mjs;
            }
            default_type "text/javascript";
            try_files $uri /index.php$request_uri;
            add_header Cache-Control "public, max-age=15778463, $asset_immutable";
            access_log off;
        }

        # Serve static files
        location ~ \.(?:css|svg|gif|png|jpg|ico|wasm|tflite|map|ogg|flac)$ {
            try_files $uri /index.php$request_uri;
            add_header Cache-Control "public, max-age=15778463, $asset_immutable";
            access_log off;     # Optional: Don't log access to assets

            location ~ \.wasm$ {
                default_type application/wasm;
            }
        }
        location ~ \.woff2?$ {
                try_files $uri /index.php$request_uri;
                expires 7d;         # Cache-Control policy borrowed from `.htaccess`
                access_log off;     # Optional: Don't log access to assets
        }

        # Rule borrowed from `.htaccess`
        location /remote {
                return 301 /remote.php$request_uri;
        }

        location / {
                try_files $uri $uri/ /index.php$request_uri;
        }


}

server {
        listen 80;
        listen [::]:80;

        server_name example.com;
        # Prevent nginx HTTP Server Detection
        server_tokens off;

        return 301 https://example.com$request_uri;
}
심볼릭 링크를 설정하고 nginxt를 재시작합니다.
sudo ln -s /etc/nginx/sites-available/example.com /etc/nginx/sites-enabled/
sudo systemctl restart nginx
3) DB 생성 및 권한 부여
아래 명령어로 MariaDB에 접속합니다.
mysql -u root -pMariaDB를 설치하지 않았다면 다음 글을 참고하세요 MariaDB 설치 및 관리(MySQL) – Thinknote
Nextcloud에 사용할 데이터베이스를 생성합니다.
CREATE DATABASE nextcloud;새로운 사용자를 생성합니다. 기존 사용자를 연결하려면 생략해도 됩니다.
CREATE USER '[사용자 이름]'@'localhost' IDENTIFIED BY '[비밀번호]';생성한 사용자에게 새로운 데이터베이스의 권한을 부여합니다.
GRANT ALL PRIVILEGES ON [데이터베이스 이름].* TO '[사용자 이름]'@'localhost';변경된 권한 설정을 적용합니다.
FLUSH PRIVILEGES;
exit;
4) php 요구사항
Nextcloud를 사용하기 위해서는 추가적인 php모듈이 해야 합니다. 아래는 Nextcloud manual 에 제시되어 있는 요구사항입니다.
- PHP (see System requirements for a list of supported versions)
- PHP module ctype
- PHP module curl
- PHP module dom
- PHP module fileinfo (included with PHP)
- PHP module filter (only on Mageia and FreeBSD)
- PHP module GD
- PHP module hash (only on FreeBSD)
- PHP module JSON (included with PHP >= 8.0)
- PHP module libxml (Linux package libxml2 must be >=2.7.0)
- PHP module mbstring
- PHP module openssl (included with PHP >= 8.0)
- PHP module posix
- PHP module session
- PHP module SimpleXML
- PHP module XMLReader
- PHP module XMLWriter
- PHP module zip
- PHP module zlib
아래 코드를 입력해서 설치되지 않은 모듈을 설치합니다. PHP8이 설치되지 않았다면 다음 글을 참고하세요. PHP 8 설치(ubuntu) – Thinknote
sudo apt install php8.2-ctype php8.2-curl php8.2-dom php8.2-gd php8.2-mbstring php8.2-zip php8.2-intl php8.2-gmp php8.2-bcmath libmagickcore-6.q16-6-extra php8.2-apcu php8.2-bz2 php8.2-imagick php8.2-imap php8.2-ldap php8.2-mysql php8.2-smbclient php8.2-xml php8.2-zipphp를 재시작합니다.
sudo systemctl restart php8.2-fpm3. 웹 인스톨러 통한 설치
자신의 도메인에서 웹 인스톨러에 접속해서 설치를 진행합니다.
https://example.com/setup-nextcloud.php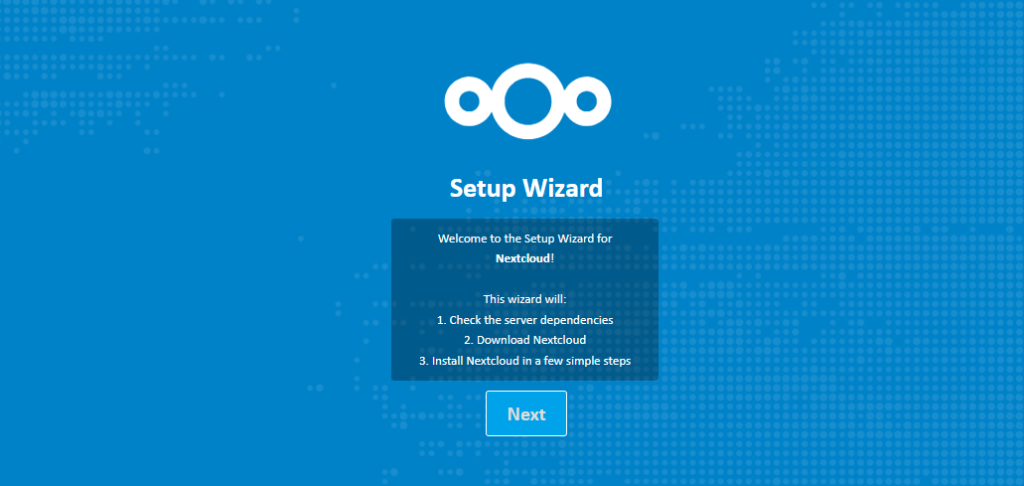
만약 Fatal error: Uncaught ValueError: Invalid or uninitialized Zip object in 에러가 발생하면 이는 압축 해제 경로가 /var/www/html로 되어있기 때문입니다. 이때는 직접 압축을 풀어서 설치해야 합니다. 압축이 풀려 있다면 도메인 url로 접속하면 됩니다.

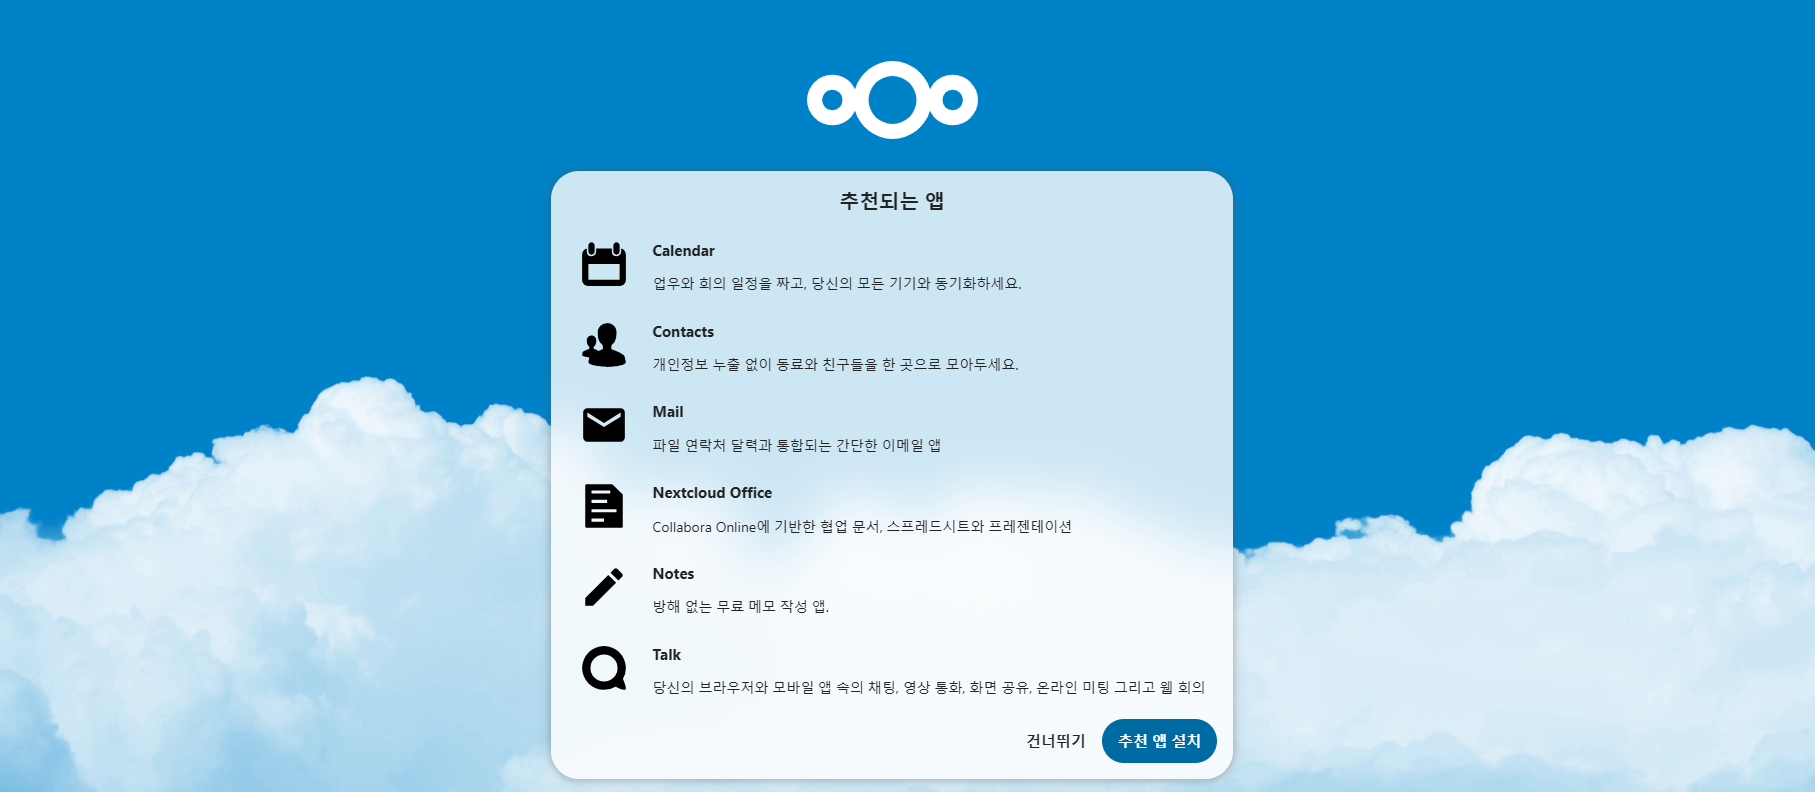
설치가 완료되었습니다.
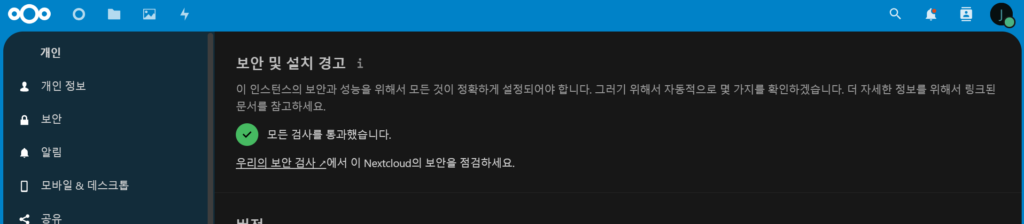
4. 보안 및 경고 확인
관리자로 로그인하고 관리자 설정으로 들어갑니다. 이때 보안 및 설치 경고 메시지가 나온다면 항목별 해결방법을 참고하시기 바랍니다.
1) 파일 무결성과 관련된 오류
/etc/php/8.2/fpm/pool.d/www.conf 에서 clear_env = no의 주석을 해제합니다.
sudo nano /etc/php/8.2/fpm/pool.d/www.conf
clear_env = no #주석해제
2) 시스템 환경변수 getenv(‘path’)오류
관리자 설정의 무결성과 관련된 파일 리스트를 확인하고 문제가 되는 파일을 삭제합니다. 그리고 아래 코드를 실행하여 무결성 문제가 해결 되었는지 확인합니다.
sudo -u www-data php occ integrity:check-core3) PHP 메모리 제한
php.ini에서 memory_limit값과 upload_max_filesize 을 512M 이상으로 설정합니다.
Memory_limit = 1G
upload_max_filesize = 1G
4) 국가 전화번호 설정
nextcloud config.php 파일에 다음 내용을 추가합니다.
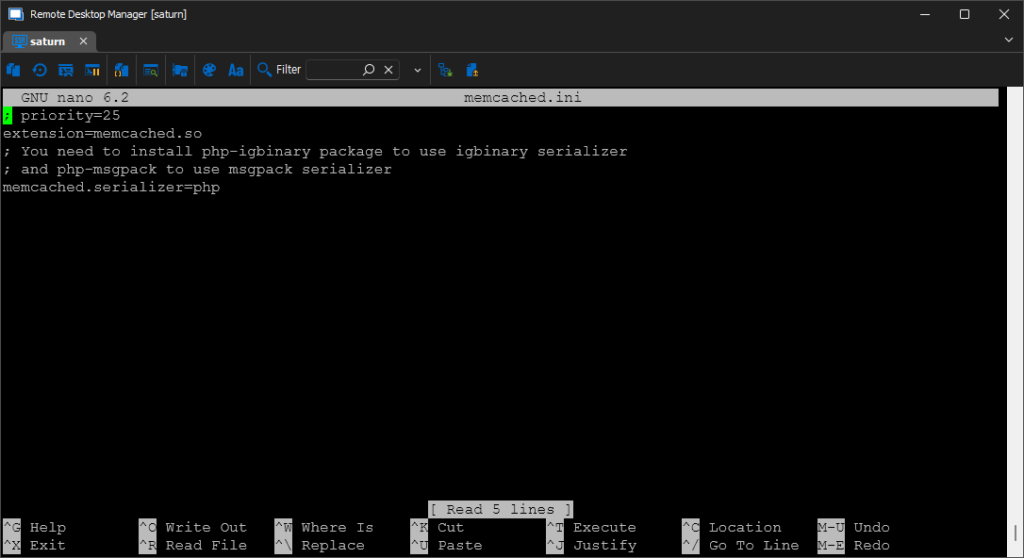
'default_phone_region' => 'kr'5) 트렌젝션 성능 향상 – memcached 구성
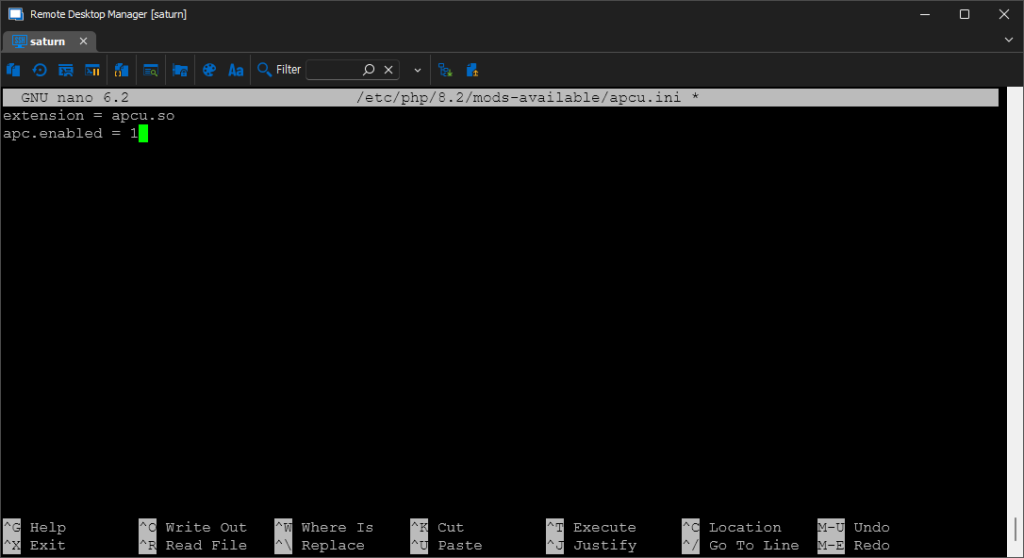
memcached 구성 다음 글을 참고하시기 바랍니다. 메모리 caching APCu, Redis, Memcached 설치 – Thinknote
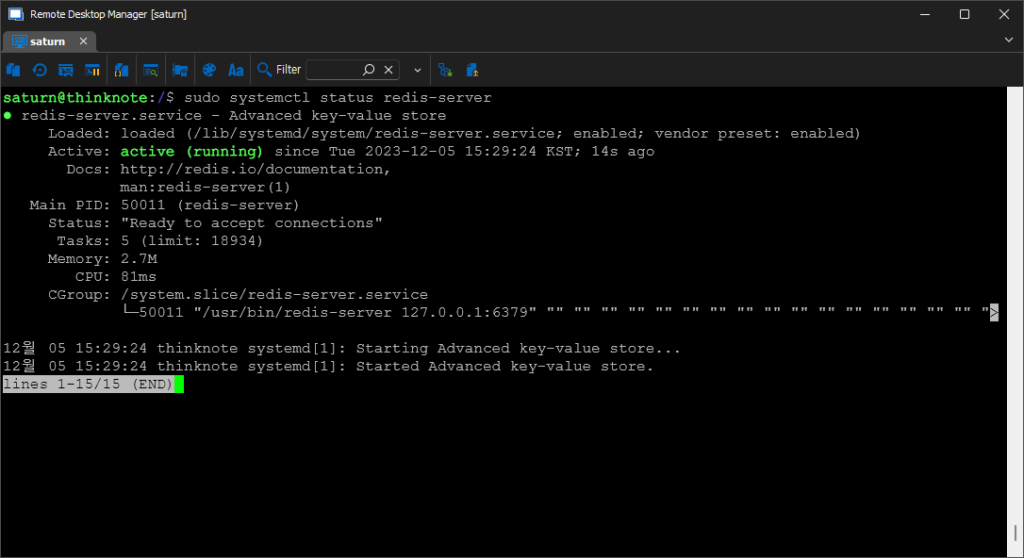
트렌젝션 파일 잠금과 함께 memcached 를 사용하려면 redis도 설치해야 합니다.
설치가 완료되면 nextcloud config.php 파일에 다음 내용을 추가합니다.
'memcache.local' => '\\OC\\Memcache\\Redis',
'memcache.distributed' => '\\OC\\Memcache\\Redis',
'memcache.locking' => '\\OC\\Memcache\\Redis',
'filelocking.enabled' => 'true',
'redis' =>
array (
'host' => 'localhost',
'port' => 0,
'timeout' => 0.0,
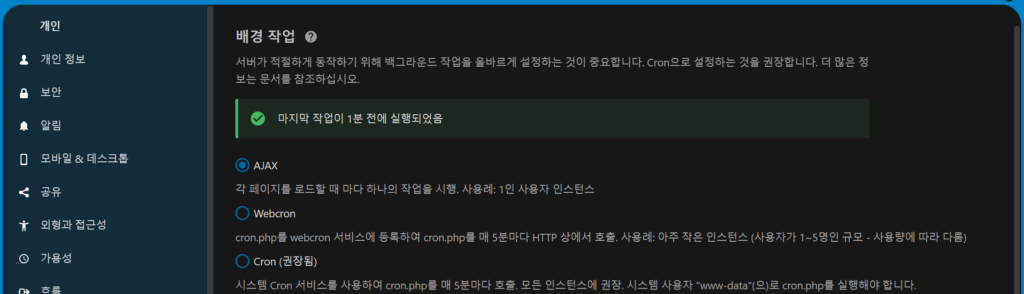
),6) 보안 및 배경 작업 확인