This guide is a fuller English adaptation of the original Korean article about installing OpenSSH on Ubuntu and using MobaXterm for remote access. The source post explains the SSH protocol, OpenSSH features, installation checks, server packages, and MobaXterm installation for Windows users.
Original Korean article: Ubuntu OpenSSH 설치 및 MobaXterm 설치
1. What OpenSSH Is and Why It Matters
OpenSSH and the SSH protocol
SSH is a secure protocol for remote login and remote command execution. Compared with older tools such as telnet and rlogin, SSH provides encrypted communication and stronger authentication. This is why SSH is a basic requirement for Linux server administration.
The original article notes that SSH1 is no longer supported in modern OpenSSH releases, while SSH2 was developed to improve security, avoid earlier patent issues, and address data integrity problems. SSH2 supports a variety of symmetric and asymmetric cryptographic choices.
OpenSSH is one of the most widely used tools for SSH-based remote access. It encrypts traffic to reduce the risk of eavesdropping, connection hijacking, and other network attacks. It also supports tunneling, multiple authentication methods, and detailed configuration options.
Tools included in the OpenSSH family
The OpenSSH suite includes client and server tools. Remote work can be performed with ssh, scp, and sftp. Key management involves tools such as ssh-add, ssh-keysign, ssh-keyscan, and ssh-keygen. The service side includes sshd, sftp-server, and ssh-agent.
2. Key Features of OpenSSH
Open source and widely usable
OpenSSH is an open source project that can be used freely, including in commercial contexts. Because the code is public, it benefits from review, reuse, bug discovery, and long-term maintenance by a broad community.
Strong encryption before authentication
OpenSSH starts encryption before authentication, which helps prevent passwords and other sensitive information from being sent in plain text. It supports modern algorithms and key types such as AES, ChaCha20, RSA, ECDSA, and Ed25519, while older options are gradually removed or discouraged.
X11 forwarding
X11 forwarding allows remote graphical traffic to be sent through an encrypted SSH channel. This can be useful when running graphical applications from a remote Unix-like environment while reducing the risk of someone snooping on the session or injecting commands into an unprotected connection.
Port forwarding for secure tunnels
Port forwarding creates encrypted channels for TCP/IP connections. This can protect legacy services or internal tools by routing them through SSH. For example, insecure protocols can be wrapped in an encrypted tunnel when a direct secure alternative is not available.
Strong authentication methods
OpenSSH supports authentication methods such as public keys, one-time passwords, and in some environments Kerberos. Public key authentication is especially common for server administration because it reduces reliance on reusable passwords and can be combined with passphrases and agents.
Agent forwarding and compression
Agent forwarding lets a local authentication agent hold keys and forward authentication through an SSH connection without storing private keys on every remote system. OpenSSH also supports optional compression, which can improve performance over slower network links.
3. Installing and Checking OpenSSH on Ubuntu
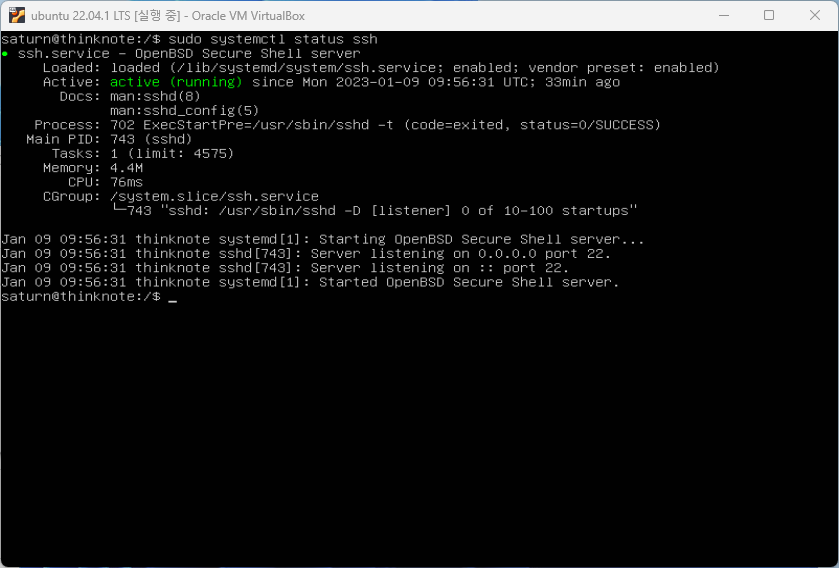
If Ubuntu was installed with server features, SSH may already be installed. The original tutorial checks service status with systemctl. Even if the package is installed, you should confirm that the service is running and enabled.
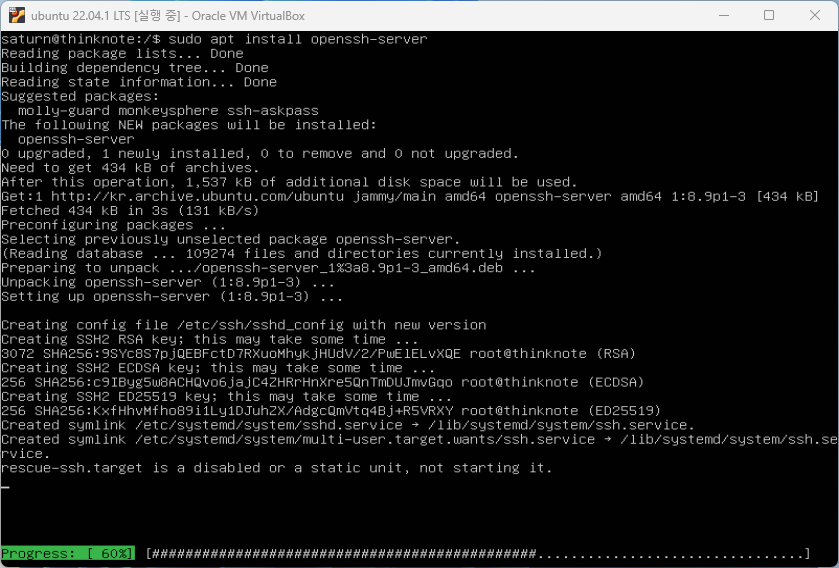
OpenSSH usually runs as ssh.service on Ubuntu. The installed package list may include openssh-client, openssh-server, and an SFTP server package. For remote login into the Ubuntu machine, openssh-server is essential.
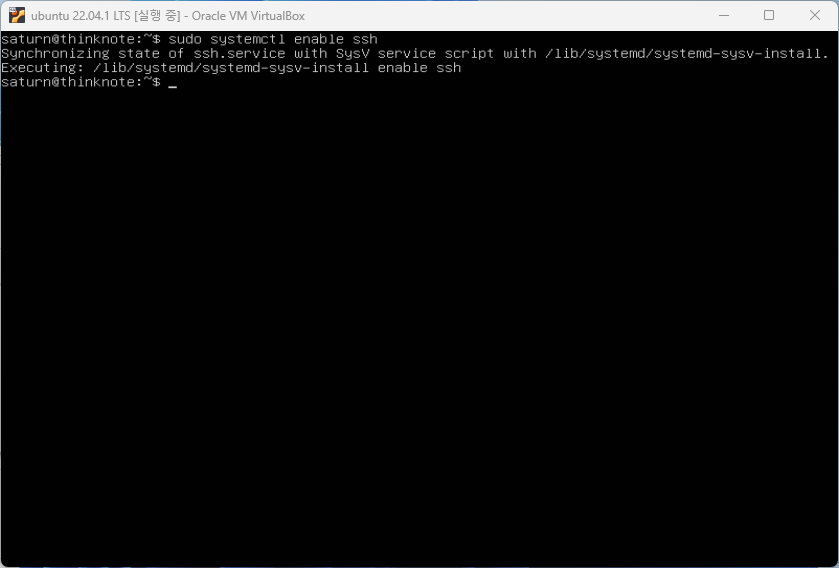
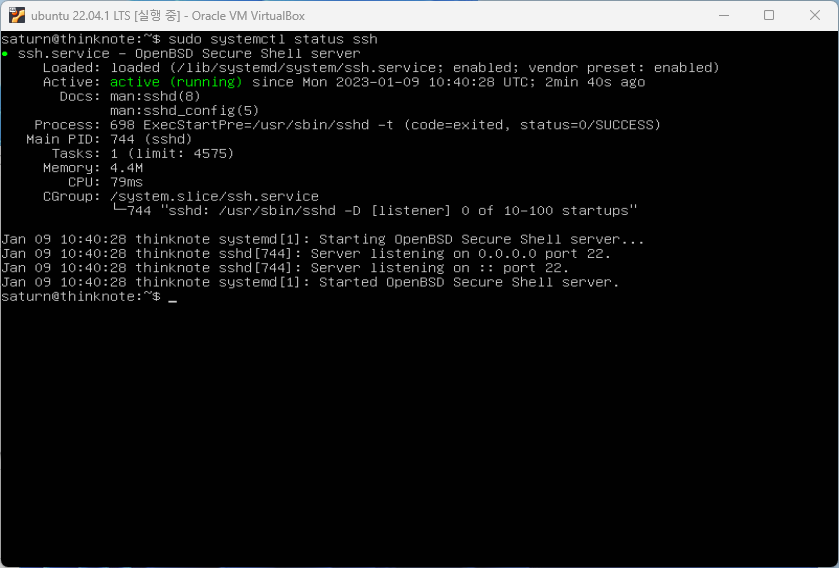
After installation, enable the service so that it starts automatically on boot. Then reboot or restart the service in a controlled way and verify that SSH is still available.
4. Preparing MobaXterm for SSH Access from Windows
Why MobaXterm is useful
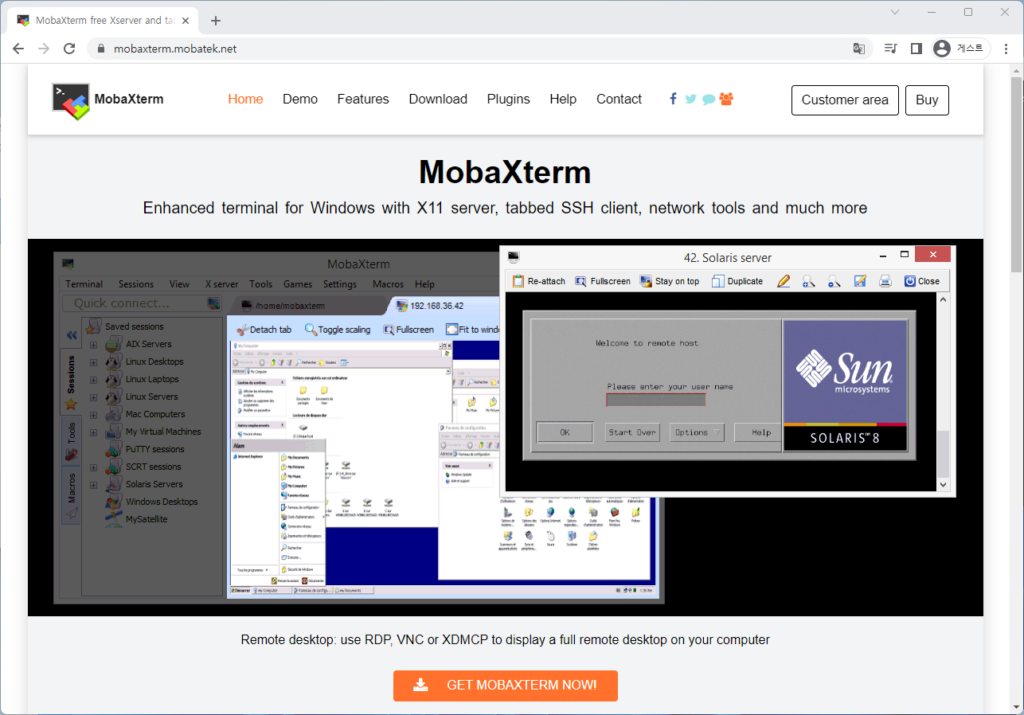
MobaXterm is a remote access program for Windows. It is convenient for programmers, webmasters, and IT administrators because it combines SSH sessions with additional remote network tools. It can provide SSH, X11, RDP, VNC, FTP, MOSH, and Unix-like commands from a Windows desktop environment.
When connecting to a remote server through SSH, MobaXterm can automatically show a graphical SFTP browser. This makes it easier for beginners to inspect and edit remote files while also using a terminal session.
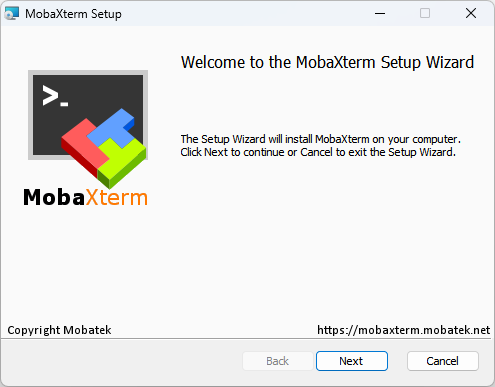
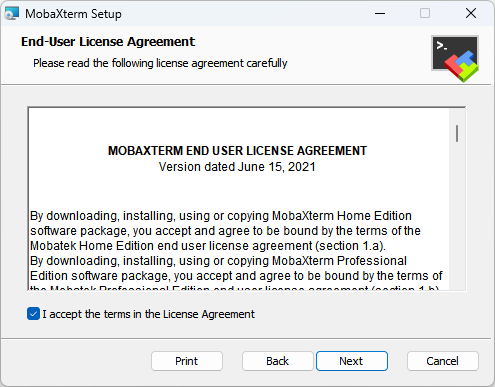
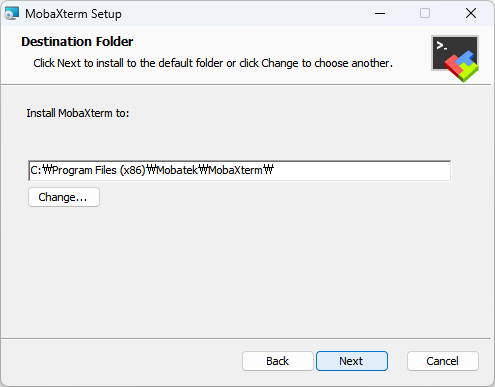
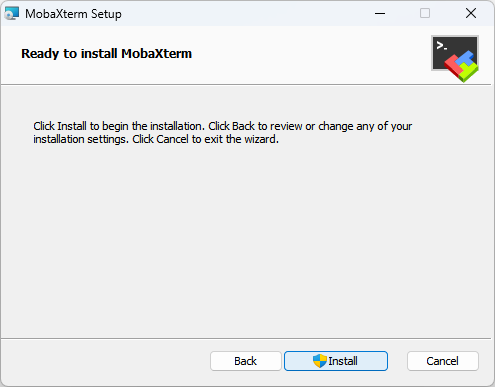
Download and install MobaXterm
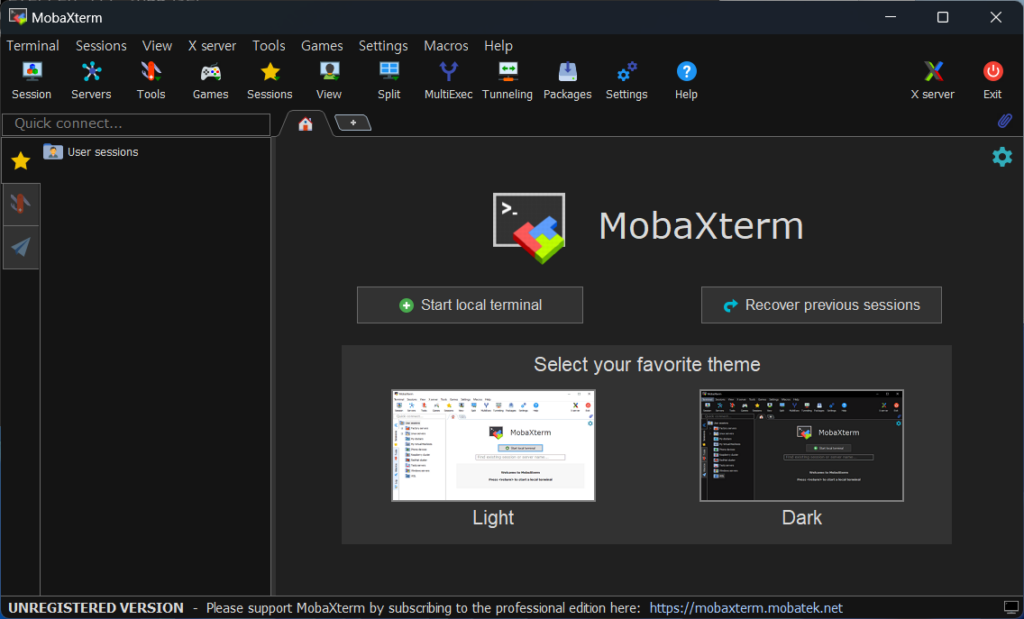
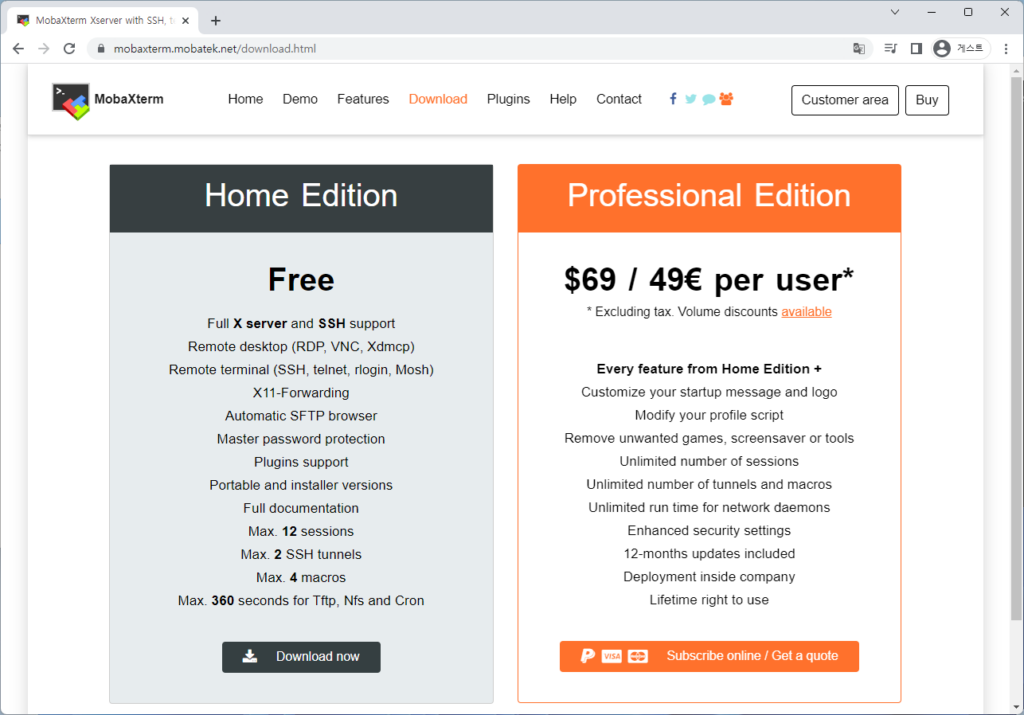
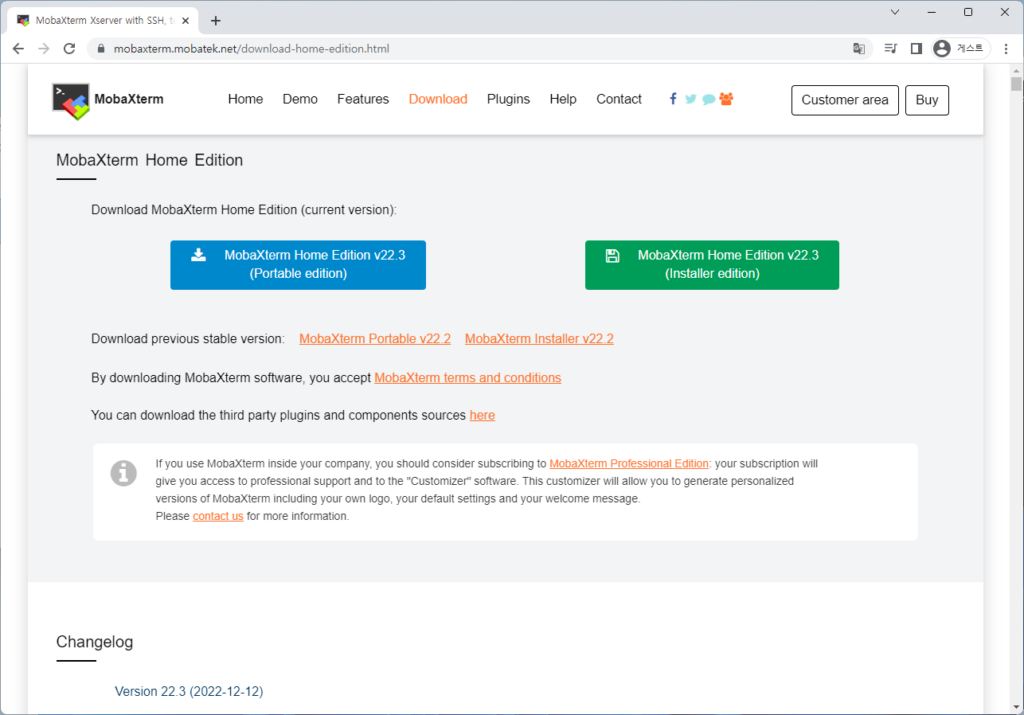
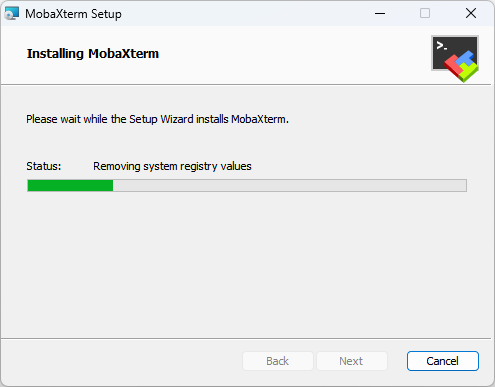
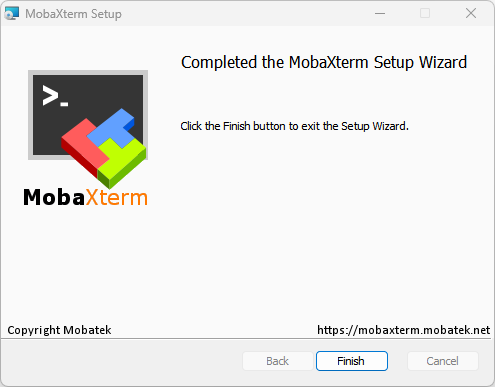
The original article downloads MobaXterm from the official Home Edition page and proceeds with the installer edition rather than the portable edition. After downloading, unzip or run the installer package and complete the installation wizard.
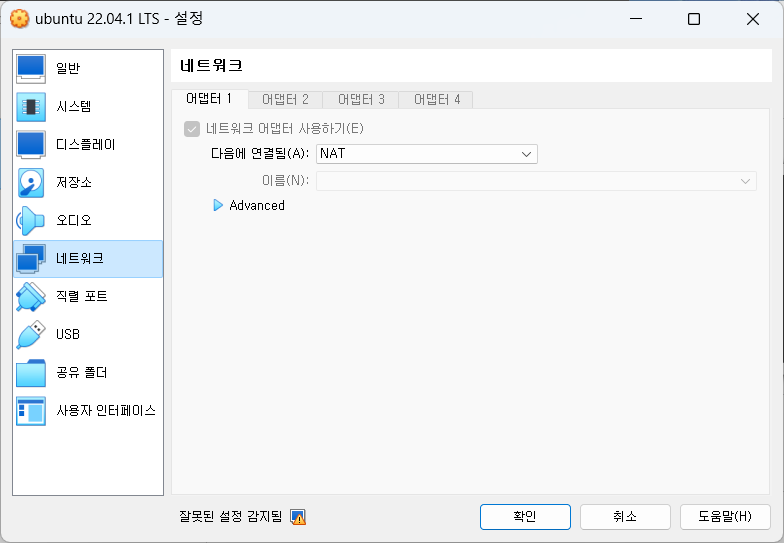
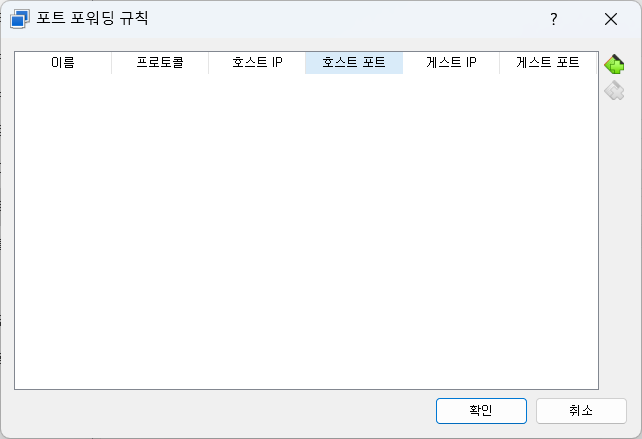
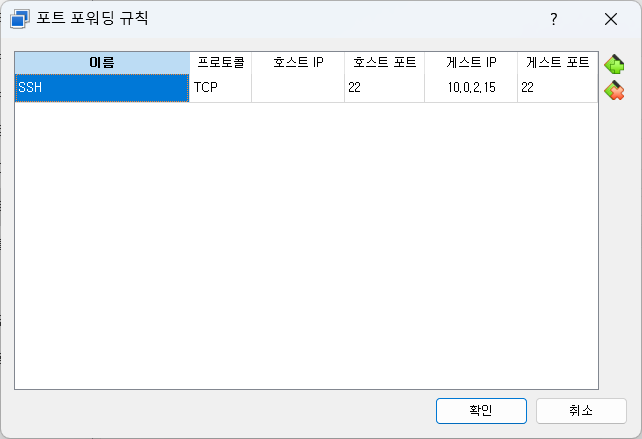
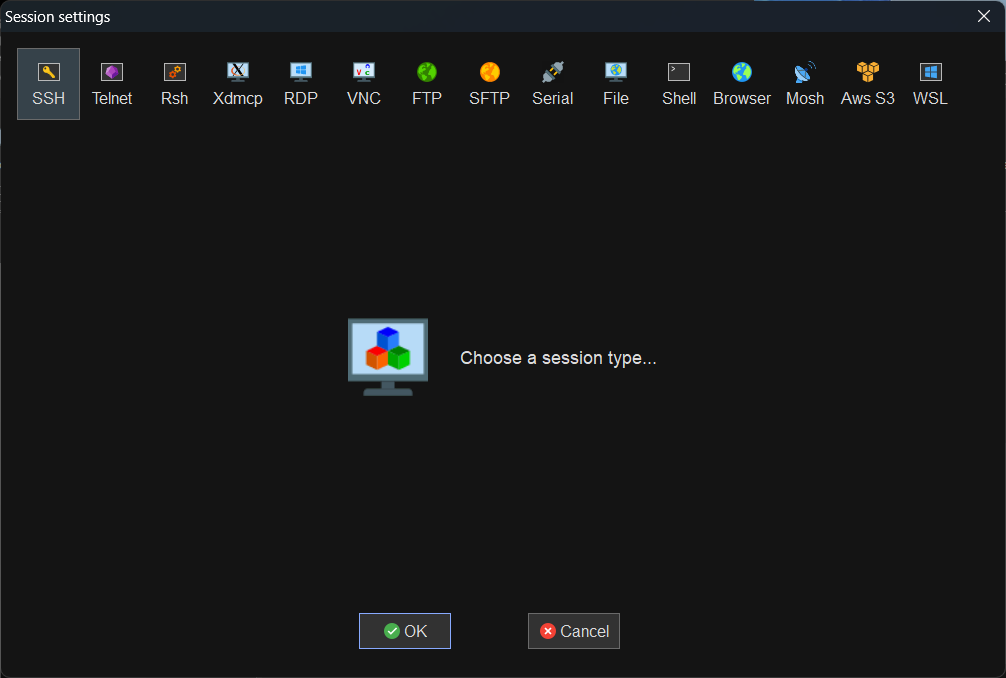
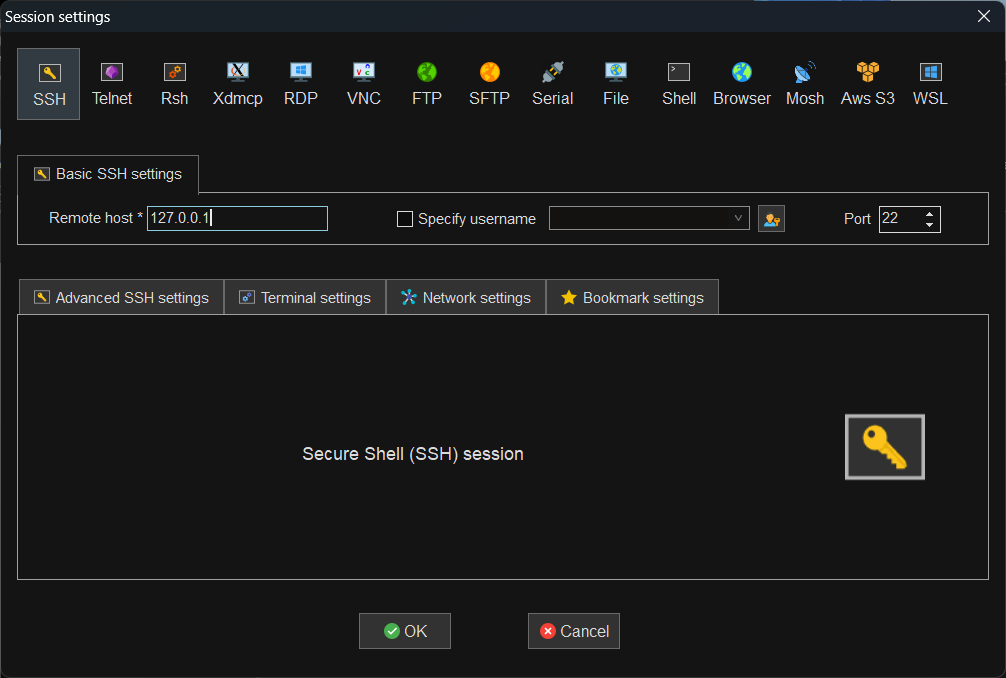
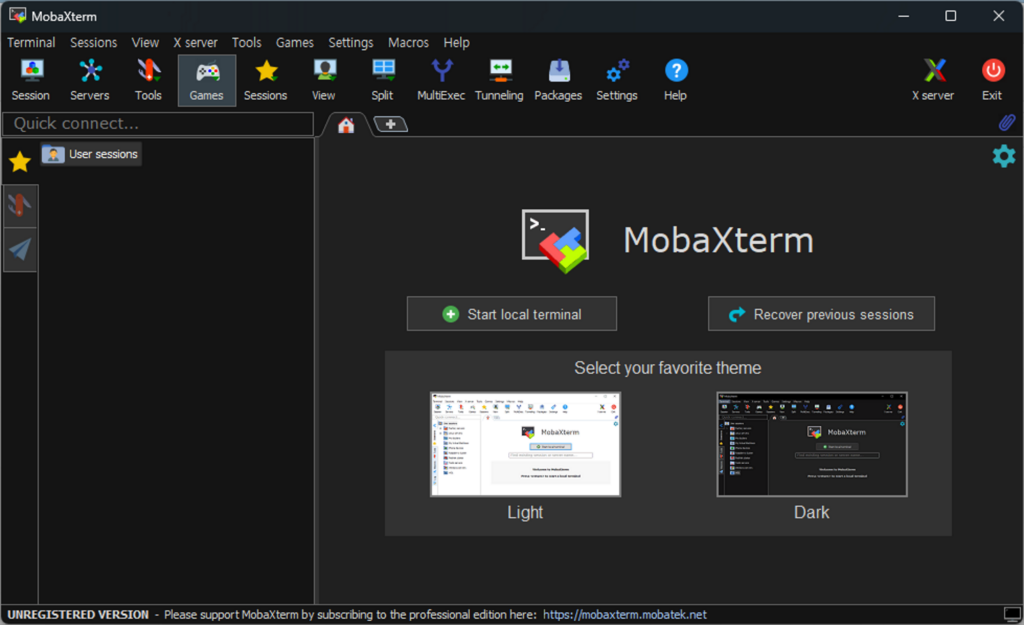
After launching MobaXterm, you can create an SSH session by entering the server address, username, and port. If SSH uses a non-default port, the client setting must match the server configuration and firewall rules.
5. Connection Checks Before Remote Work
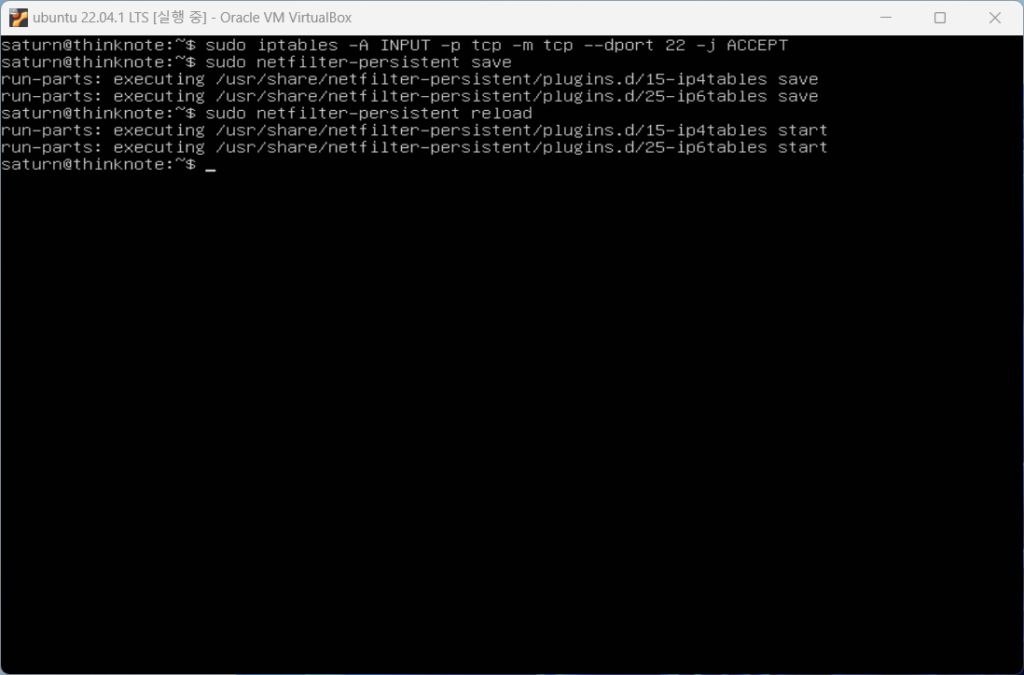
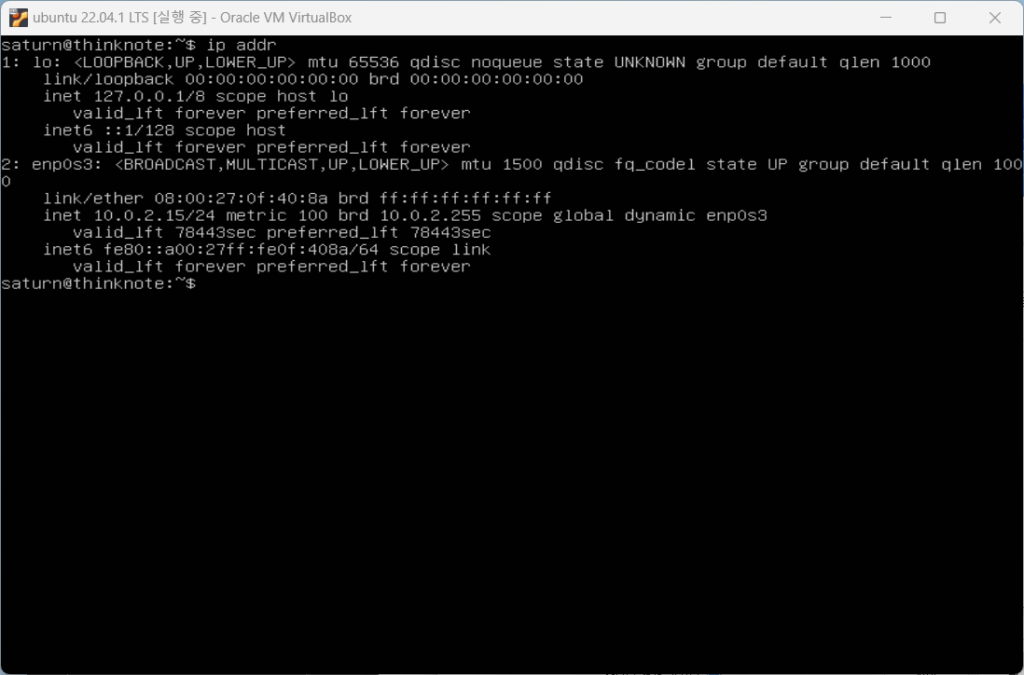
Remote access depends on several conditions working together: the server IP address is correct, OpenSSH server is installed, ssh.service is running, the firewall allows the SSH port, the username exists, and the authentication method is valid.
If connection fails, do not assume the client is the problem. Check service status, port configuration, firewall rules, network reachability, and credentials. In server administration, connection troubleshooting is often a chain of small checks.
6. Security After the First Successful Login
Once SSH works, improve security. Use strong passwords or public key authentication, limit unnecessary users, keep packages updated, document the port, and avoid exposing other services without need. Remote access should be convenient enough to operate but strict enough to protect the server.
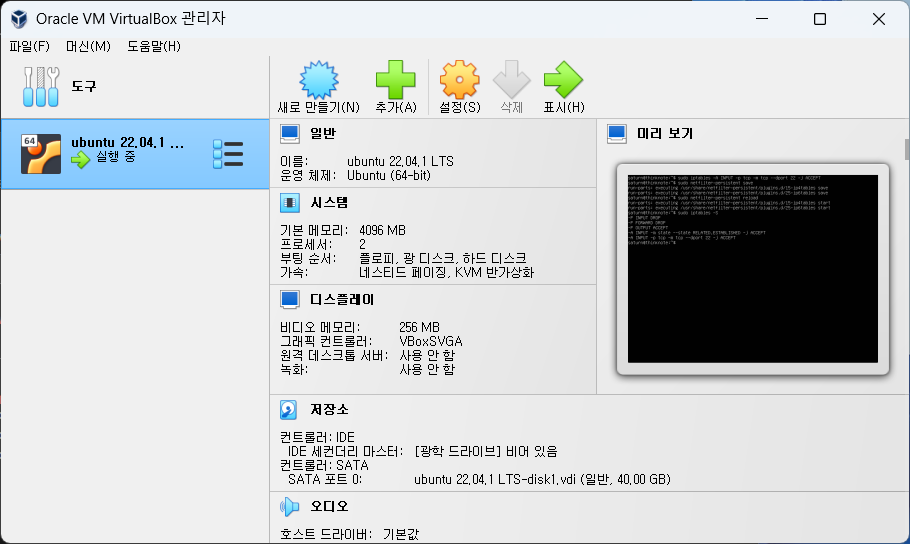
The original article connects this topic to related Ubuntu setup tasks such as SSH port configuration, VirtualBox installation, Ubuntu installation, update and upgrade, and firewall settings. OpenSSH is often the gateway to all later Linux server work.
Related Reading
Continue with these related Thinknote English articles in the Server & Infrastructure cluster.
- Nextcloud installation and settings
- Install memory caching APCu, Redis, Memcached
- Free HTTPS setup (Let’s Encrypt, Cloudflare)
- Install OpenSSL
- Installing and managing MariaDB (MySQL)
- Setting up Nginx + Php8
FAQ
What is this article about?
This article is part of Thinknote’s English server and infrastructure archive. It focuses on practical Linux, Ubuntu, web-server, database, SSH, firewall, or hosting operations that readers can adapt to their own environment.
How should I use this guide?
Use it as a practical checklist and concept guide. Before applying commands on a live server, verify package names, OS versions, ports, and backup requirements for your own setup.
Where can I read the original Korean article?
The original Korean article is available here: Ubuntu OpenSSH and MobaXterm Setup: Remote Server Access Guide.