
This guide is a fuller English adaptation of the original Korean Ubuntu iptables article. The source post is a practical server-administration note, not just a short firewall overview. It explains how to understand iptables, check rules, flush chains, add local and inbound rules, save changes, and read common iptables command options.
Original Korean article: Ubuntu 방화벽 iptables 설정 및 관리
1. Understanding iptables Firewall Management on Ubuntu
Firewall management is the process of deciding which network traffic should be allowed, rejected, or dropped. Ubuntu often provides UFW as a user-friendly firewall interface, but iptables gives administrators a more detailed view of the rule structure behind packet filtering.
iptables is useful because it helps you understand chains, rules, policies, interfaces, ports, and connection states. Even if you later use UFW or nftables, learning iptables improves your understanding of Linux server security.
The original tutorial proceeds by disabling UFW and configuring the firewall directly through iptables. The goal is to build a reasonable, extensible framework rather than blindly copying a single command.
2. Initial iptables Setup Strategy
A firewall can be configured in two broad ways. The first approach is to allow most traffic and block only known unwanted traffic. The second approach is to define allowed traffic and block everything else. For cloud servers and production-like systems, the second approach is usually safer because it reduces accidental exposure.
However, restrictive firewall rules can also lock you out of your own server. Before applying strict rules, always make sure SSH access is allowed and that you have a recovery method from the hosting console or virtual machine interface.
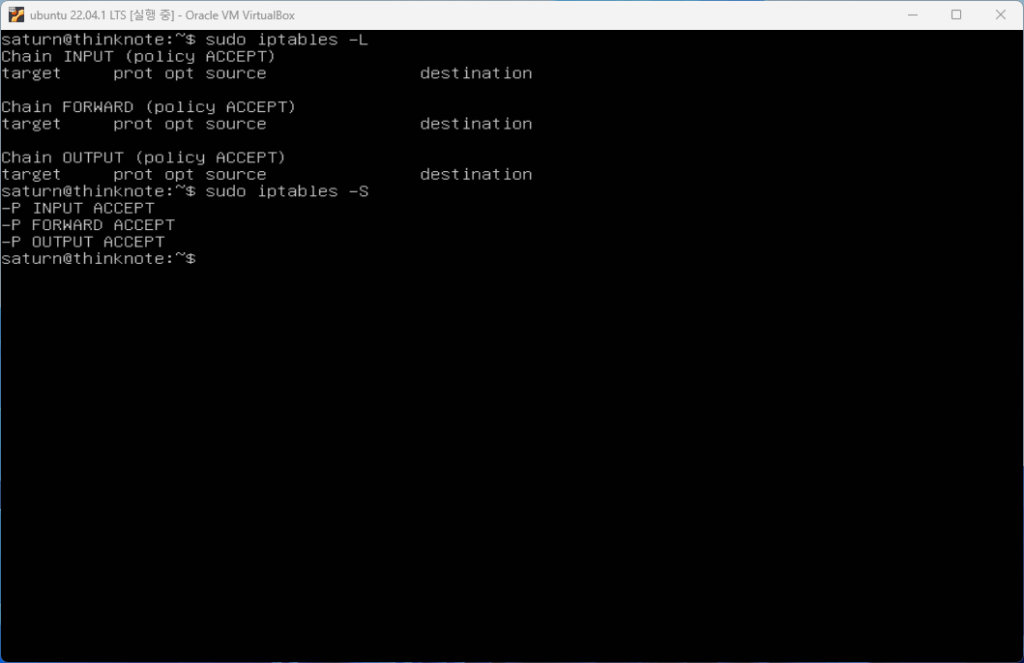
1) Check current iptables rules
Before changing anything, check the current rules. The original article explains that the -L option lists rules in chains, while the -S option prints rules in a format closer to commands. Both are useful.
The basic chains include INPUT, OUTPUT, and FORWARD. INPUT applies to packets coming into the local server. OUTPUT applies to packets leaving the server. FORWARD applies to packets routed through the server rather than delivered locally.
Other chains such as PREROUTING and POSTROUTING appear in routing and NAT contexts. PREROUTING processes packets before routing decisions. POSTROUTING processes packets after routing decisions and before packets leave through network hardware.
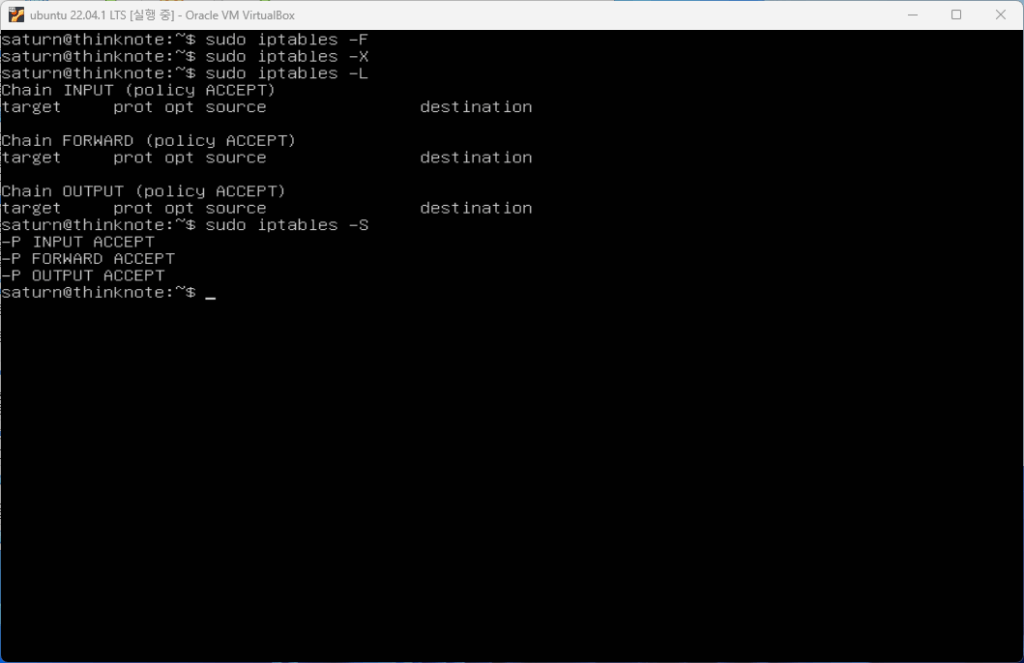
2) Flush existing rules carefully
The original tutorial shows how to remove existing rules with options such as -F and -X. The -F option flushes rules from chains, while -X deletes user-defined chains.
This is useful in a learning environment or clean setup, but it must be used carefully on a remote server. If you remove rules and then apply a default drop policy without allowing SSH, you may lose access.
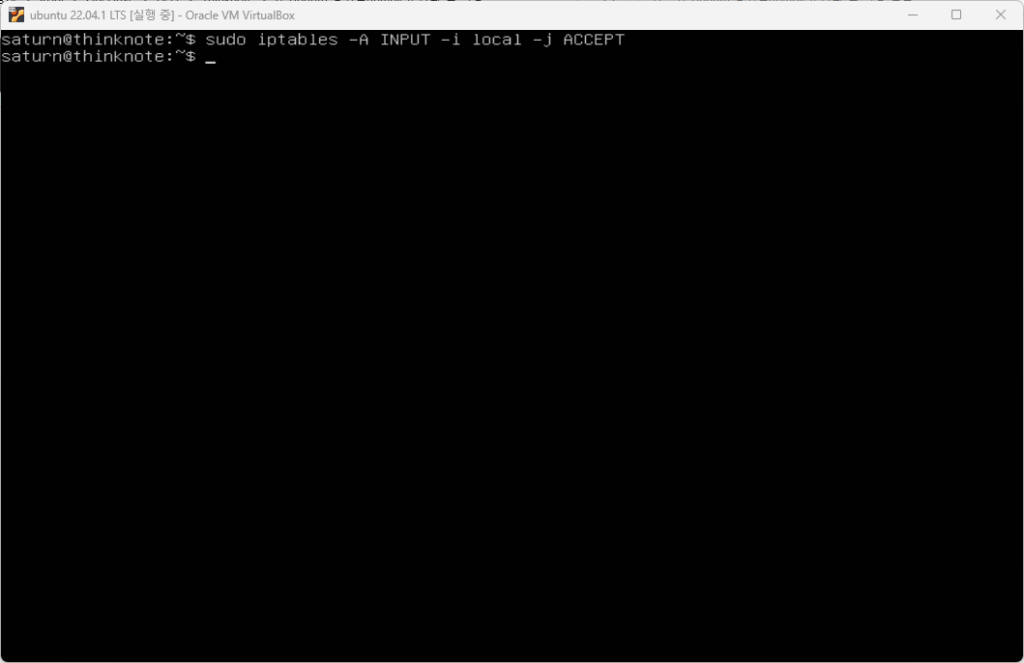
3) Add loopback and local traffic rules
Local loopback traffic should normally be allowed. The loopback interface is used by services on the same machine to communicate internally. Blocking it can break software that expects local connections to work.
iptables rules can be appended with -A, and interfaces can be specified with -i. This allows administrators to distinguish local loopback traffic from external network traffic.
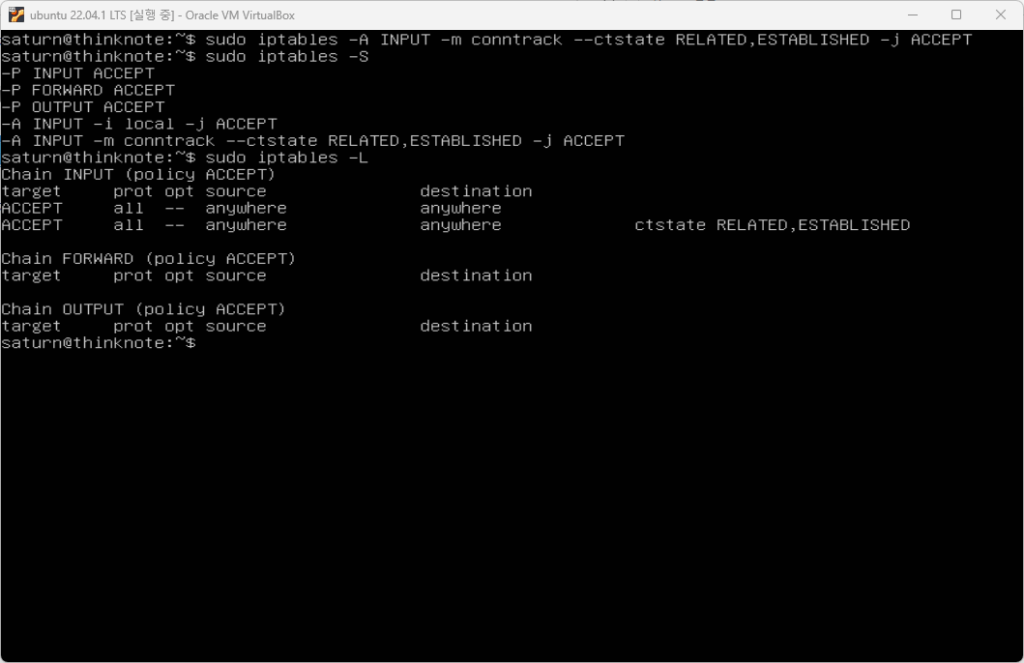
4) Add inbound traffic rules
To begin using iptables safely, add allowed inbound rules for required services. For example, a server may need SSH, HTTP, HTTPS, or application-specific ports. The original article also highlights connection states such as RELATED and ESTABLISHED.
Allowing established connections means that replies to already-approved connections can continue. This is important because server communication is not only about new inbound requests; it also includes packets that belong to existing sessions.
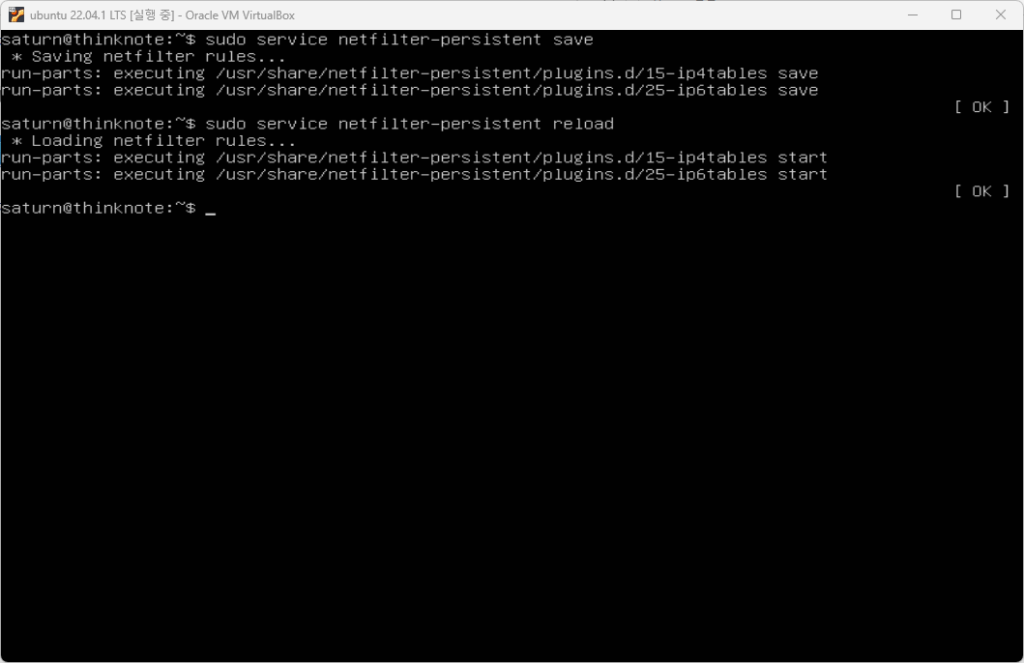
5) Save and restart rules
Adding rules in a session does not automatically make them persistent after reboot. The original article explains the need to save changes and reload or restart related services. On Ubuntu systems, tools such as netfilter-persistent can be used to save, reload, restart, start, stop, or flush persistent rules.
A good practice is to save rules only after confirming that SSH and required services still work. After saving, reboot or reload in a controlled way and verify the active rules again.
3. Basic iptables Command Forms
The source article lists common command forms. Administrators use -A to append rules, -I to insert rules at a specific position, -R to replace rules, -D to delete rules, -L to list rules, -S to print rules, -F to flush chains, -N to create a chain, -X to delete a chain, -E to rename a chain, and -P to set a default policy.
These options matter because rule order matters. A packet is checked against rules in sequence. If an early rule matches, later rules may not be evaluated in the way a beginner expects. This is why inserting, replacing, and listing rules are daily administration tasks.
4. Common iptables Options and Rule Management
The original article includes command options such as append, check, delete, insert, replace, list, list-rules, flush, zero counters, new chain, delete chain, policy, protocol, source, destination, input interface, output interface, jump target, and match extensions.
For practical server work, you should understand at least five ideas: what chain the rule belongs to, what protocol it matches, what source or destination it applies to, what port it affects, and what target action it takes. A target may accept, drop, reject, or jump to another chain.
5. Ports, SSH, and Web Server Access
The tutorial connects iptables to port usage. SSH commonly uses port 22 unless changed. Web servers commonly use port 80 for HTTP and 443 for HTTPS. Database and internal service ports should usually not be exposed publicly unless there is a specific reason and additional protection.
A safe firewall mindset is minimal exposure. Open only what the server needs. Document why each port is open. Recheck rules after installing services such as Nginx, PHP, Redis, or database tools.
Practical Safety Checklist
Before applying iptables rules on a remote Ubuntu server, check the current rules, confirm SSH access, allow loopback traffic, allow established connections, open required service ports, apply rules gradually, save only after verification, and keep a recovery path available.
iptables can look complex at first, but it becomes manageable when treated as a structured decision table for network traffic. The value of the original article is that it walks through the mindset and command categories needed for real server operation.
Related Reading
Continue with these related Thinknote English articles in the Server & Infrastructure cluster.
- Nextcloud installation and settings
- Install memory caching APCu, Redis, Memcached
- Free HTTPS setup (Let’s Encrypt, Cloudflare)
- Install OpenSSL
- Installing and managing MariaDB (MySQL)
- Setting up Nginx + Php8
FAQ
What is this article about?
This article is part of Thinknote’s English server and infrastructure archive. It focuses on practical Linux, Ubuntu, web-server, database, SSH, firewall, or hosting operations that readers can adapt to their own environment.
How should I use this guide?
Use it as a practical checklist and concept guide. Before applying commands on a live server, verify package names, OS versions, ports, and backup requirements for your own setup.
Where can I read the original Korean article?
The original Korean article is available here: Ubuntu iptables Firewall Management: Practical Setup and Commands.