Advantages of Linux
Linux is an operating system like Windows. Linux has a modular design and has various distribution versions. Linux has many advantages, the biggest advantage of which is that it is an open source operating system that anyone can use for free. If you have an old PC or laptop lying dormant at home, you can build an excellent server to run as a web server.
Original Korean article: How to Install CentOS 8: Download and Basic Server Setup Guide
Linux type
There are several different distributions of Linux, and the number reaches hundreds. Android developed by Google is also a Linux distribution. Representative distributions include CentoOS, Debian, Fedora, and Ubuntu.
- Ubuntu is the most widely used desktop operating system following Windows and Mac OS and was developed based on the Debian distribution.
- Centos is primarily used in enterprise and web servers and is developed based on Red Hat Enterprise Distro, a free enterprise-level operating system.
CentOS Linux, developed based on Red Hat Enterprise Linux (RHEL), ended support in 2021 and was changed to CentOS Stream. CentOS Stream can be viewed as RHEL’s upstream (development) operating system.

Download Centos 8
When you access the Centos download page, it is divided into two categories: Centos Linux and CentOS Stream. https://www.centos.org/download/
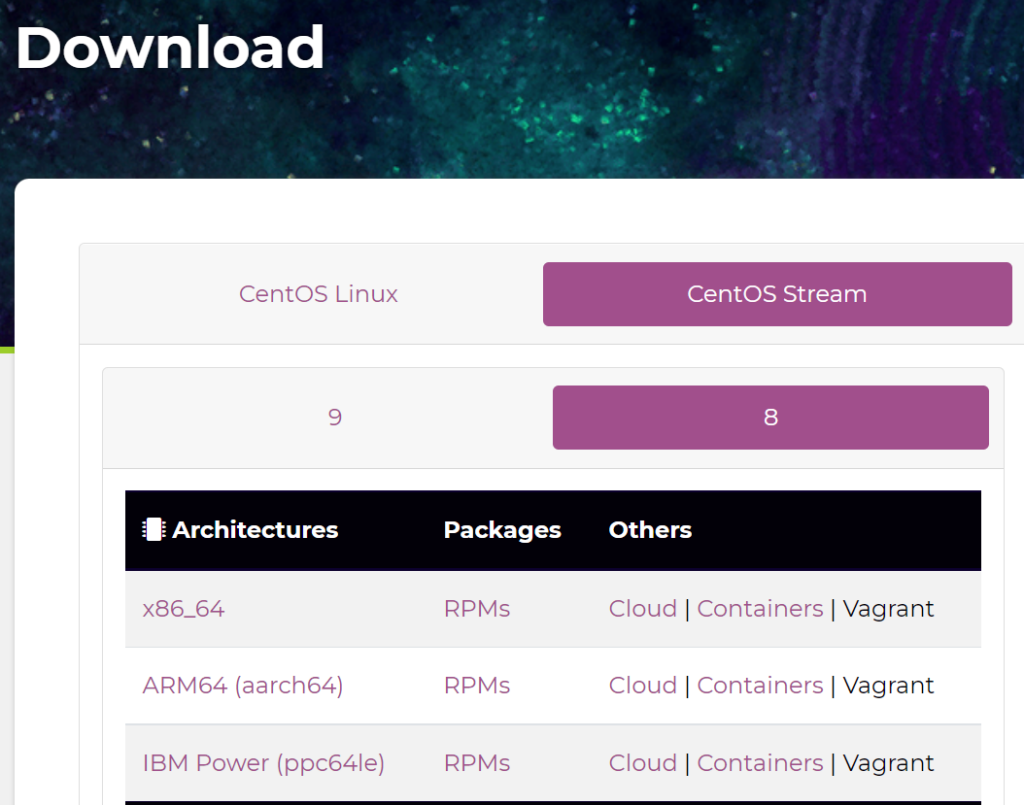
So the download link is different for Architectures. The difference lies in the technology used to manufacture the processor, with smartphone systems using ARM technology and computers using x86 technology. To install on a PC, download x86_64 of CentOS 8 Stream.
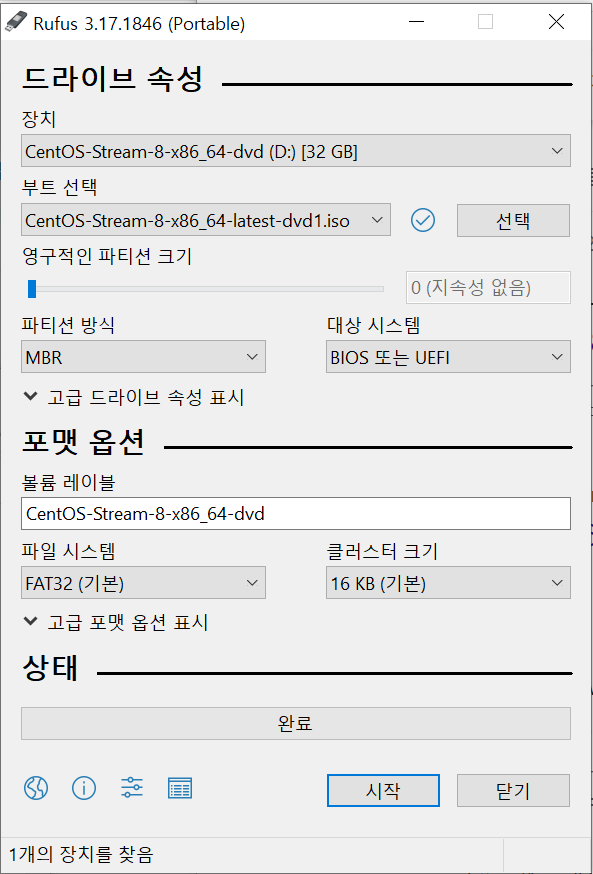
Creating a boot disk with Refus
Create a boot disk using the downloaded USB.
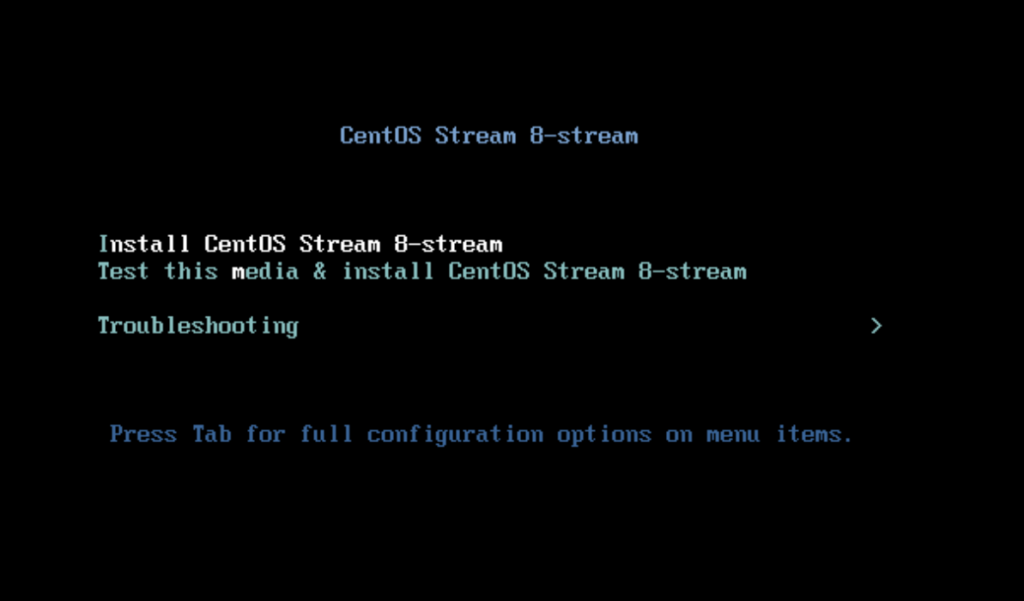
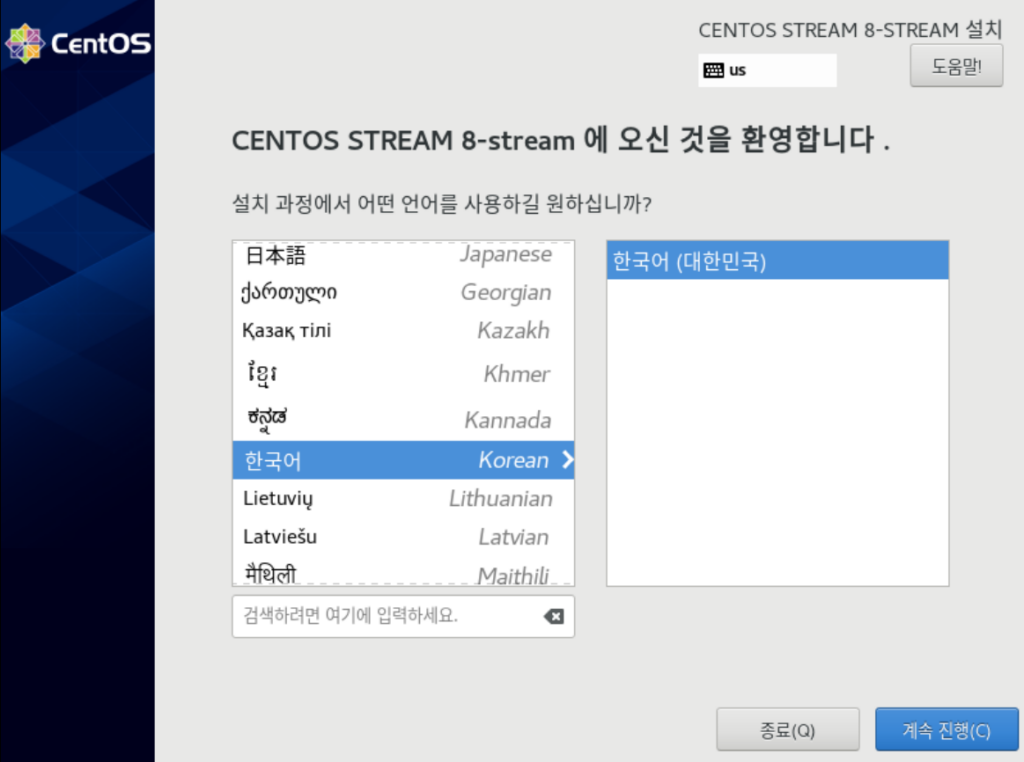
Start Centos installation
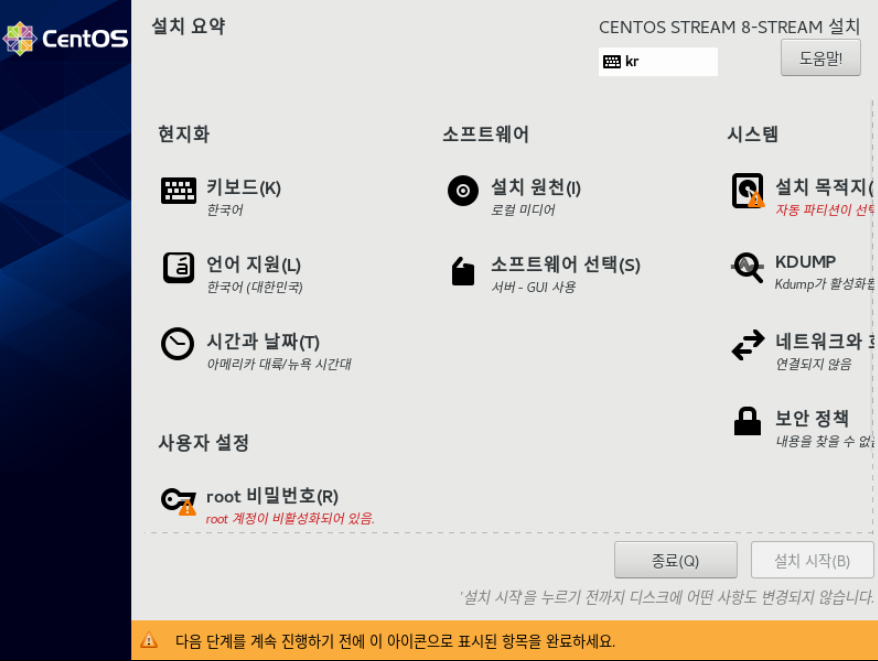
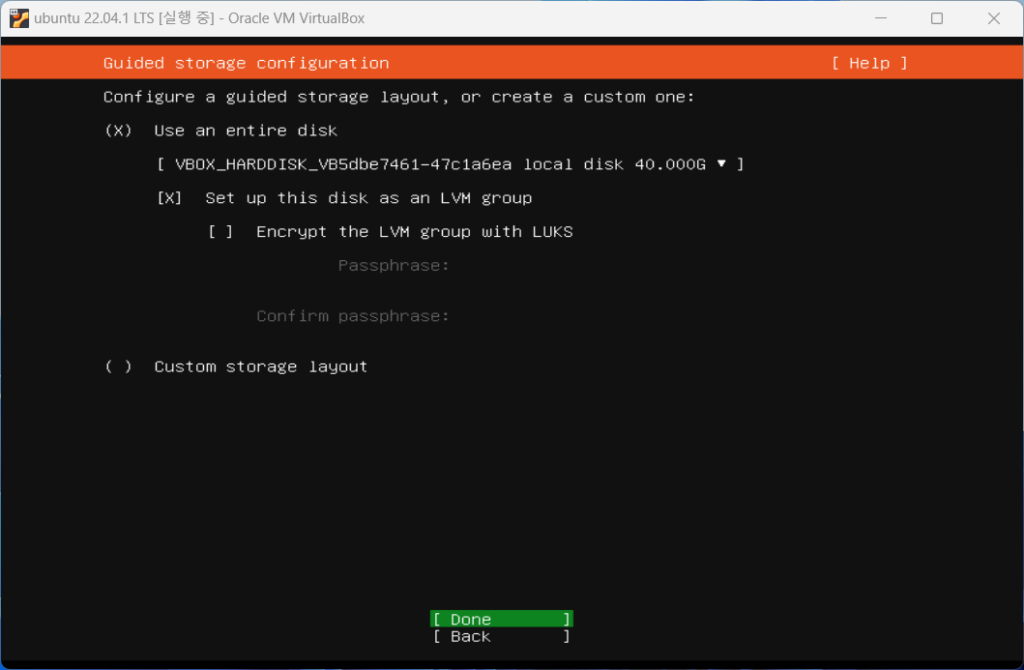
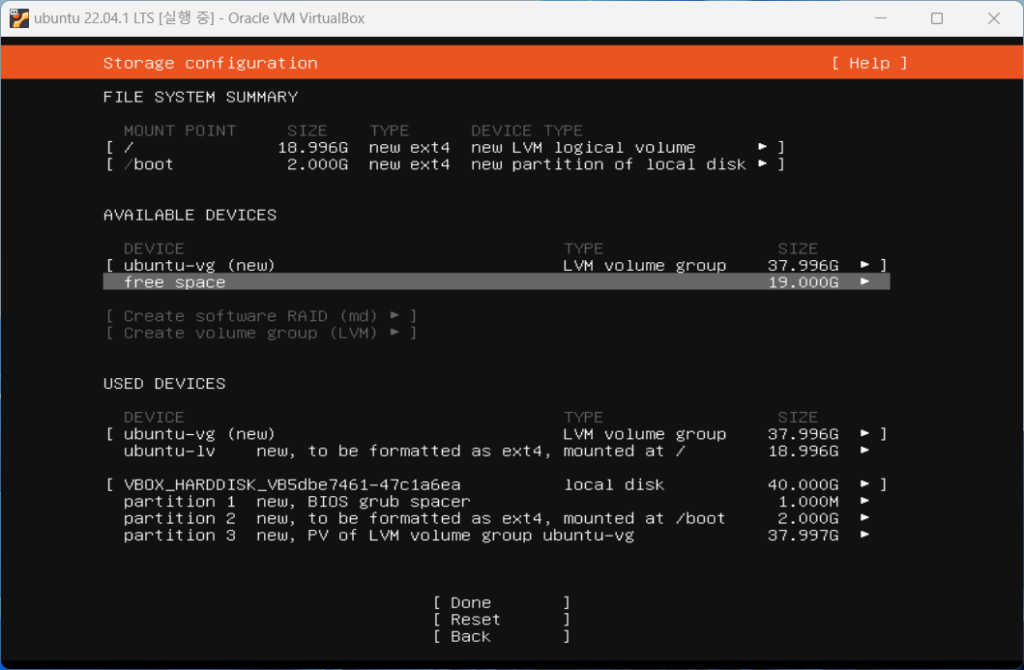
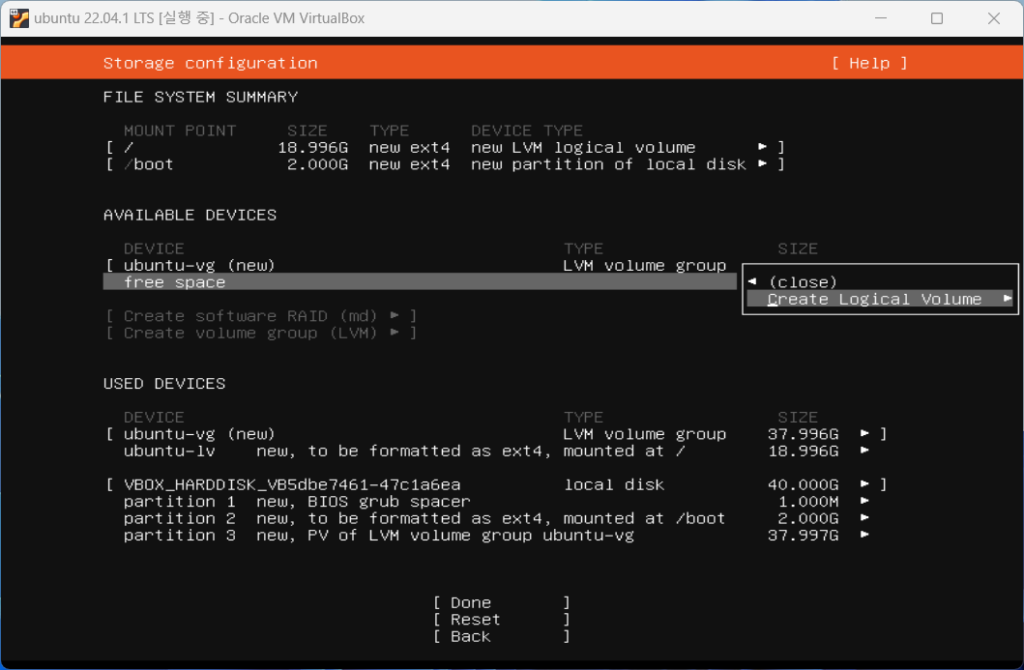
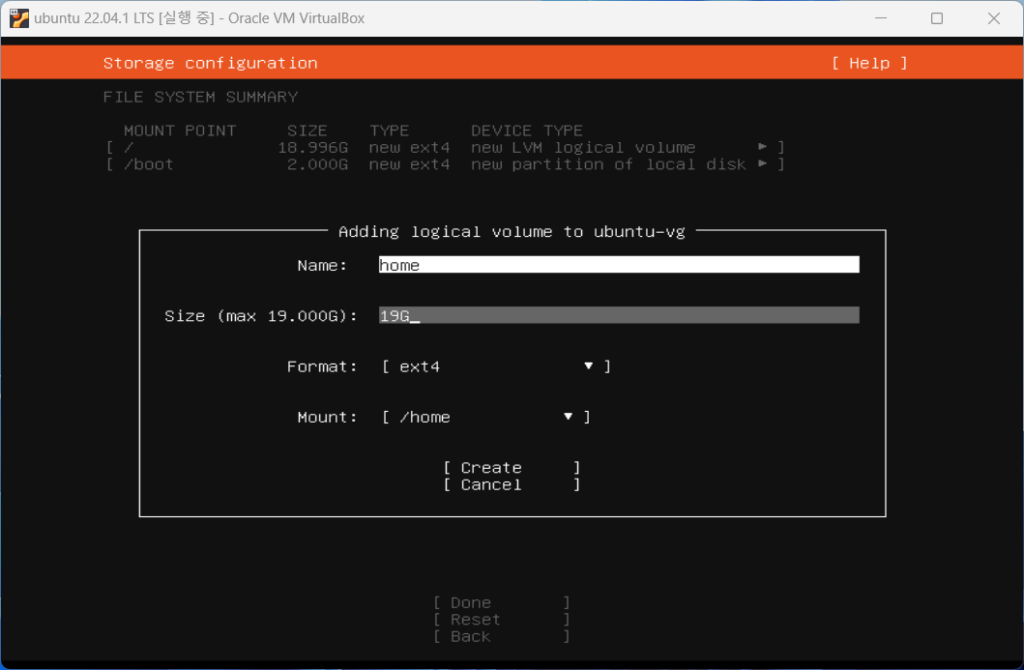
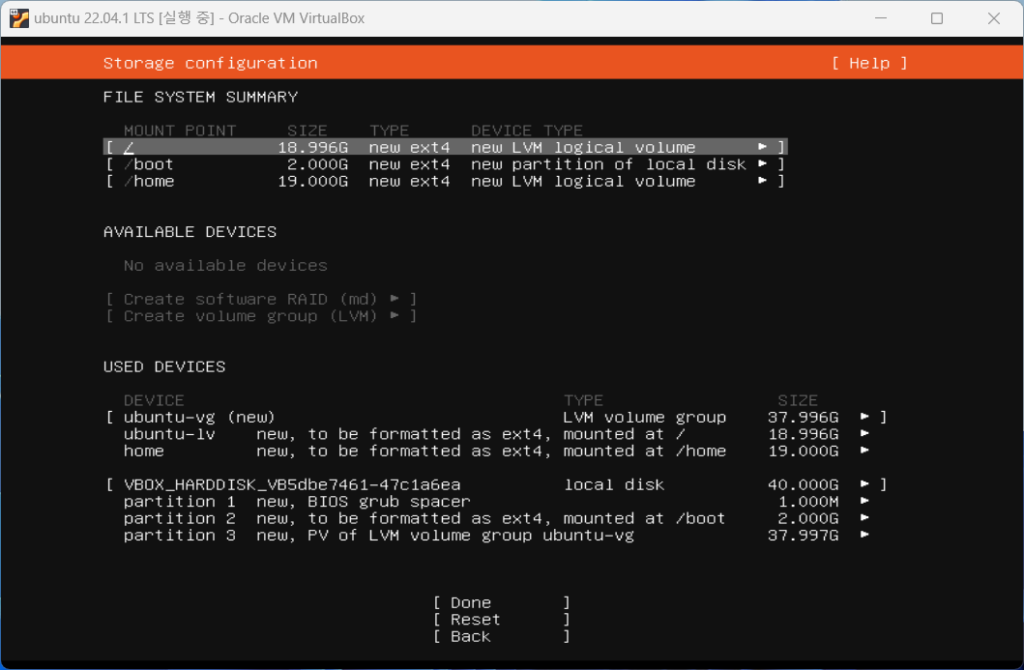
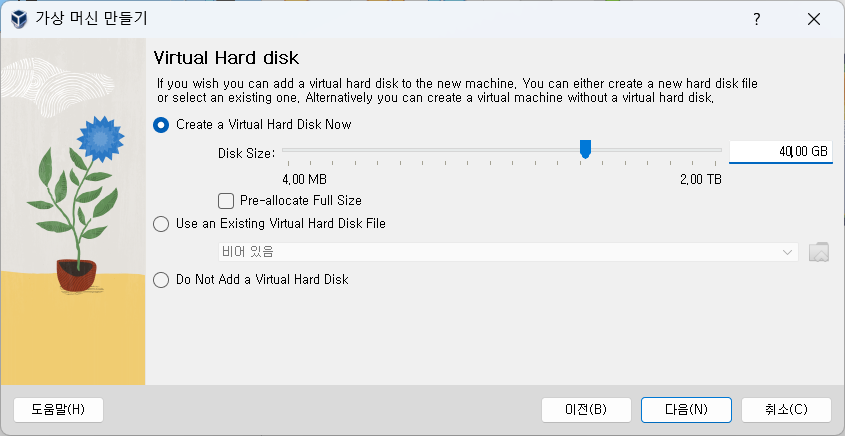
- When setting up a partition in disk settings, you can set the disk capacity according to the mount location or automatically create a partition.
- /: root directory, the highest level directory in Linux
- /home: This is the general user directory of the system. When the administrator creates a user, it is created under this directory.
- /var: Directories that must be divided include spooling files (spool), mail files (mail), and log files (log).
- SWAP: A virtual memory function that allows you to use more memory than the actual memory of the system installing Linux. Usually set to twice the installed memory.
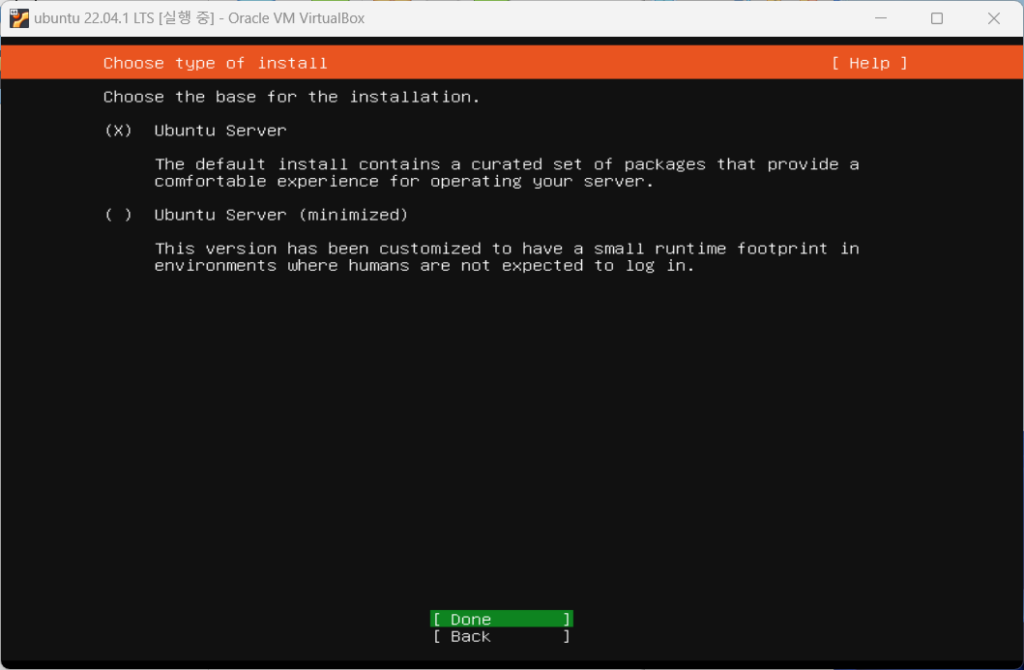
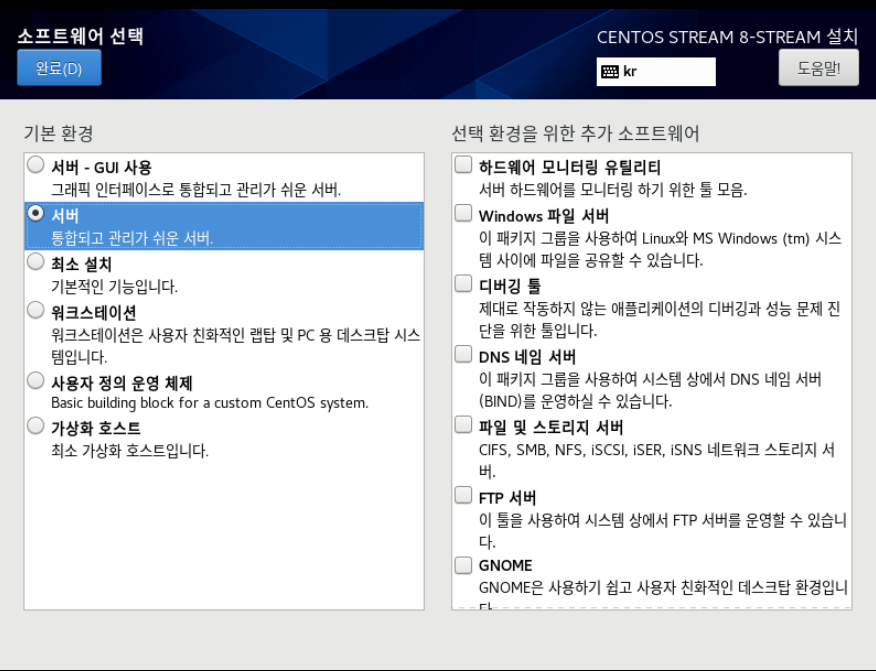
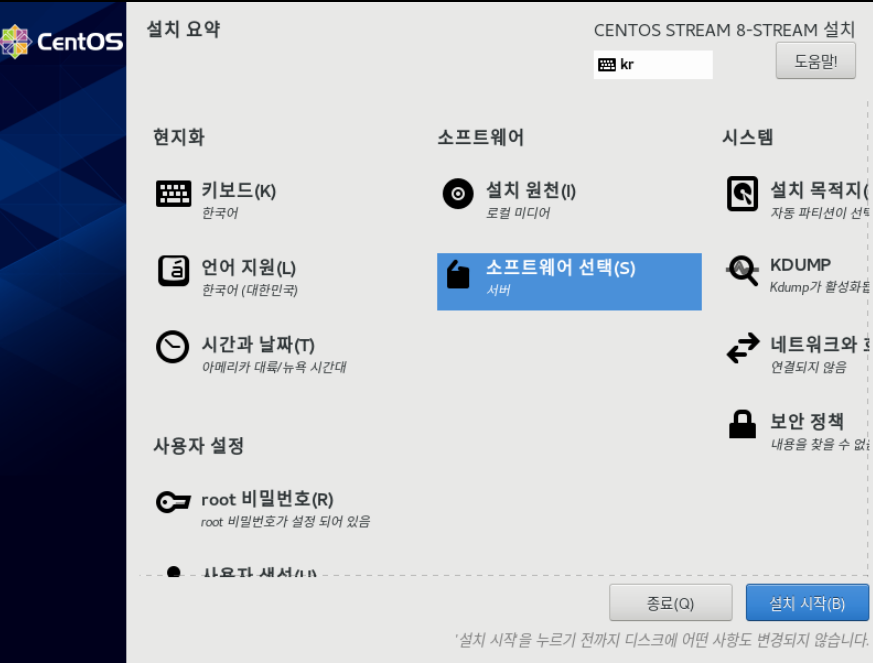
Software selection selects the second server and no additional software.
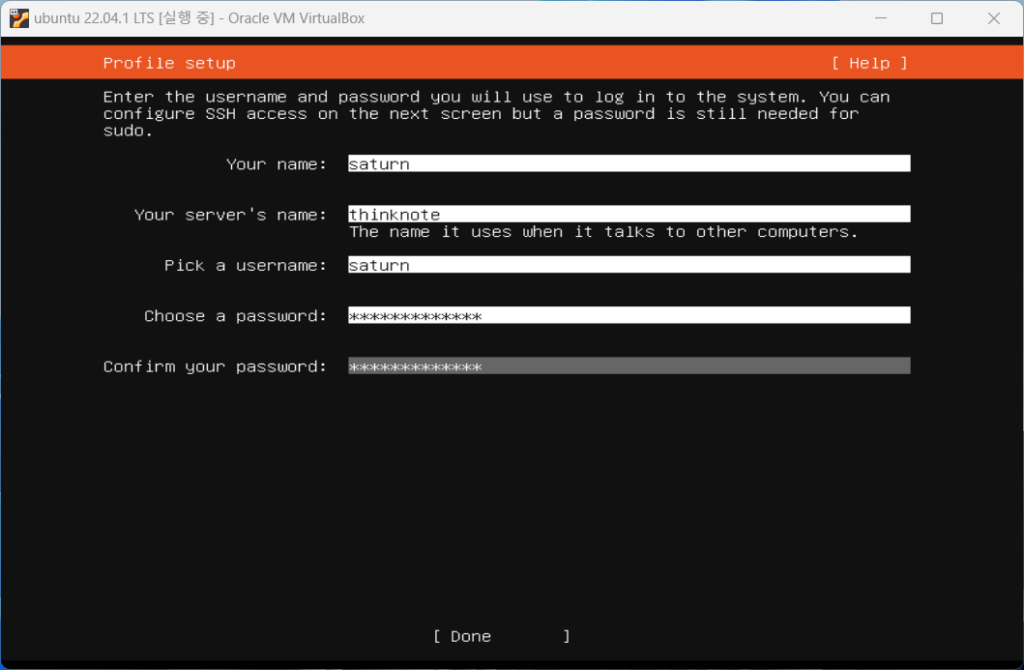
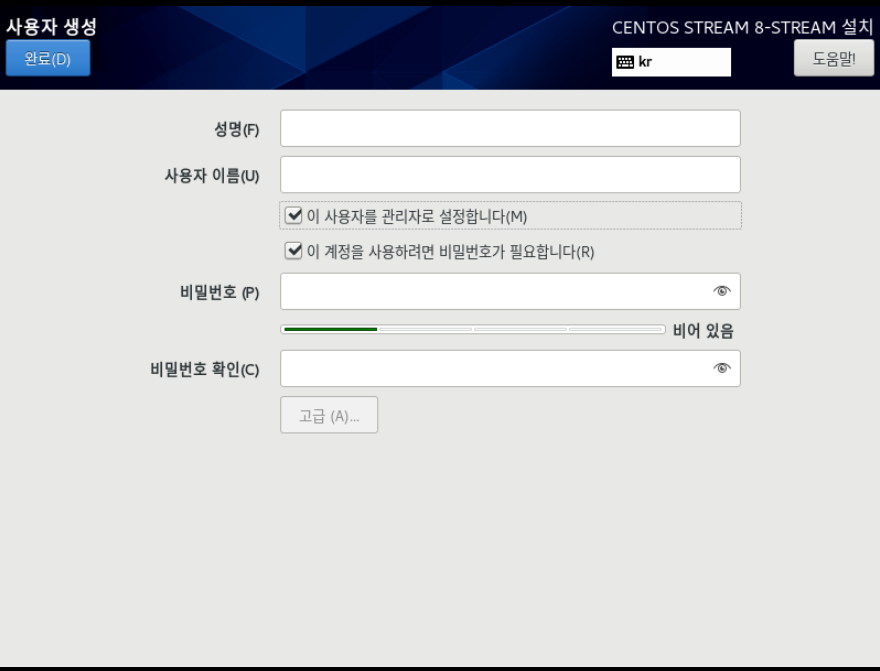
When creating a user, check ‘Set this user as an administrator’ to allow root access.
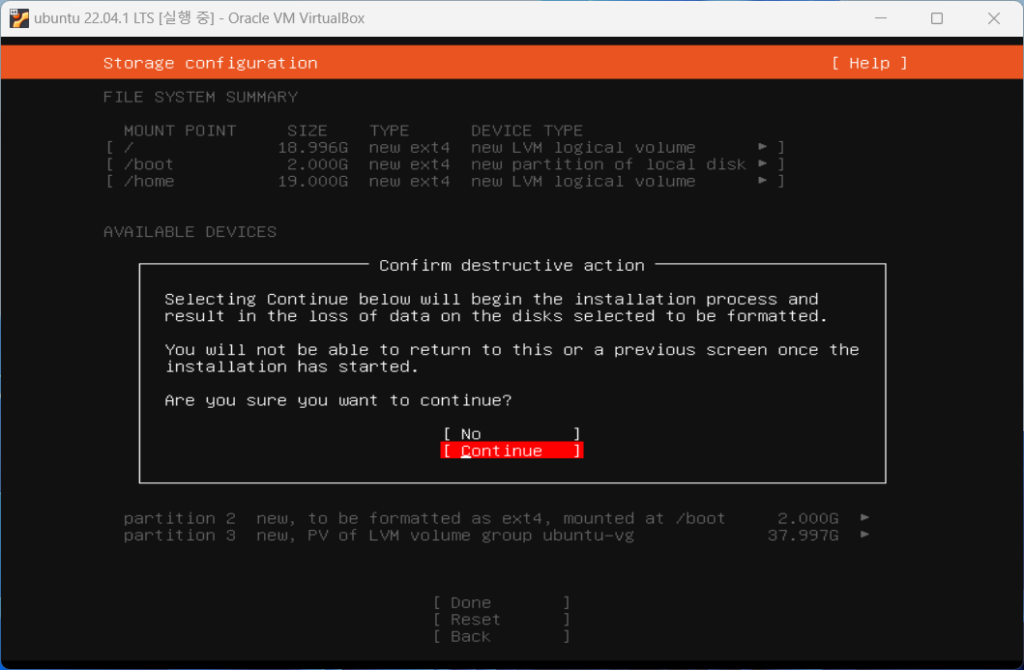
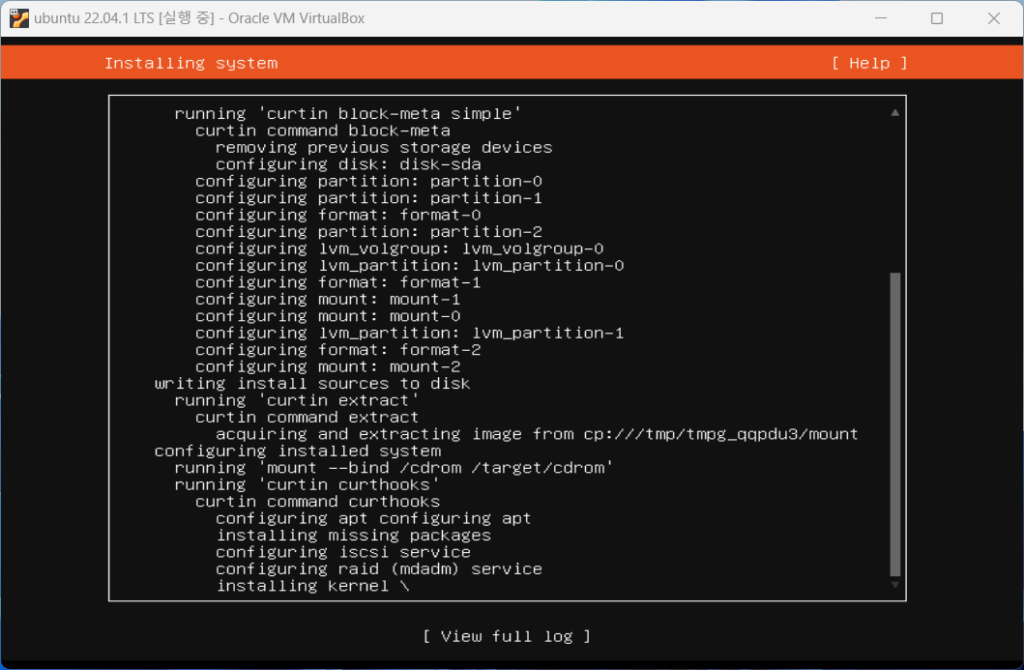
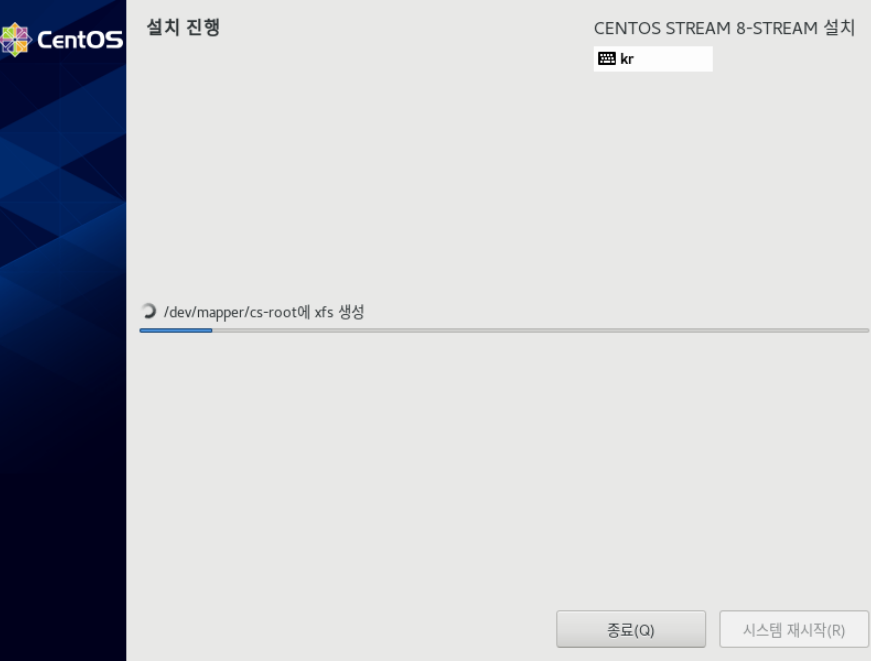
When the installation preparations are complete, the ‘Start Installation’ button becomes activated and clicking it starts the installation.
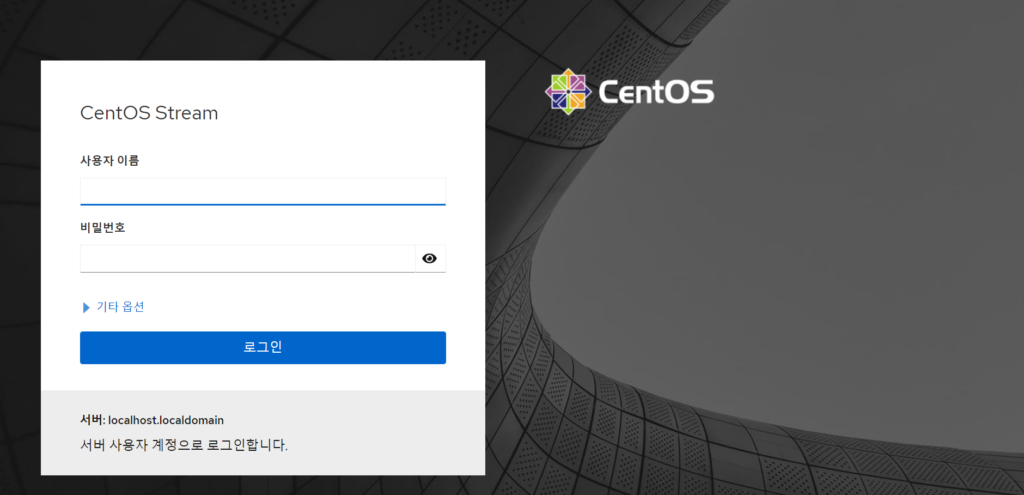
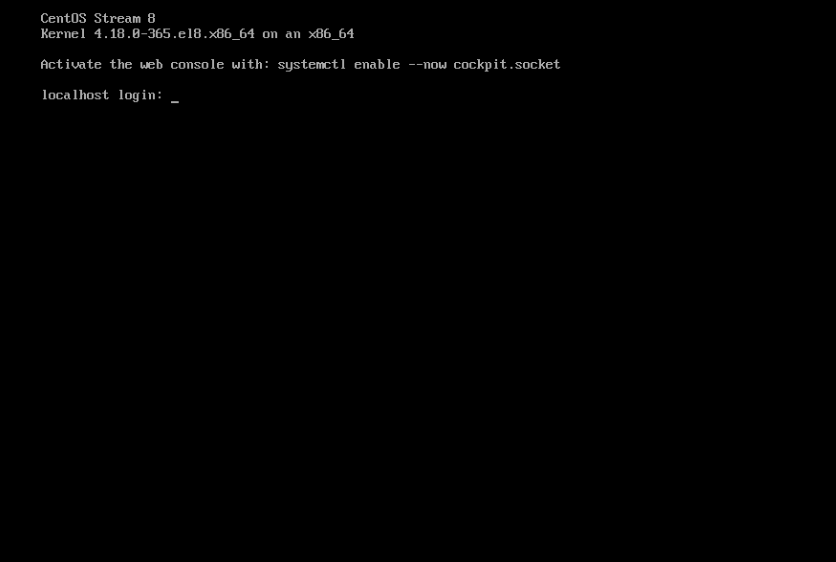
Just enter the ID/PW registered as a user.
Next post
Good article to read together
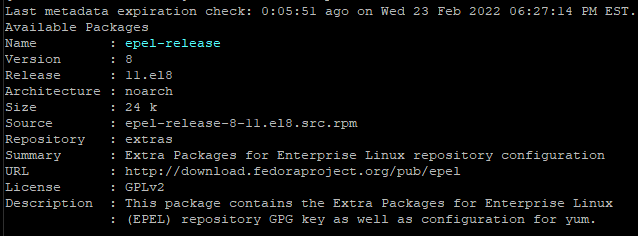
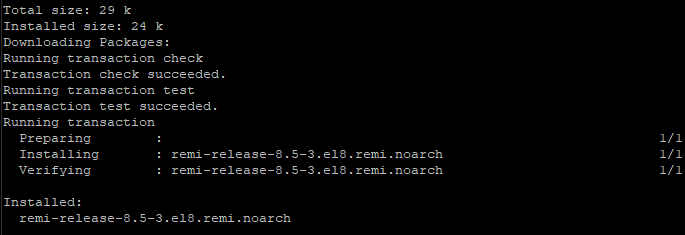
- Activate Centos 8 RHEL & REMI Repository
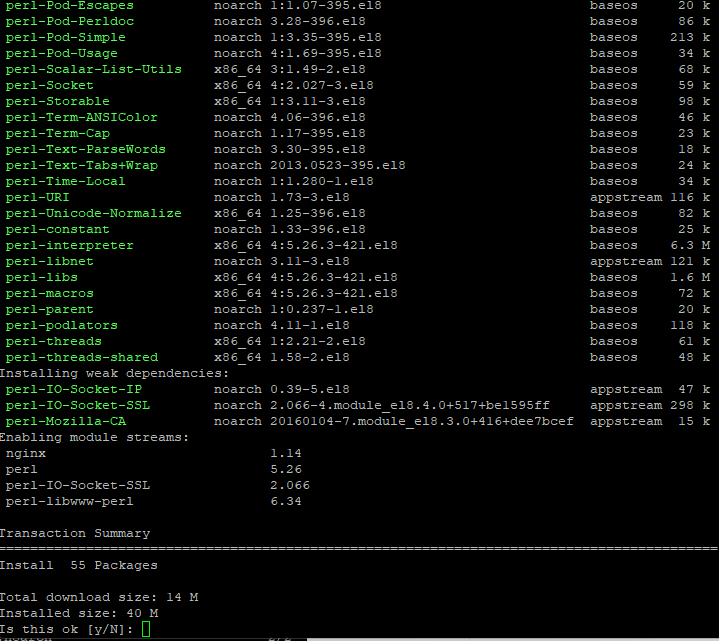
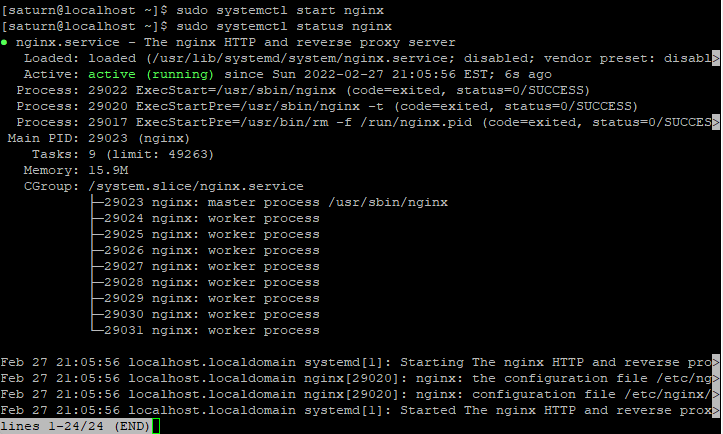
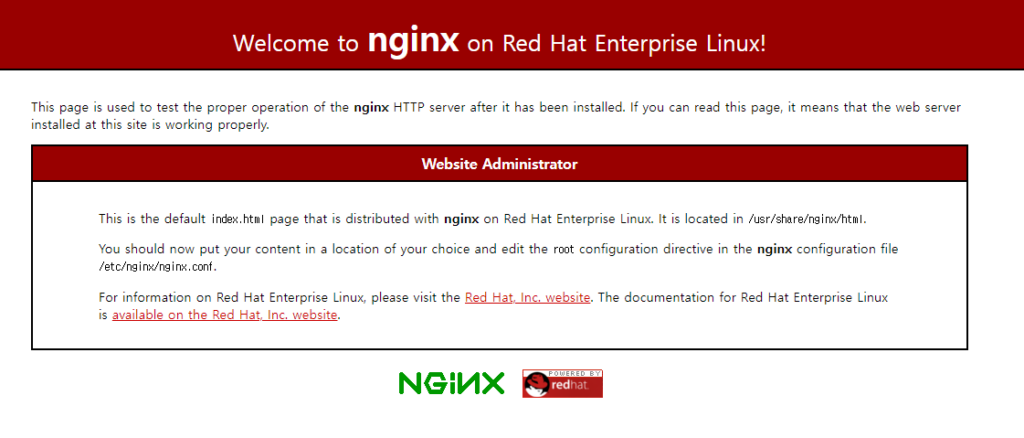
- Install Nginx web server (Centos 8)
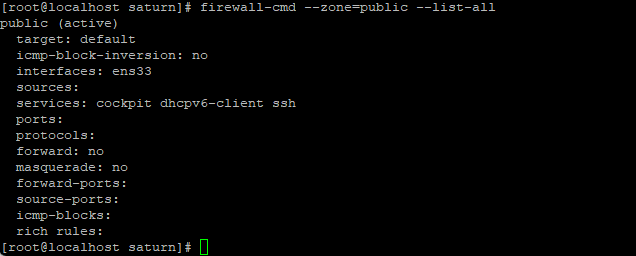
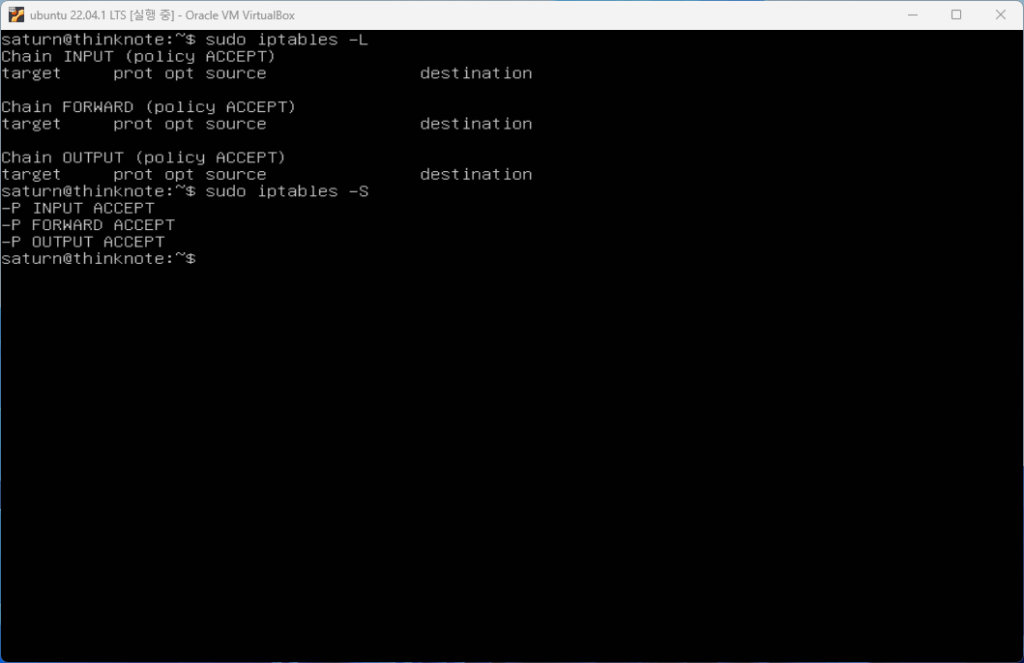
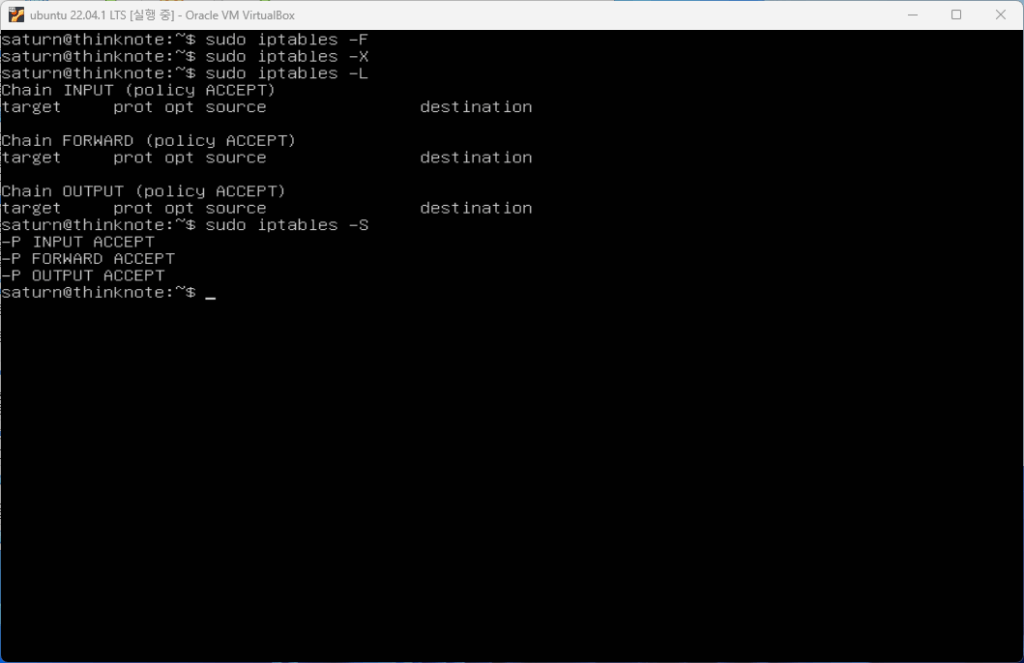
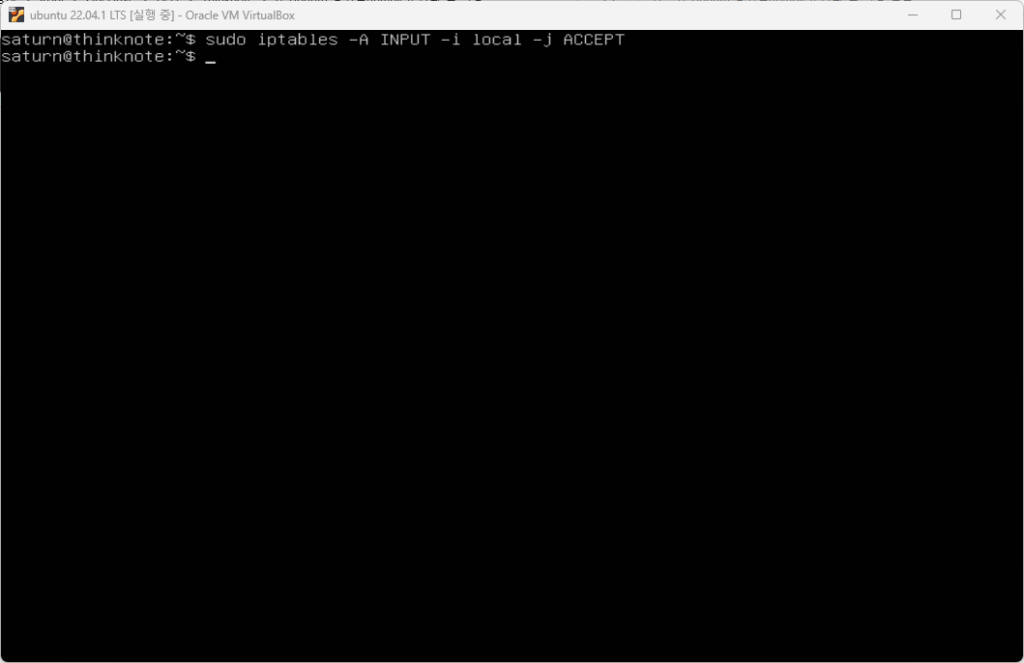
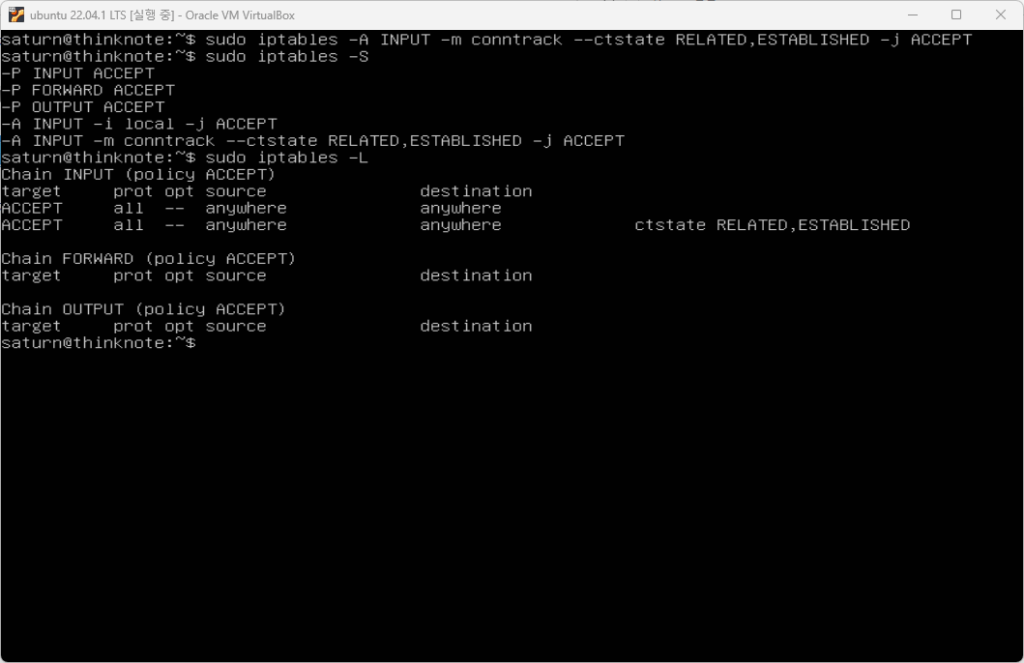
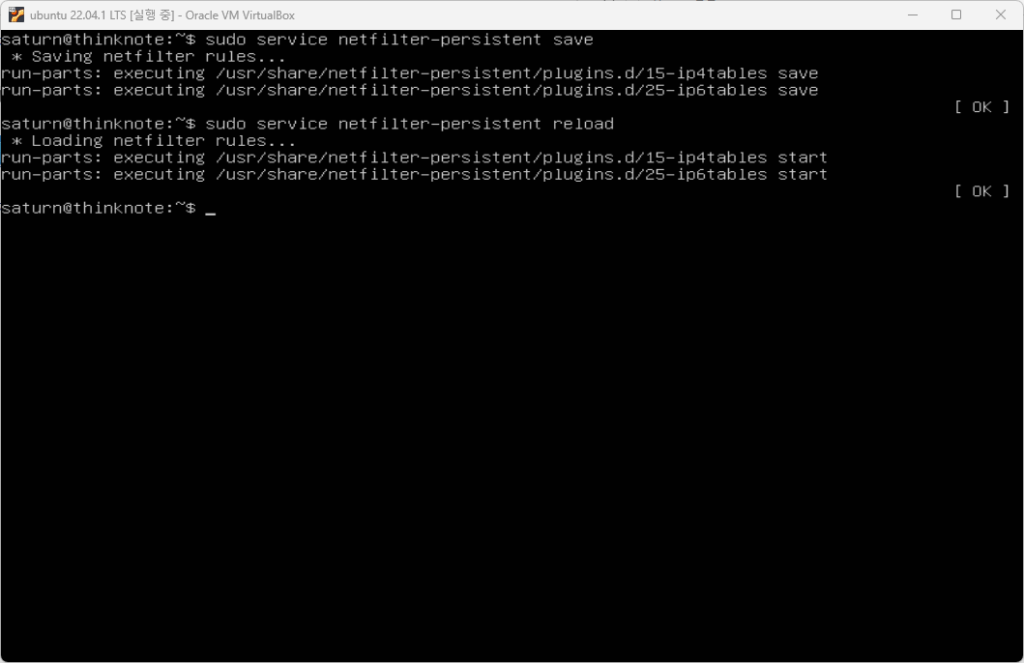
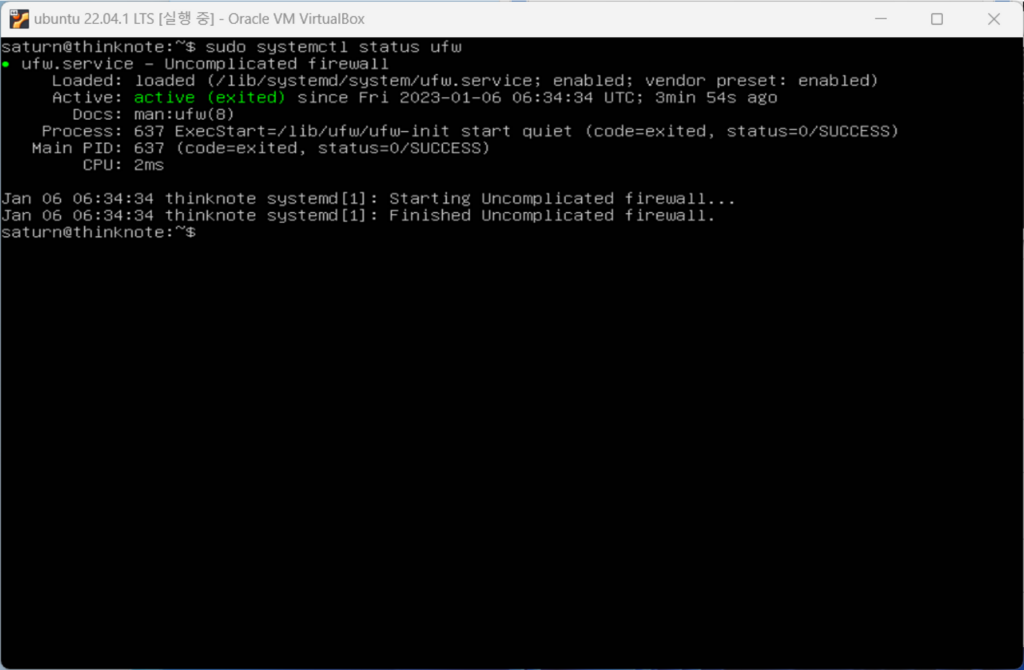
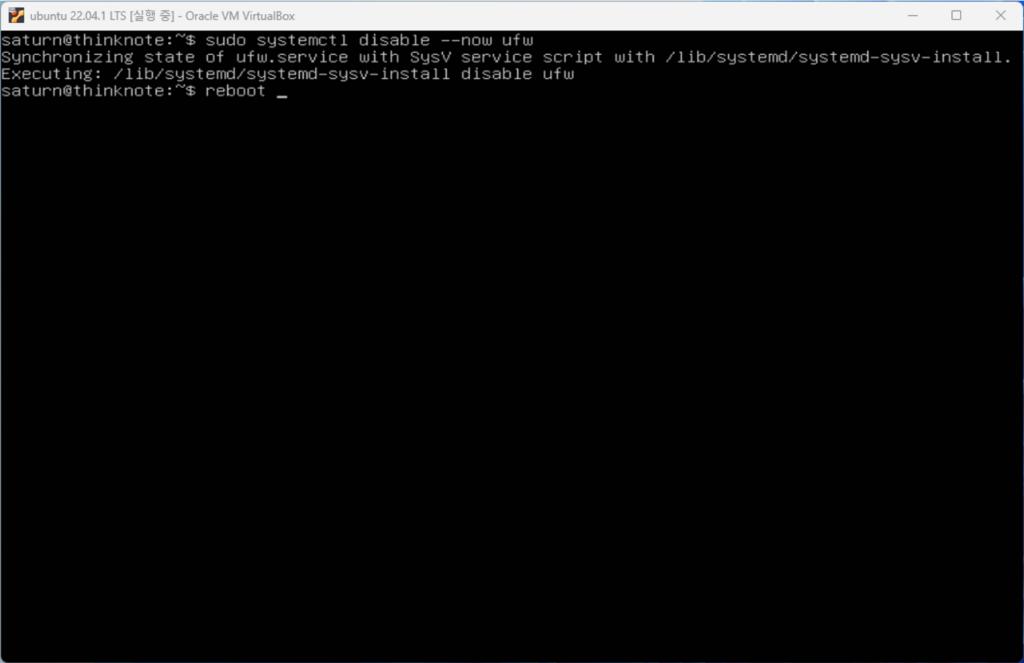
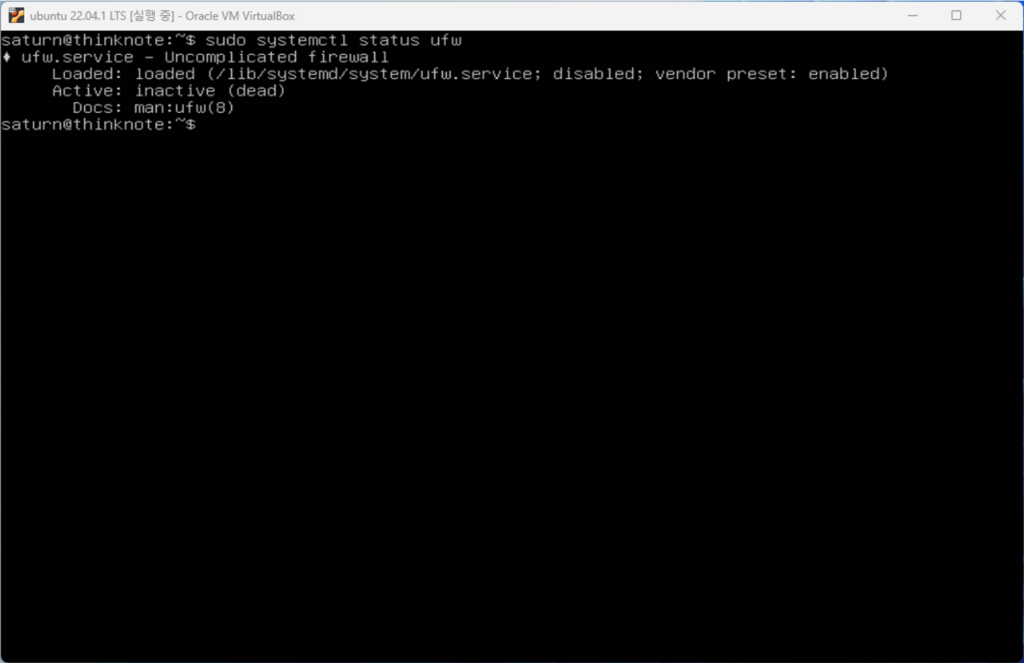
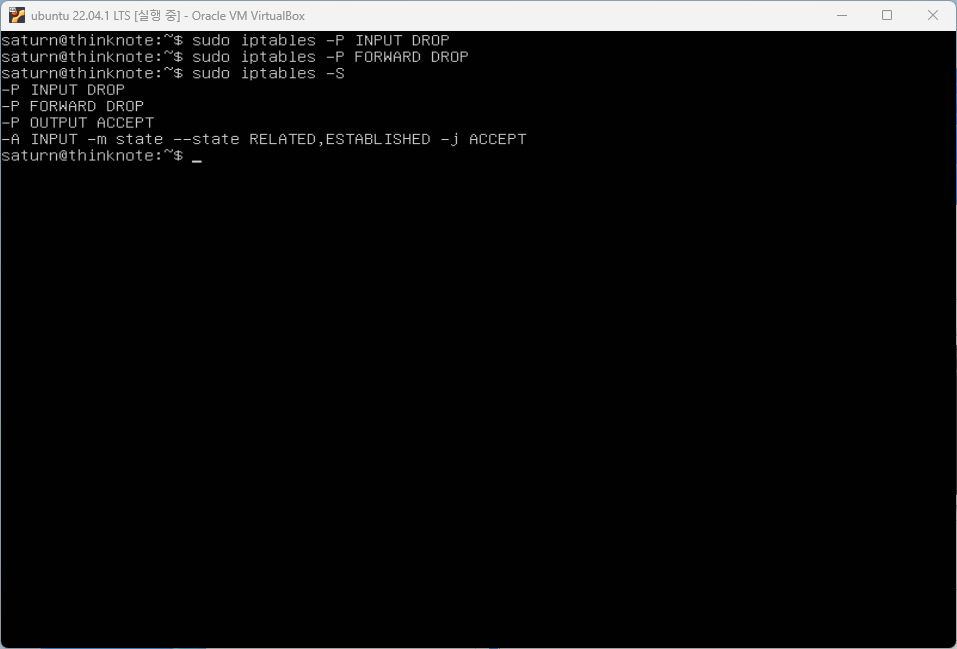
- firewall settings
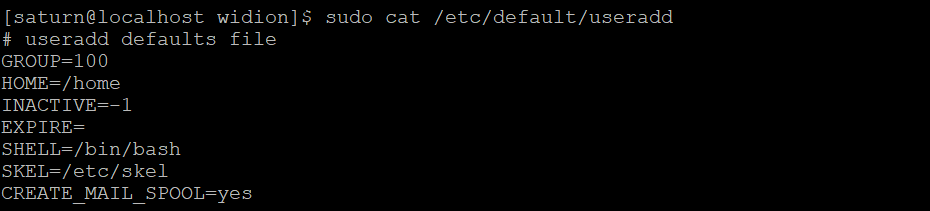
- Linux user management useradd usermod userdel
- Linux administrator tool – enable cockpit
Related Reading
Continue with these related Thinknote English articles in the Server & Infrastructure cluster.
- Nextcloud installation and settings
- Install memory caching APCu, Redis, Memcached
- Free HTTPS setup (Let’s Encrypt, Cloudflare)
- Install OpenSSL
- Installing and managing MariaDB (MySQL)
- Setting up Nginx + Php8
FAQ
What is this article about?
This article is part of Thinknote’s English server and infrastructure archive. It focuses on practical Linux, Ubuntu, web-server, database, SSH, firewall, or hosting operations that readers can adapt to their own environment.
How should I use this guide?
Use it as a practical checklist and concept guide. Before applying commands on a live server, verify package names, OS versions, ports, and backup requirements for your own setup.
Where can I read the original Korean article?
The original Korean article is available here: Original Korean article.