
Firewall covers installing and activating iptables as an important step in server security. A large part of firewall management involves determining the individual rules and policies that will apply traffic restrictions to your network.
Original Korean article: Install and enable Ubuntu firewall iptables
1. Understanding iptables firewall and preparing in advance
Ubuntu provides ufw as a default firewall, but iptables allows detailed management of the structural framework to which rules are applied.
First, stop using the ufw firewall and configure the firewall using the iptables package. iptables focuses on establishing a framework that provides reasonable defaults and encourages extensibility.
1) Advance preparation
Check the ufw firewall status and stop the firewall. If you followed along with the Ubuntu installation, the ufw firewall is active. At this time, if you enter the sudo ufw status command, it will display inactive. If you install iptables and do not disable the ufw firewall, a conflict will occur. Commands for managing services can be managed in the form of systemctl or [service name.service].
2) Check ufw status
sudo systemctl status ufw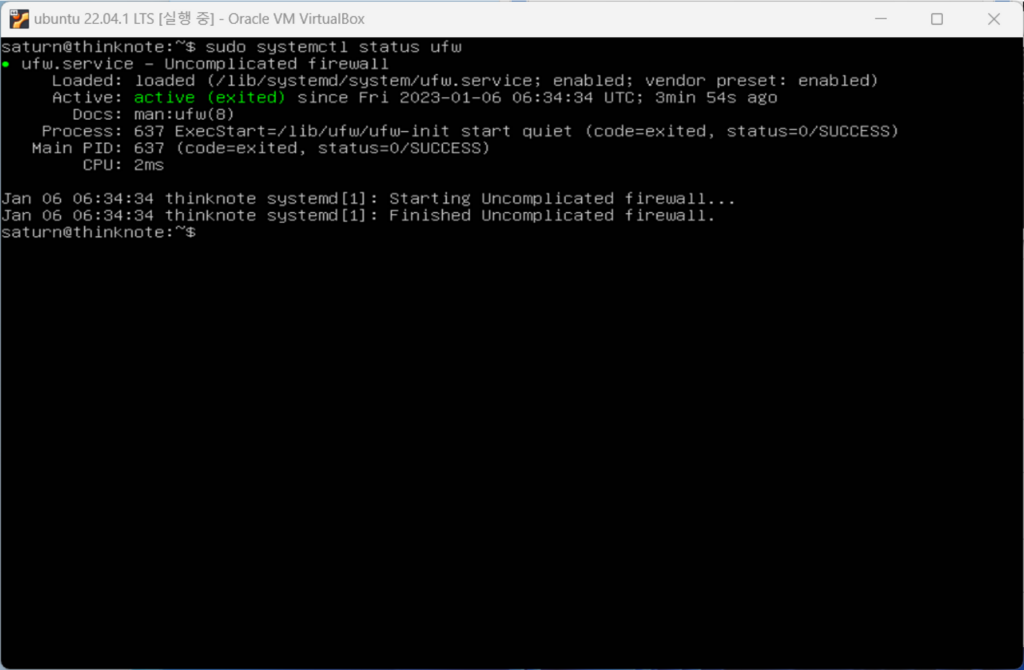
3) stop and disable ufw
You can utilize the stop command to stop a service, but stop does not affect startup activation. On the other hand, the disable command disables the service at startup, and adding the –now command takes effect immediately. Disable the ufw service with the command below and restart it with the reboot command.
sudo systemctl disable --now ufw
reboot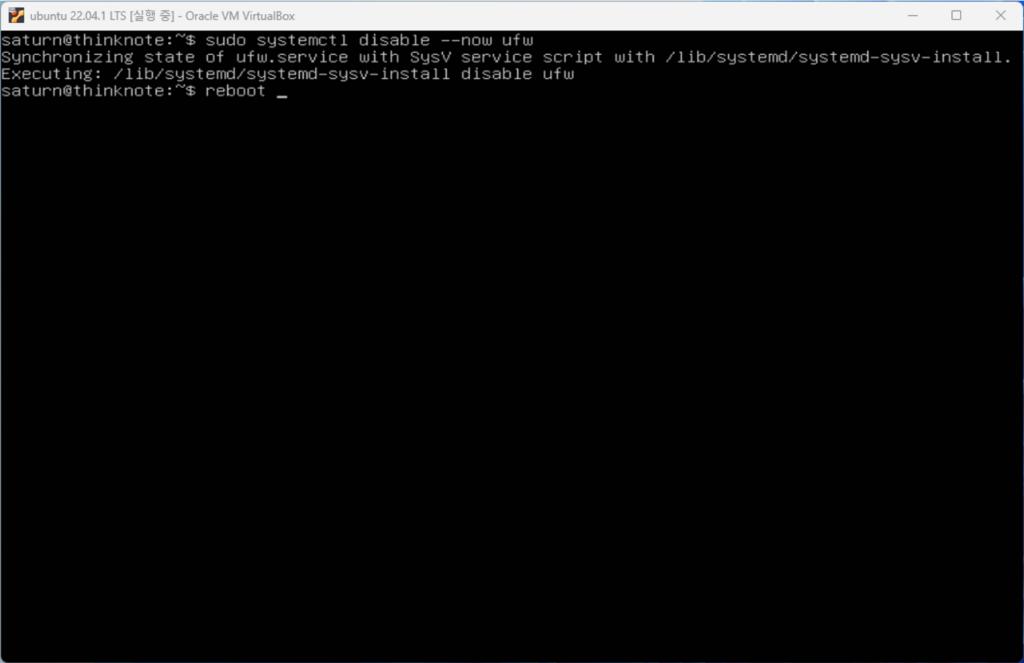
sudo systemctl status ufw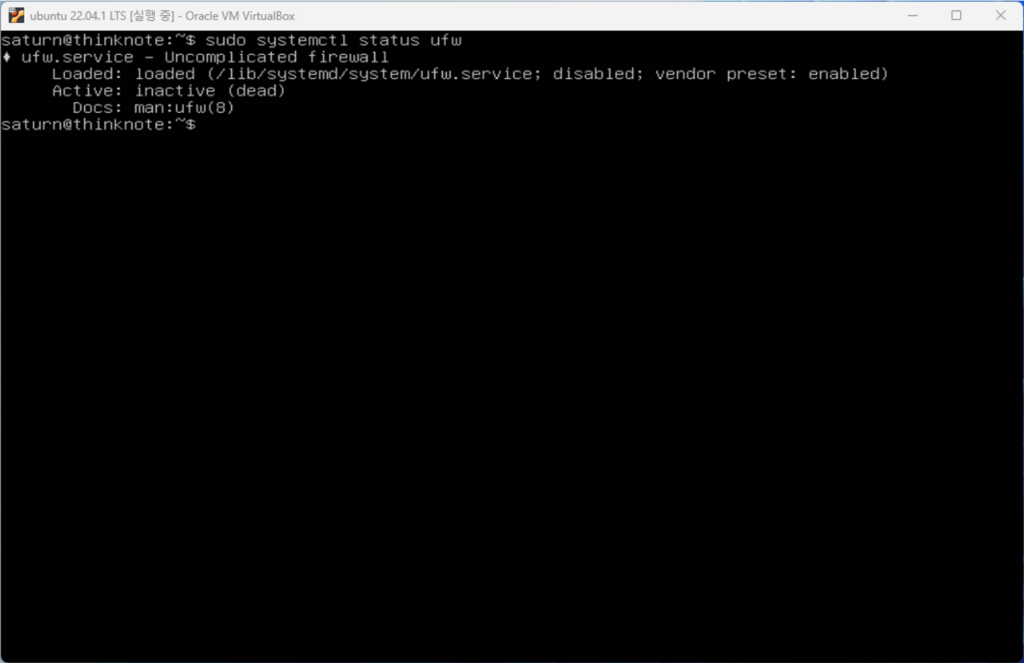
2. Check for iptables installation and activation issues
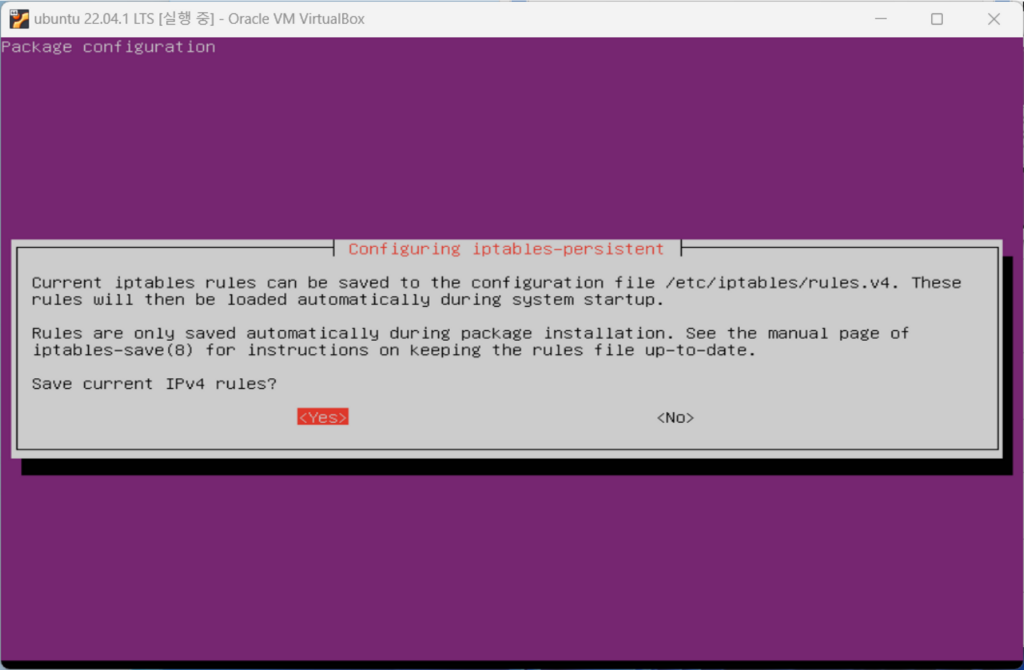
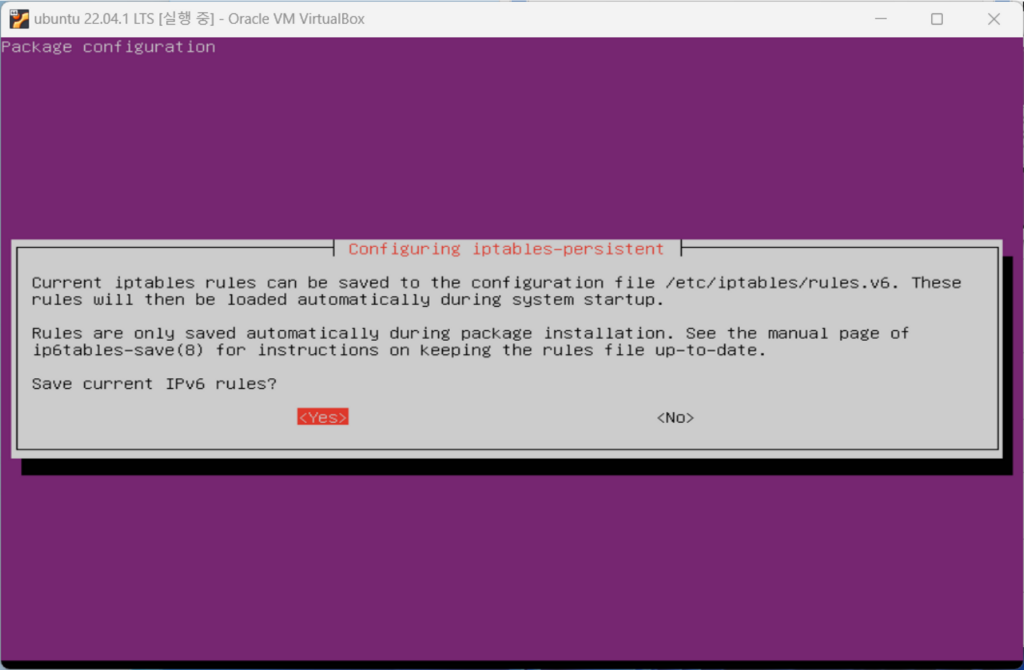
1) Install iptables (iptables-persistent)
If you have stopped ufw, install the iptables package. After installing Iptables, you can save your rule sets and have them automatically applied at boot.
sudo apt install iptables-persistent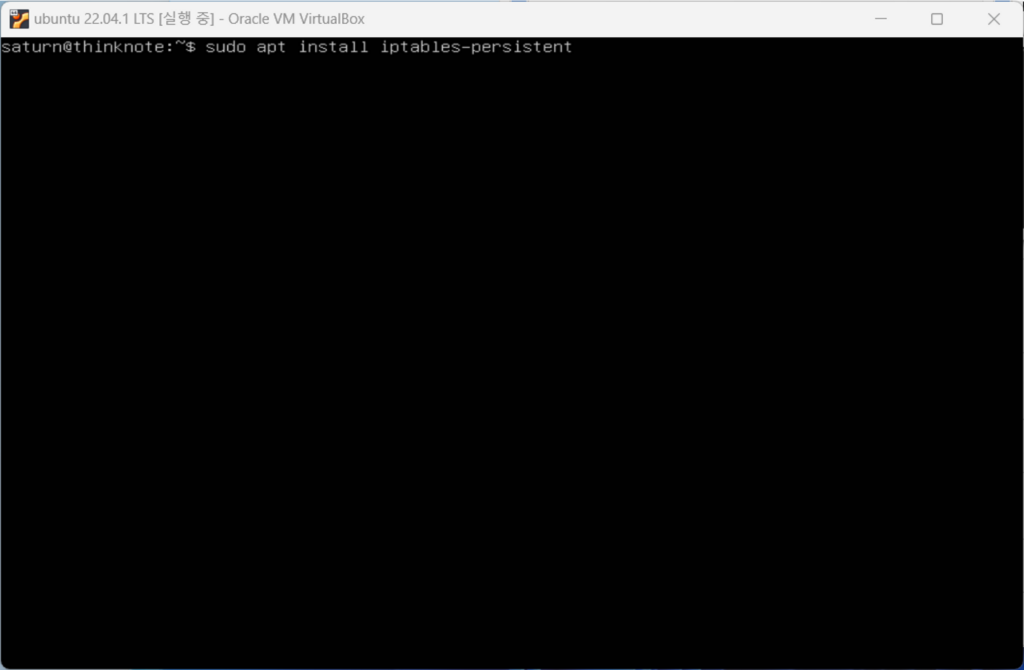
2) Enable iptables when starting
- Check IPtables status
sudo systemctl status iptables
- Iptables status active on startup
sudo systemctl enable iptables
reboot
3) Check iptables activation issue (not automatically activated on startup)
- Check IPtables status
It is activated normally in Ubuntu 20, but is not activated in Ubuntu 22. If you check the status of iptables, the alias is not registered, so you need to register the alias.
sudo systemctl status iptables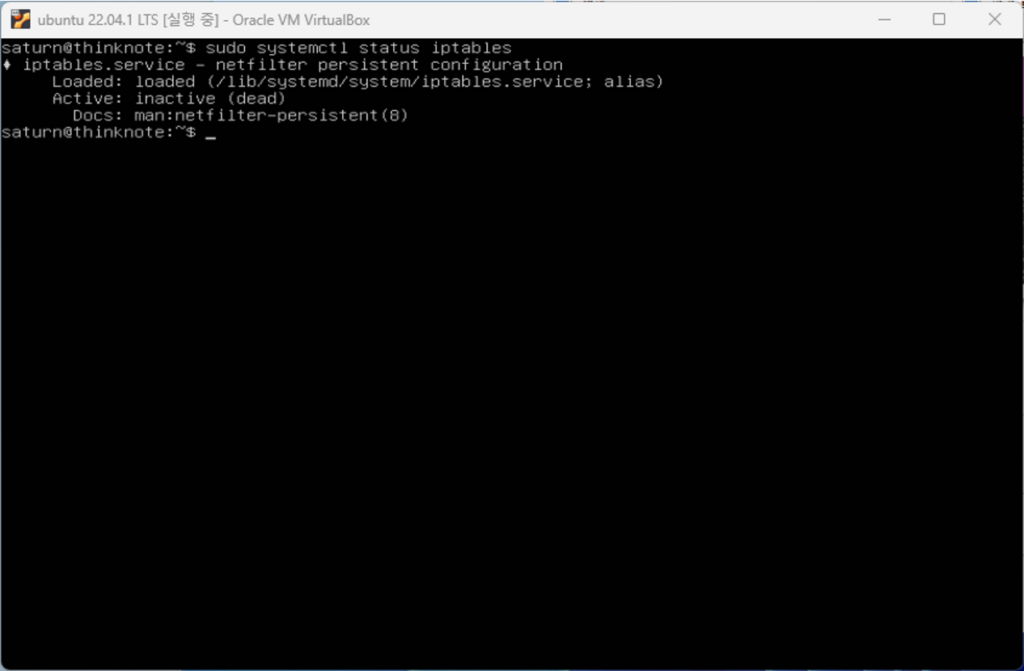
3. Register an iptables alias and activate it at startup
1) Register an alias to activate Iptables startup
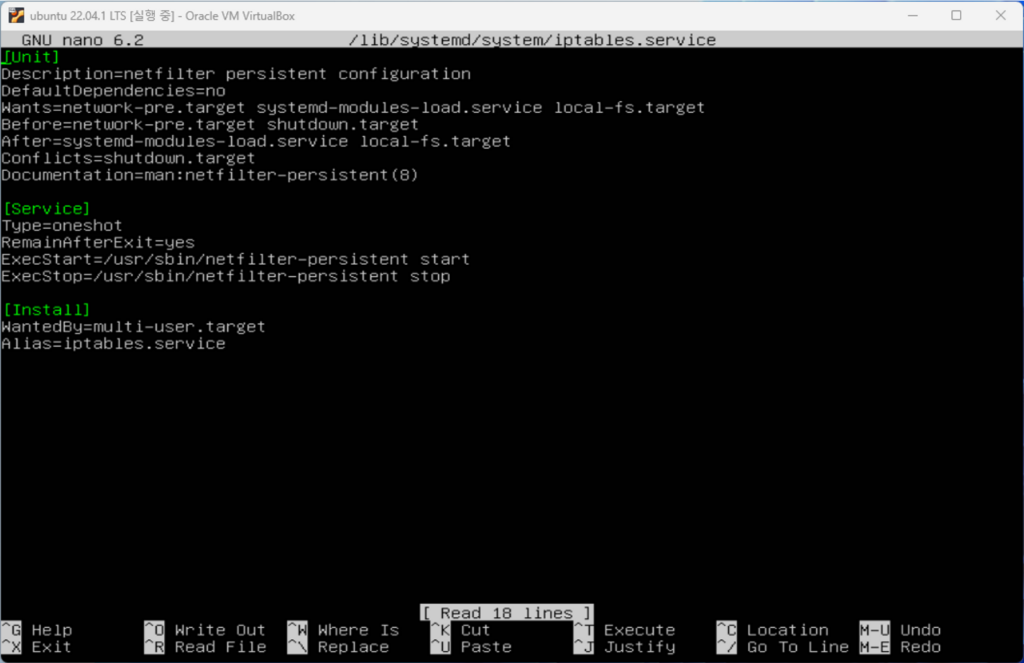
You can check the location of iptables.service in the status and load the file with the nano editor. You can also use the vi editor. Register the alias under [install] at the bottom of the file. Here, register as Alias=iptables.service.
sudo nano /lib/systemd/system/iptables.service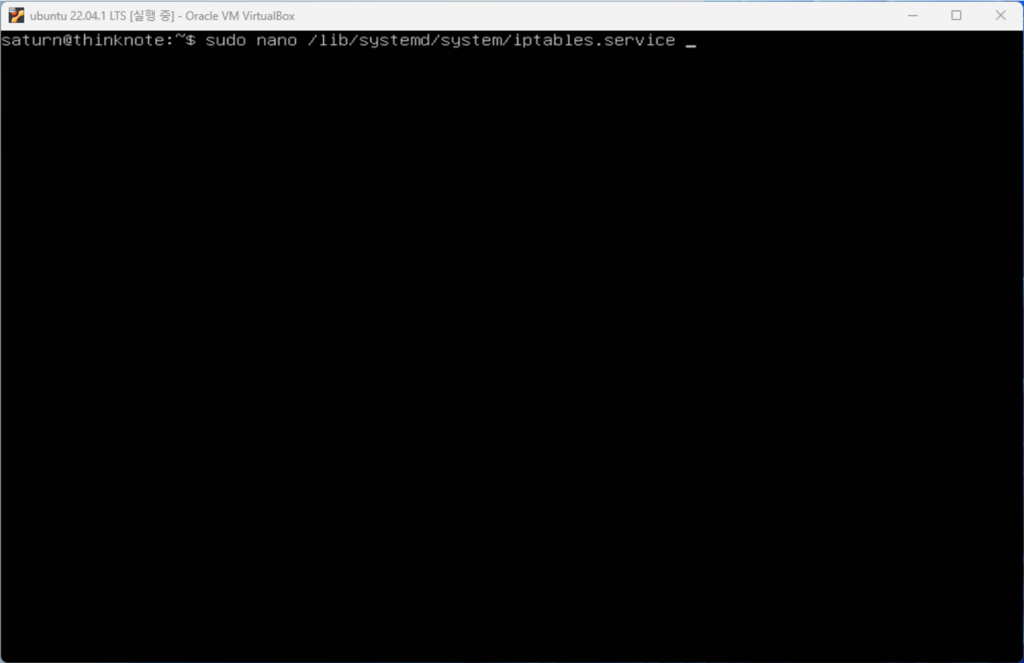
Disable Iptables and then re-enable it. At this time, if you add the –now command, the service will run together with activation.
sudo systemctl disable iptables
sudo systemctl enable iptables
2) Check service activation after restart
Restart the server to see if the service is enabled at startup. As shown in the image below, if a dependency conflict occurs with netfilter-persistent.service, restart netfilter-persistent.service. You can check that the iptables service is properly activated using the systemctl command.
reboot
sudo systemctl status iptables
sudo systemctl restart netfilter-persistent.service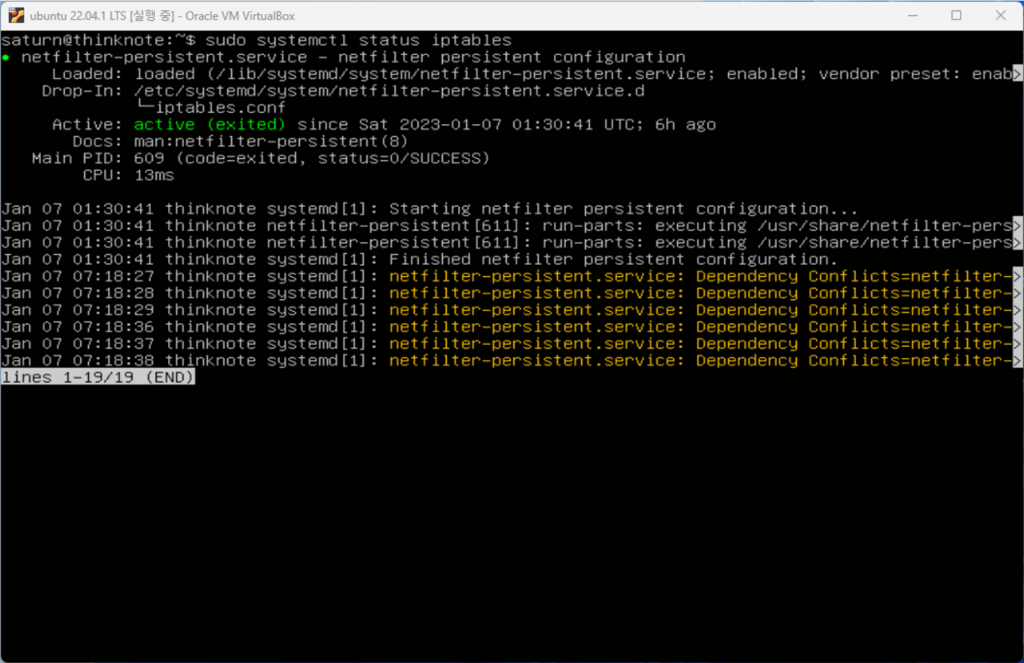
3. iptables block all connections
The previous setting is a setting where INPUT, FORWARD, and OUTPUT are all allowed. I will close all INPUT and FORWARD. When I output the configuration, INPUT and FORWARD are marked as closed. If services are added in the future, only the ports for the relevant services will be opened and run.
sudo iptables -P INPUT DROP
sudo iptables -P FORWARD DROP
sudo iptables -S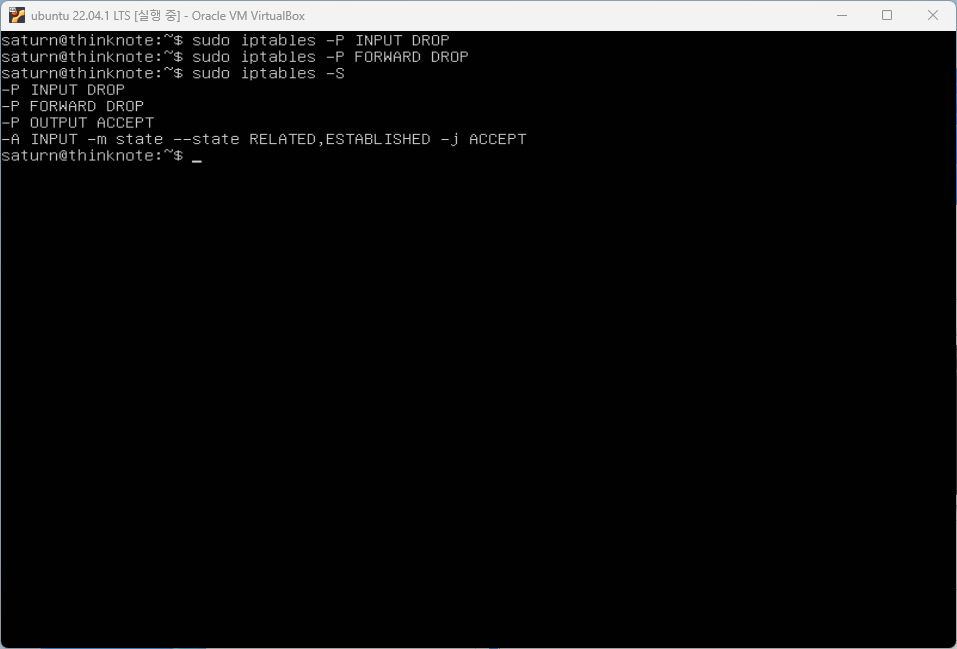
Save the changed settings and reload. reload is a command to apply rules without restarting. Any changes you make will not take effect when Ubuntu restarts unless you run the following code.
sudo netfilter-persistent save
sudo netfilter-persistent reload
Good article to read together
- Ubuntu firewall iptables setup and management
- Install Nginx web server (ubuntu)
- Linux administrator tool – enable cockpit
- Activate Centos 8 RHEL & REMI Repository
- Install Nginx web server (Centos 8)
Related Reading
Continue with these related Thinknote English articles in the Server & Infrastructure cluster.
- Nextcloud installation and settings
- Install memory caching APCu, Redis, Memcached
- Free HTTPS setup (Let’s Encrypt, Cloudflare)
- Install OpenSSL
- Installing and managing MariaDB (MySQL)
- Setting up Nginx + Php8
FAQ
What is this article about?
This article is part of Thinknote’s English server and infrastructure archive. It focuses on practical Linux, Ubuntu, web-server, database, SSH, firewall, or hosting operations that readers can adapt to their own environment.
How should I use this guide?
Use it as a practical checklist and concept guide. Before applying commands on a live server, verify package names, OS versions, ports, and backup requirements for your own setup.
Where can I read the original Korean article?
The original Korean article is available here: Original Korean article.