1. Nginx web server Vs Apache web server
Here we proceed with installing the Nginx web server. Web servers installed on Linux are divided into Nginx web servers and Apache web servers, and have the following differences. Apache is an open source HTTP server, while Nginx is an open source, high-performance asynchronous web server and reverse proxy server.
Original Korean article: Install Nginx web server (ubuntu)
While the development and evolution of Apache HTTP Server is managed and maintained by a worldwide user community (Apache Software Foundation), Nginx is maintained and maintained by the company of the same name, founded in 2011.
While Apache provides various multiprocessing modules to handle client requests and web traffic, Nginx is designed to handle multiple client requests simultaneously with minimal hardware resources.
In Apache, a single thread is associated with one connection, but in Nginx, a single thread can handle multiple connections. This process consumes less memory and improves performance.
While Apache HTTP Server has a non-scalable multi-threaded architecture, Nginx follows an asynchronous event-based approach for handling multiple client requests.
The Apache server serves static content using traditional methods and handles dynamic content natively within the web server itself. Nginx, on the other hand, cannot handle dynamic content internally and relies on external processes to do so.
2. Install Nginx web server
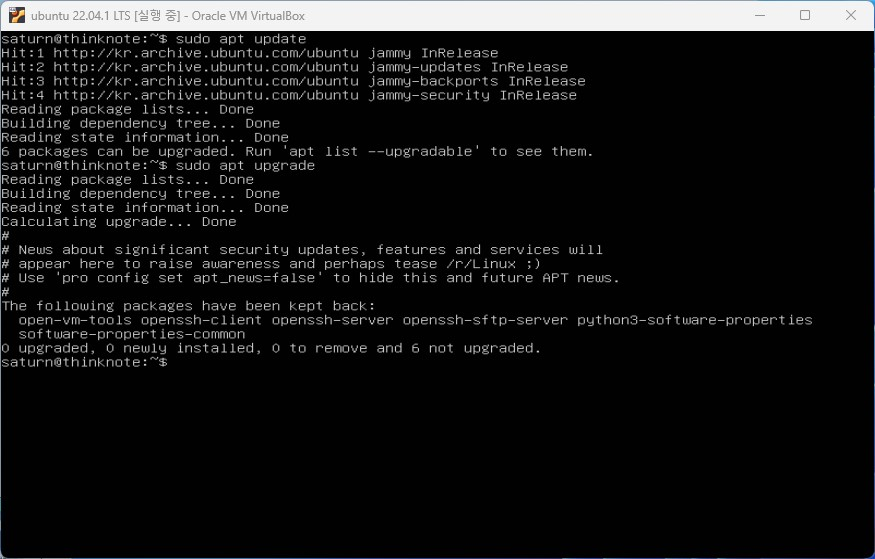
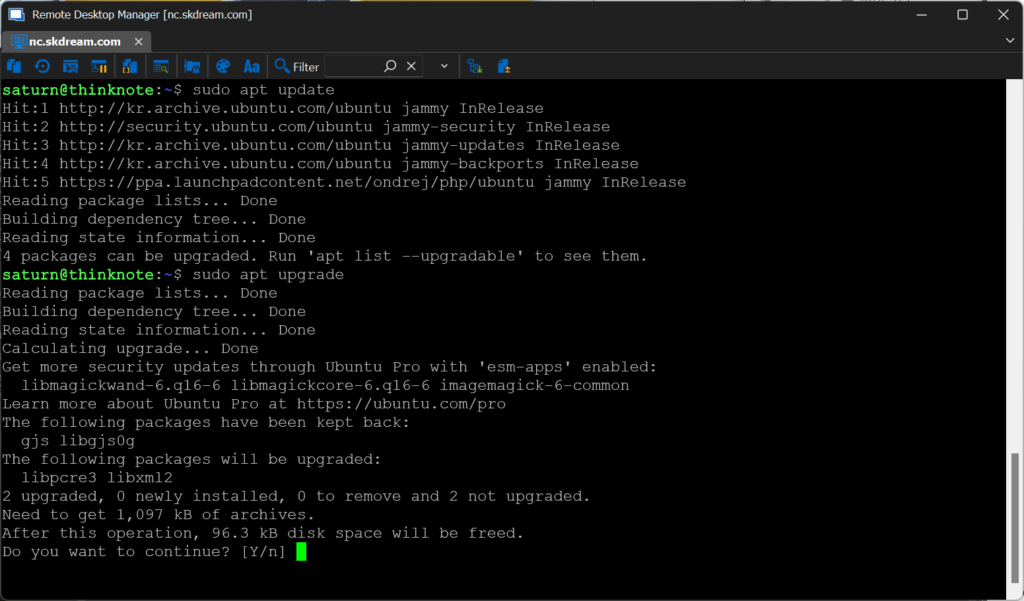
Update package information with apt update and apt upgrade. Check packages related to nginx with the list option. Install the nginx web server using the nginx installation command.
- This command displays nginx-related package information.
sudo apt list nginx*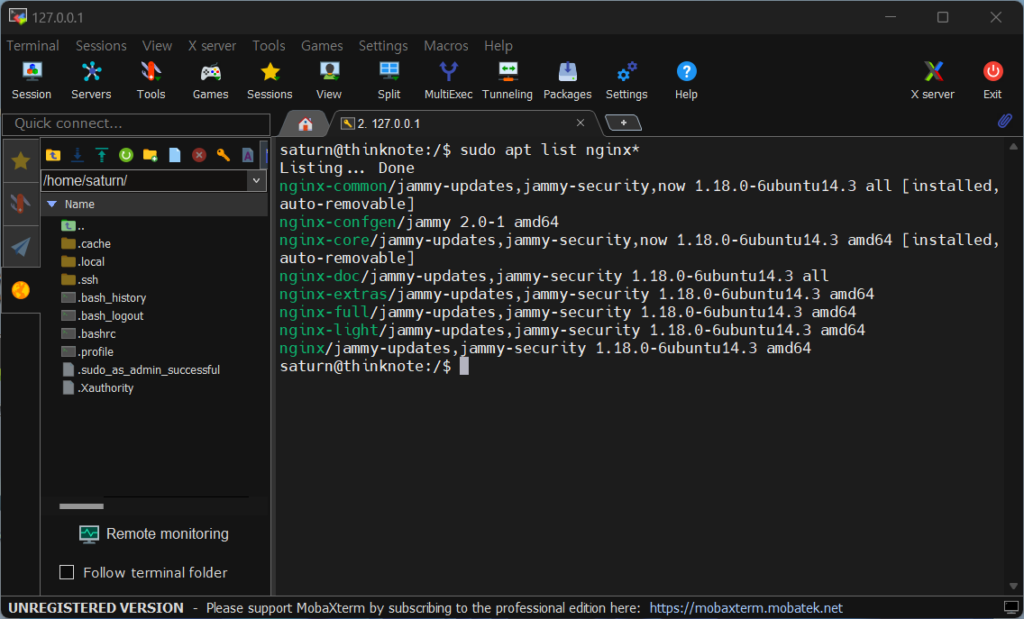
- Run the command to install nginx.
sudo apt install nginx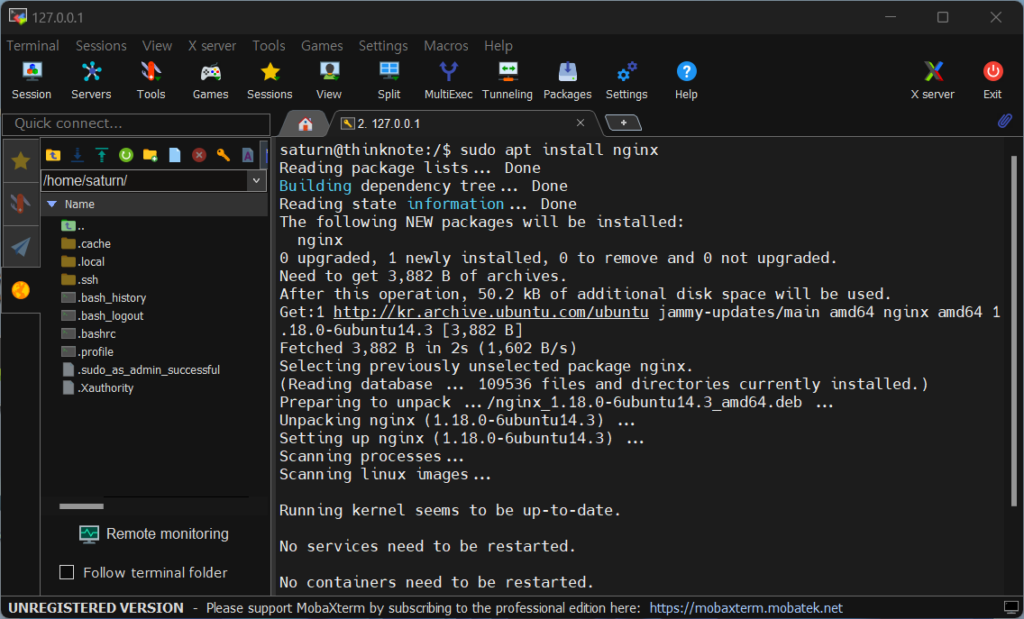
- Check the version of nginx installed.
sudo nginx -v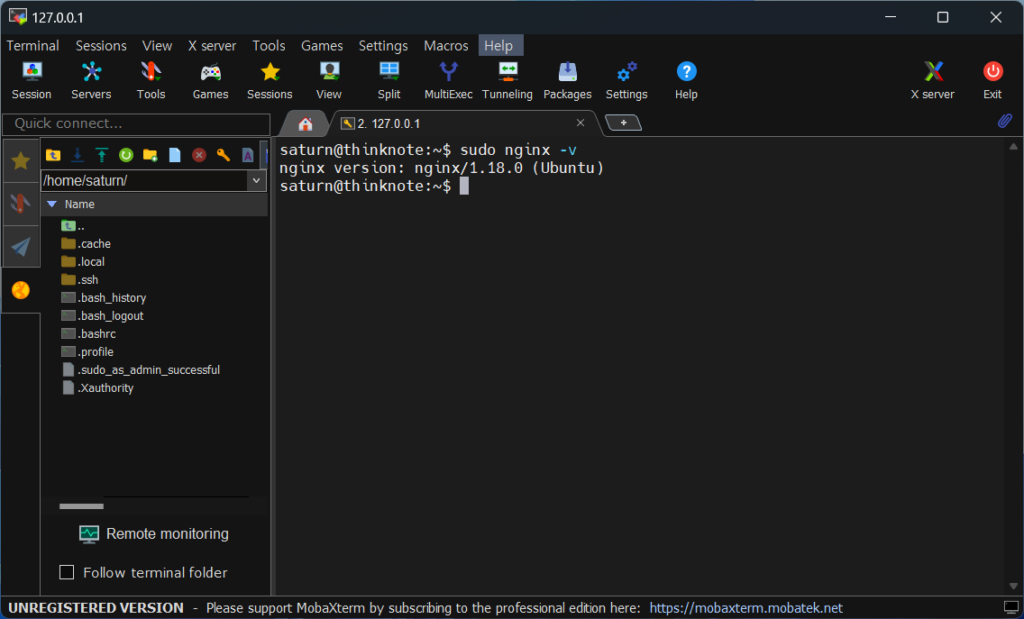
- Check the status of the nginx service.
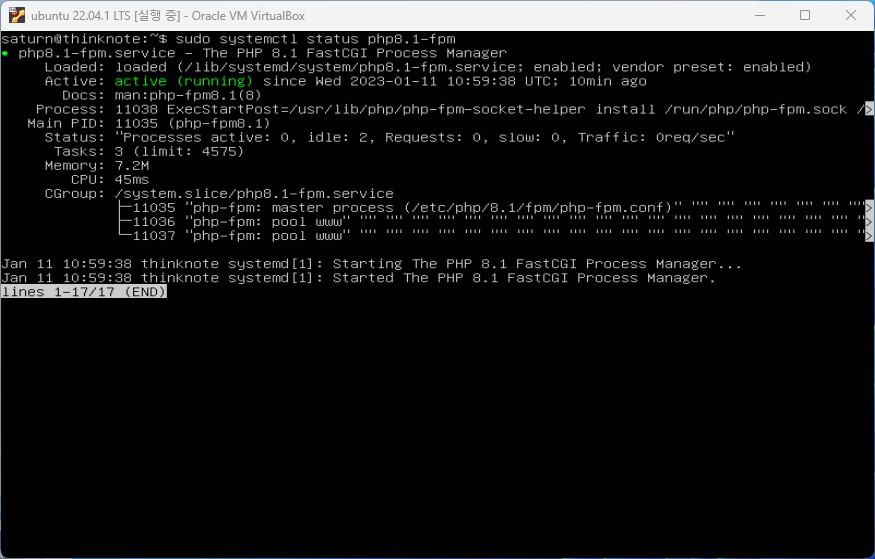
sudo systemctl status nginx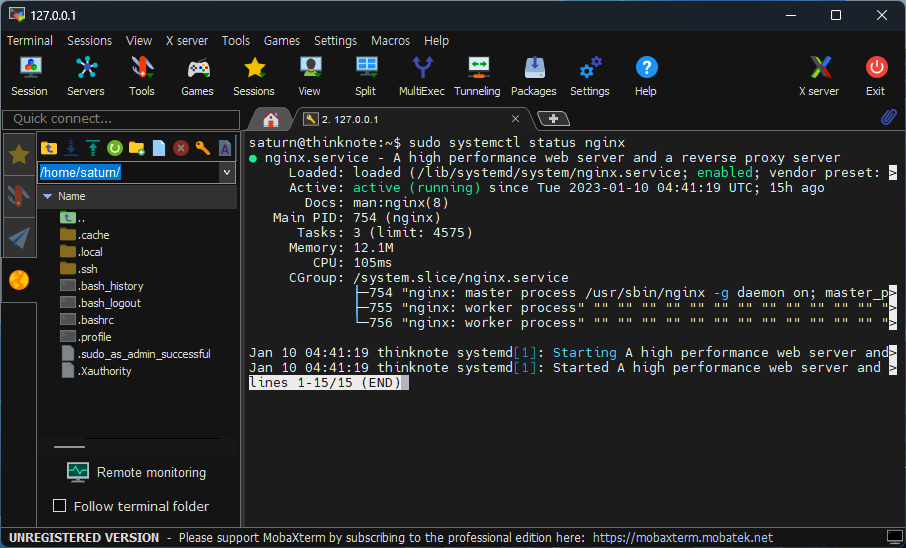
2. Port settings for external connection
Even though the web server is installed, it does not mean that you can connect to it right away. The environment where Ubuntu is installed is composed of a virtual server on the host computer, and the Ubuntu server is provided with a firewall service using iptables.
The first step is to open a port on your ubuntu server. If you need to understand iptables, you can check it out through the following article.
Ubuntu firewall iptables configuration and management – Thinknote
1) Allow nginx http port
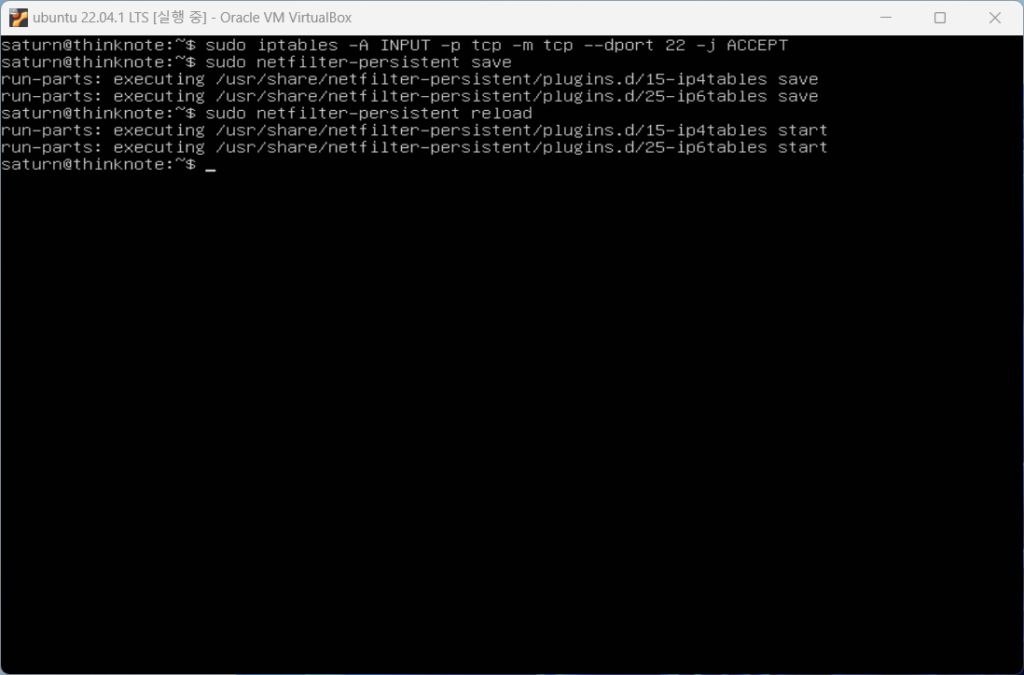
The http port uses 80. Open iptables to use TCP port 80 and print out the rules to see if the chain is registered in iptables.
- -A : Add to chain
- -p tcp : protocol tcp
- -m tcp: tcp match, extended match
- –dport: Port number
- — j : Jump to target
- ACCEPT: Allow
sudo iptables -A INPUT -p tcp -m tcp --dport 80 -j ACCEPT
sudo iptables -S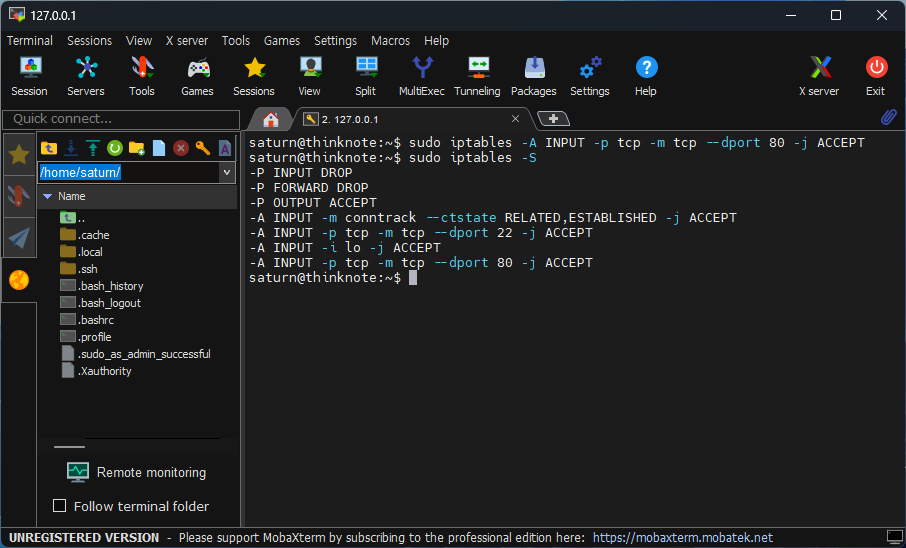
Save the added rules and reload.
sudo netfilter-persistent save
sudo netfilter-persistent reload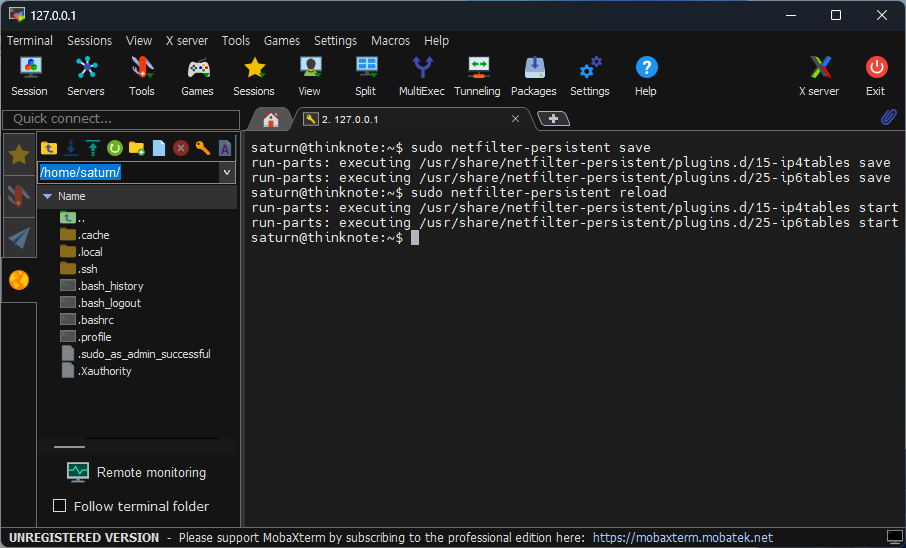
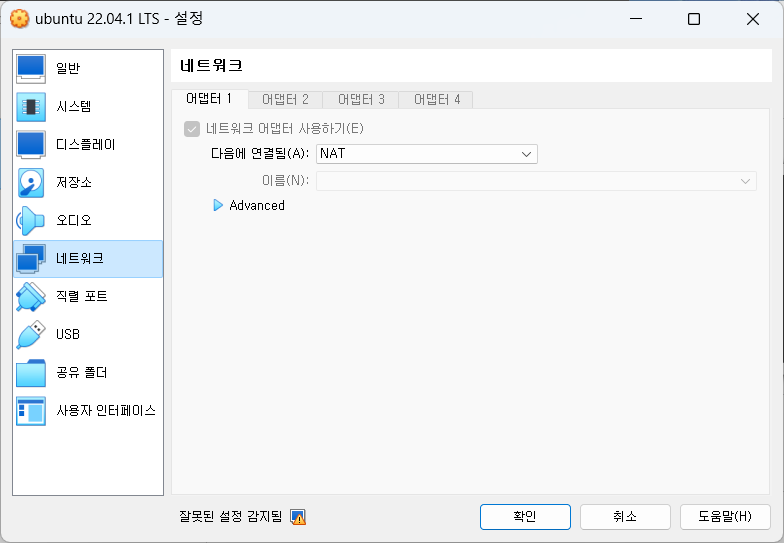
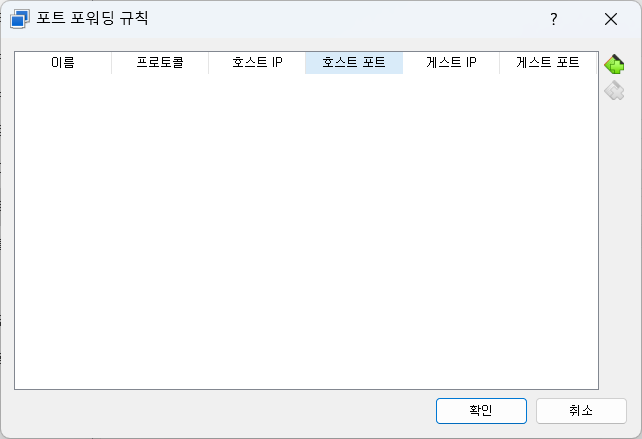
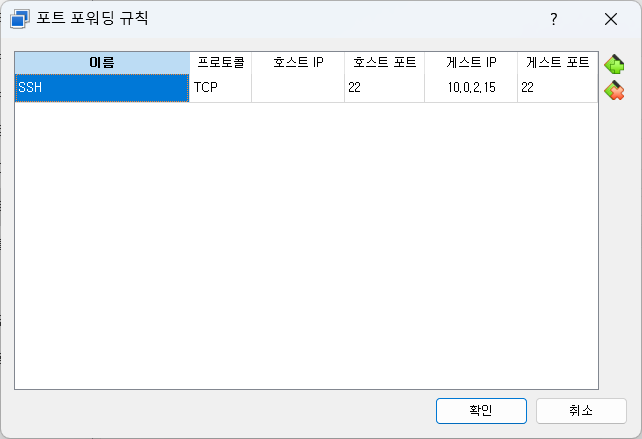
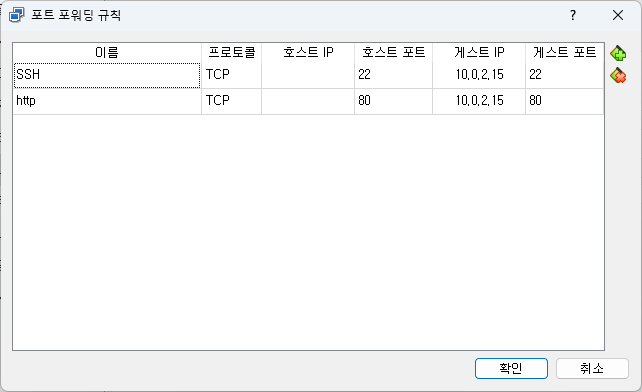
2) Add VirtualBox port
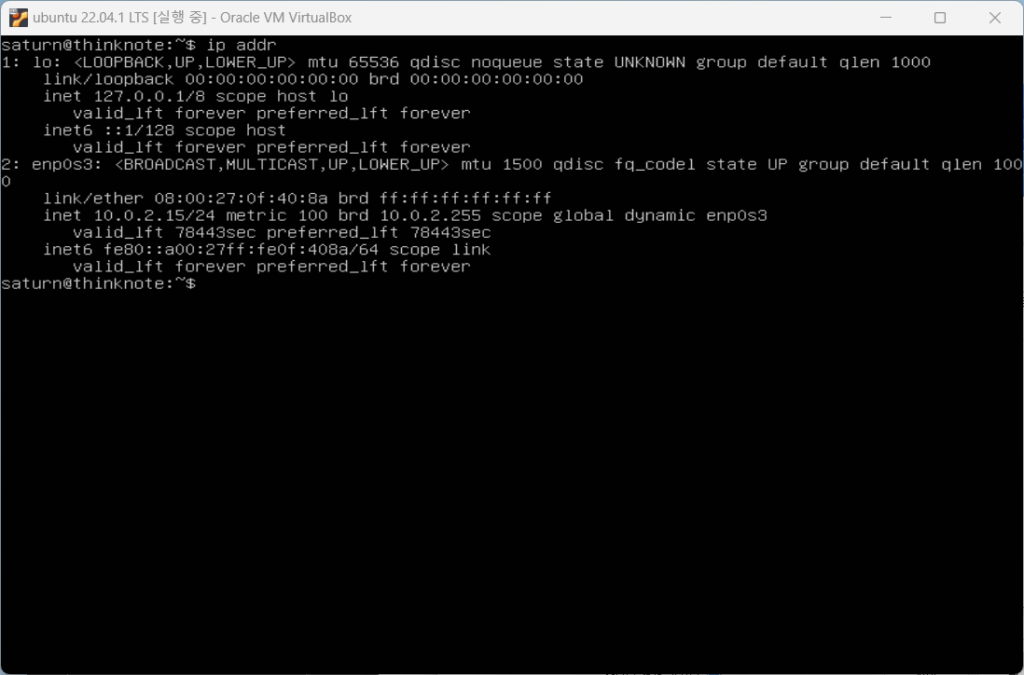
You must add a port to VirtualBox to be able to connect from the host computer’s IP or localhost (127.0.0.1). And if you are using a router, you can connect from outside by using the router’s DMZ function or the router’s port forwarding function. This does not cover the router’s DMZ settings.
If you want to know the detailed procedures of VirtualBox, you can click the link below.
Ubuntu SSH port settings and connection – Thinknote
Add forwarding to port 80 as shown in the image below.
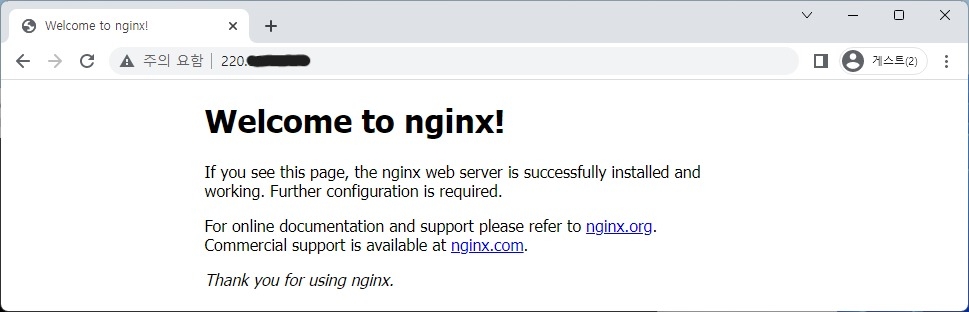
3. Check Nginx web server connection
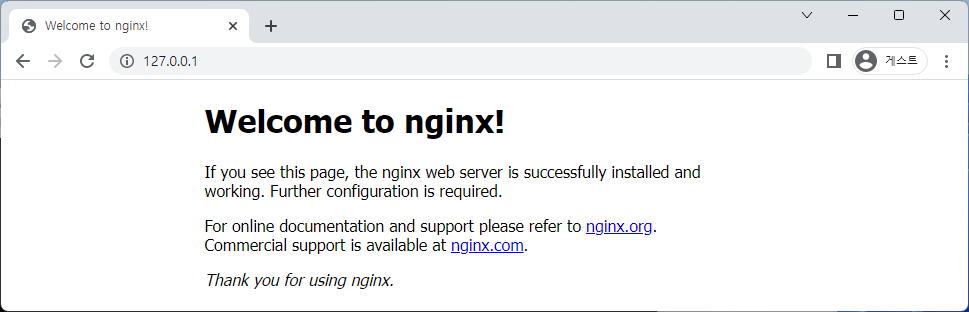
Once the port opening is complete, connect to the nginx web server on the Ubuntu server through the host computer’s Internet browser.
- Connect to localhost (127.0.0.1)
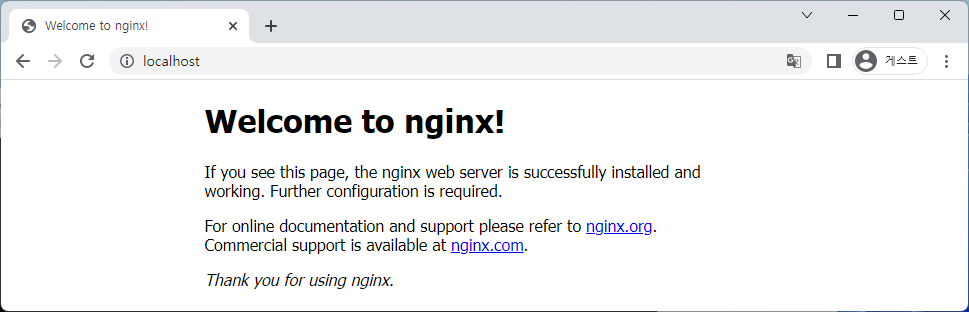
- Connect to the internal IP of the host computer
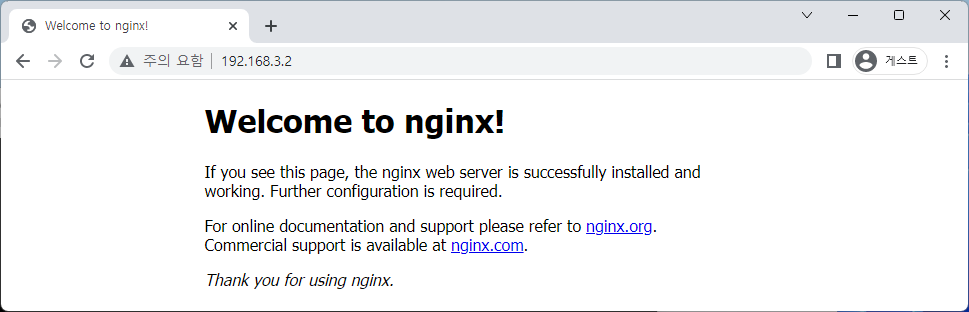
- Connect to external IP
Good article to read together
- Install Nginx web server (Centos 8)
- Install and enable Ubuntu firewall iptables
- Ubuntu firewall iptables setup and management
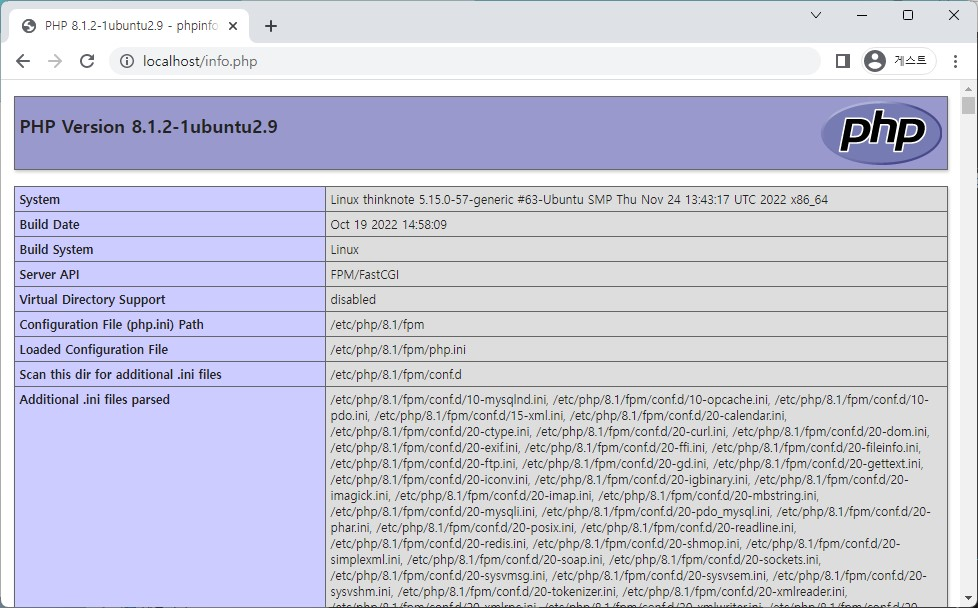
- Install PHP 8 (ubuntu)
- Setting up Nginx + Php8
Related Reading
Continue with these related Thinknote English articles in the Server & Infrastructure cluster.
- Nextcloud installation and settings
- Install memory caching APCu, Redis, Memcached
- Free HTTPS setup (Let’s Encrypt, Cloudflare)
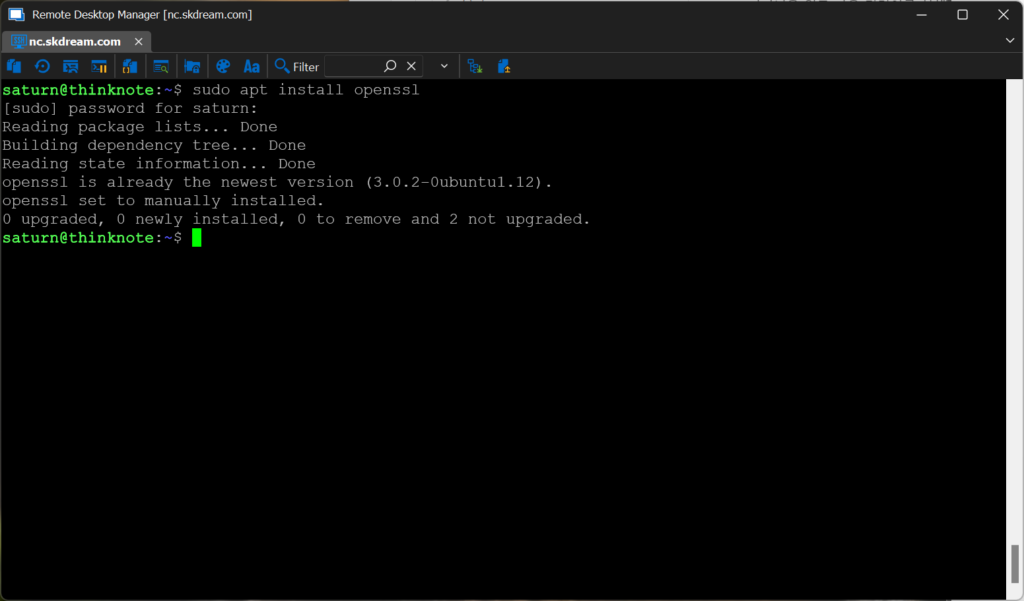
- Install OpenSSL
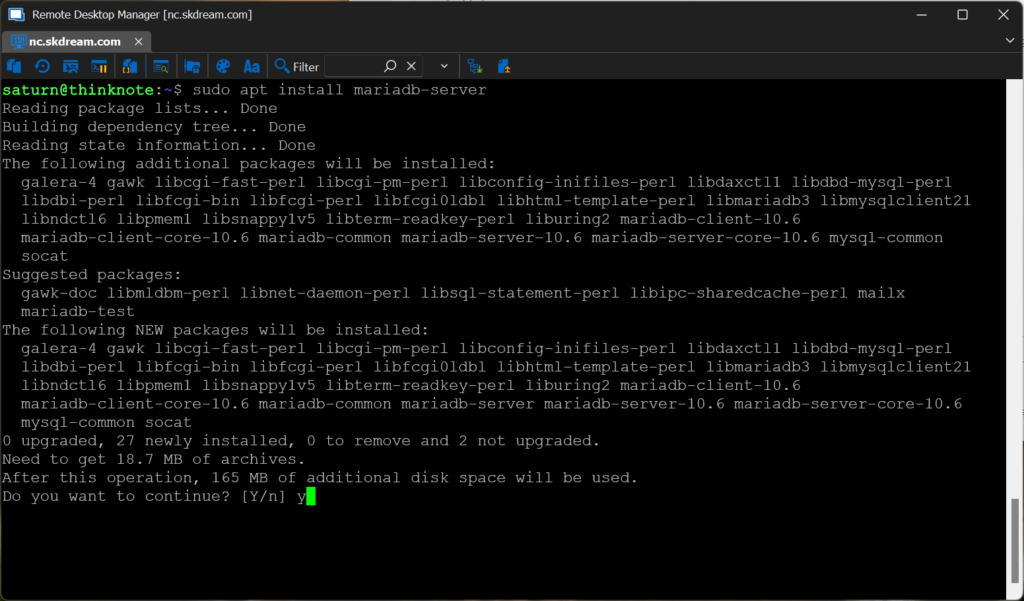
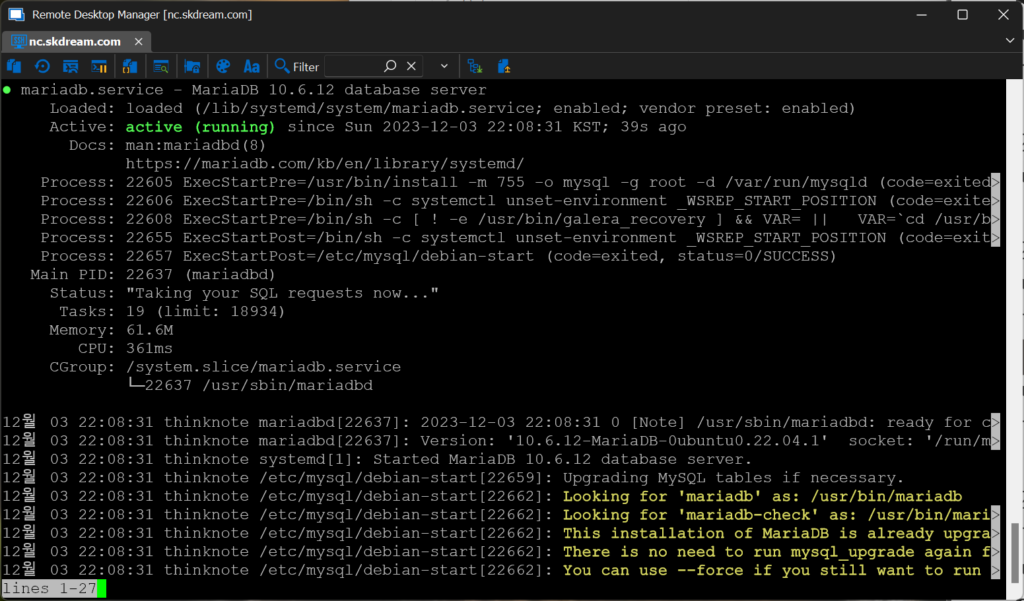
- Installing and managing MariaDB (MySQL)
- Setting up Nginx + Php8
FAQ
What is this article about?
This article is part of Thinknote’s English server and infrastructure archive. It focuses on practical Linux, Ubuntu, web-server, database, SSH, firewall, or hosting operations that readers can adapt to their own environment.
How should I use this guide?
Use it as a practical checklist and concept guide. Before applying commands on a live server, verify package names, OS versions, ports, and backup requirements for your own setup.
Where can I read the original Korean article?
The original Korean article is available here: Original Korean article.