
1. Run virtual PC (hereinafter referred to as Ubuntu Server)
Ubuntu installation is carried out by running the configured virtual environment. Since Korean version cannot be installed during installation of Ubuntu 22.04 version, you must complete the installation and additionally install a Korean input method to use Korean language.
Original Korean article: Install Ubuntu 22.04.1 (VirtualBox)
If you have not set up VirtualBox first, click the link below to set up VirtualBox before proceeding.
Download Ubuntu and set up Ubuntu (Virtualbox)
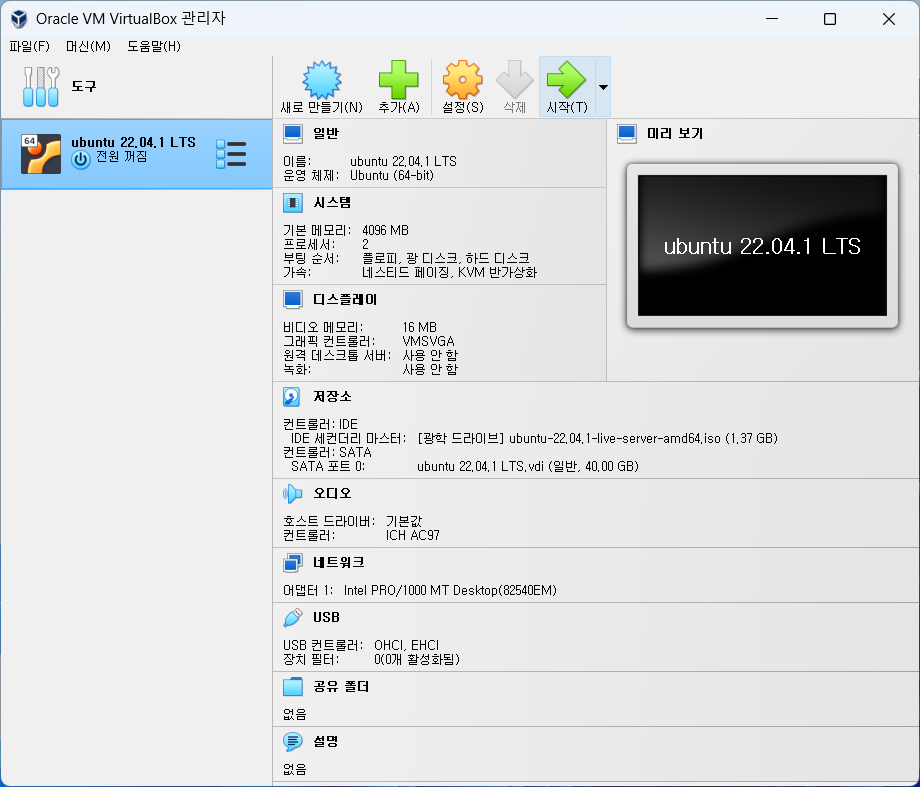
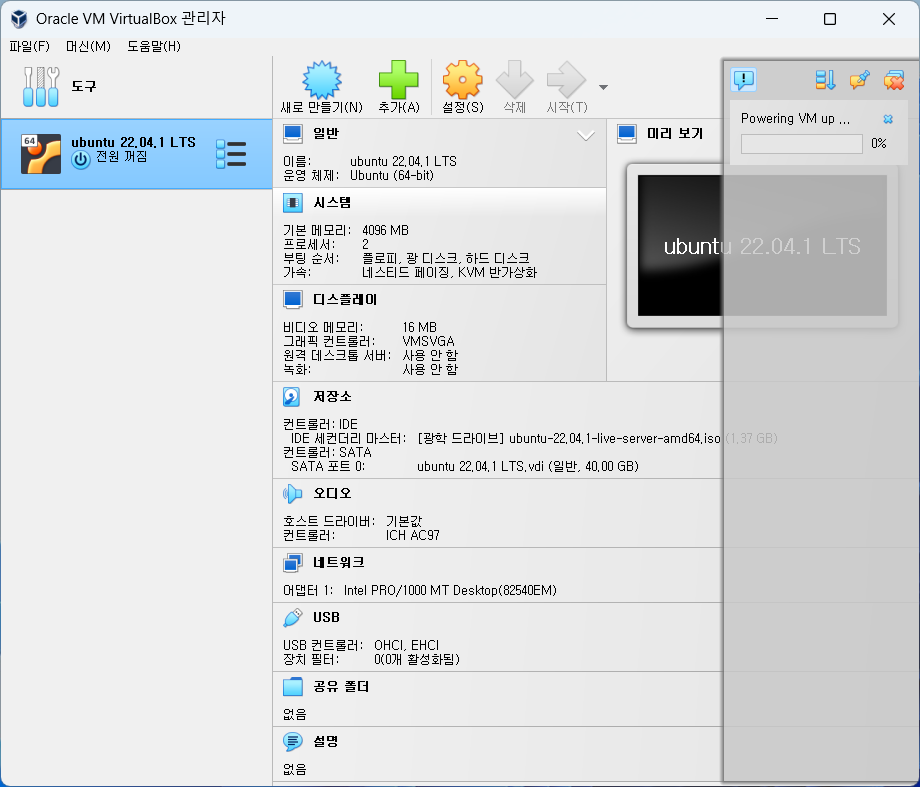
- Run VirtualBox Manager and click Start in the top menu.
2. Install Ubuntu
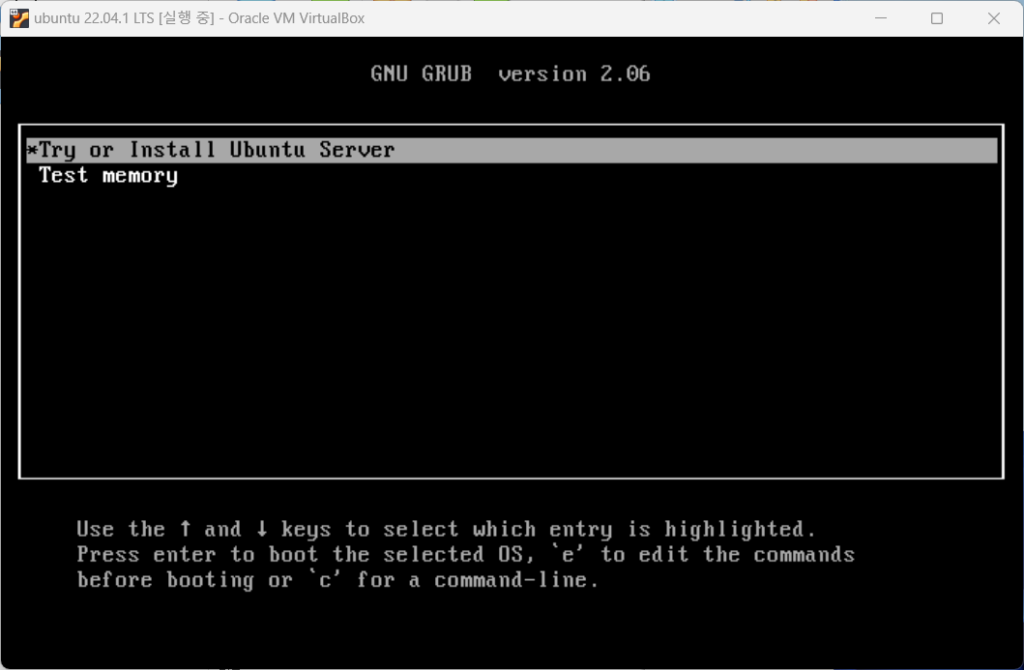
- The ubuntu iso image mounted on the IDE controller is loaded and takes you to the installation screen.
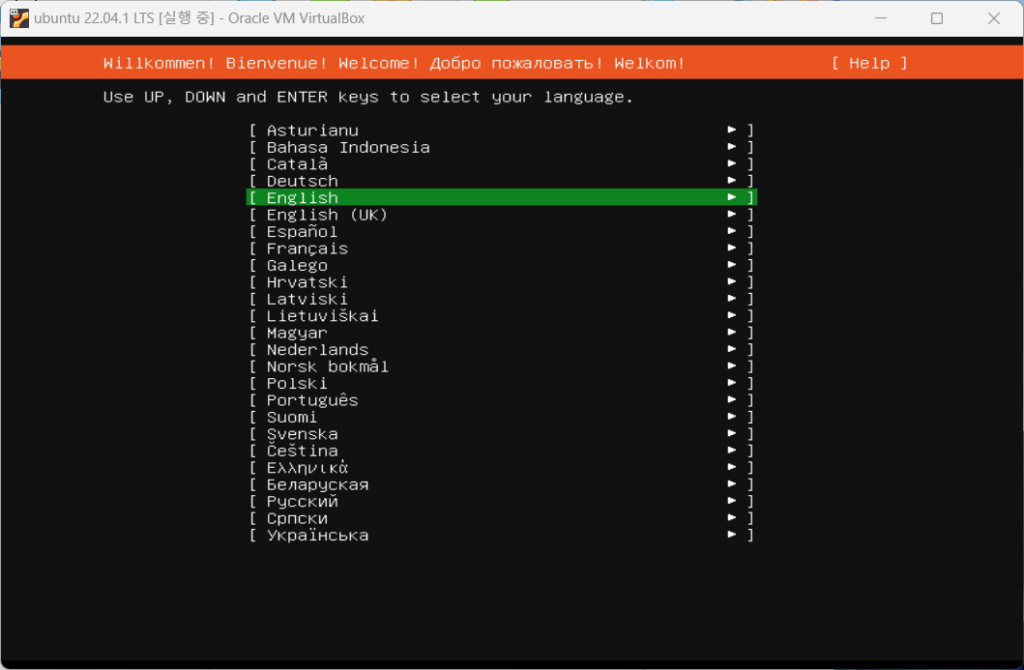
- There is no Korean in the language settings, so I installed it in English.
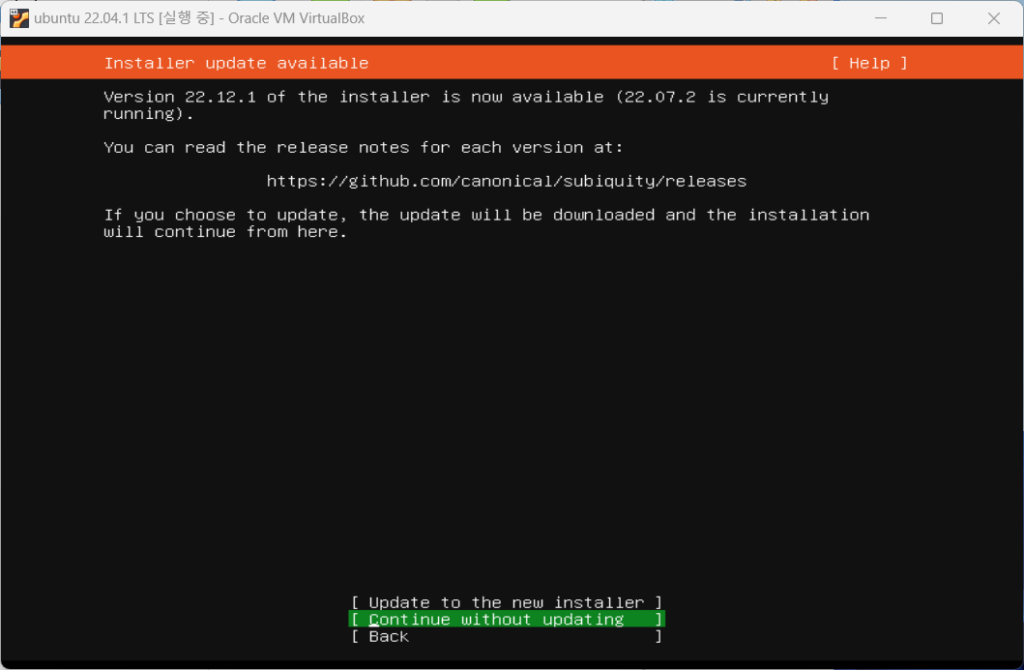
- The Installer continues without updates.
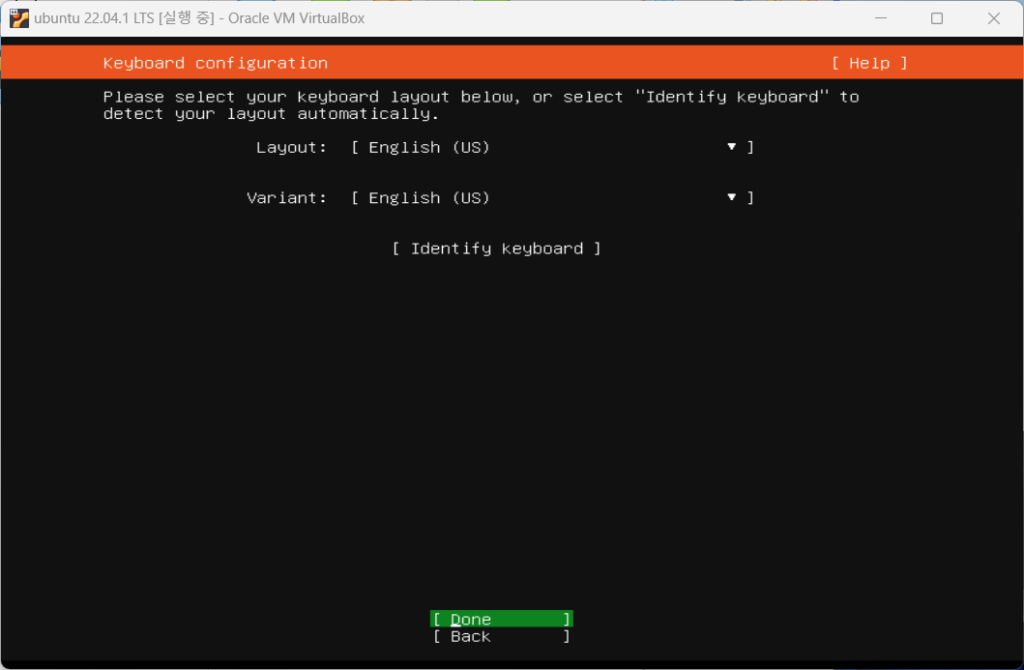
- Select English as the keyboard language and click Done.
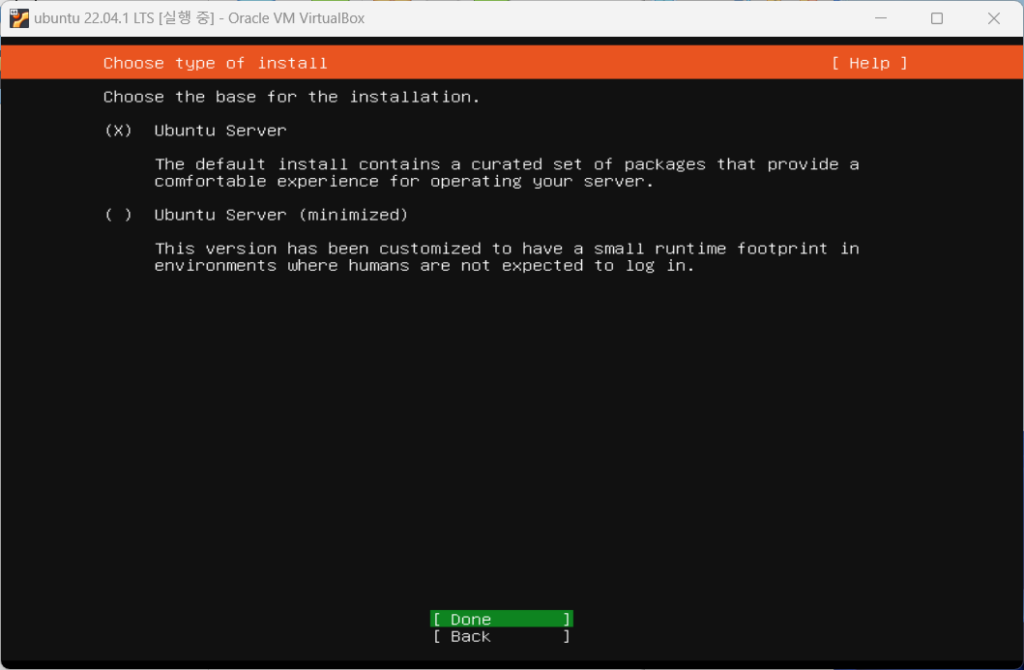
- Select Ubuntu Server as the Ubuntu installation type and click Finish.
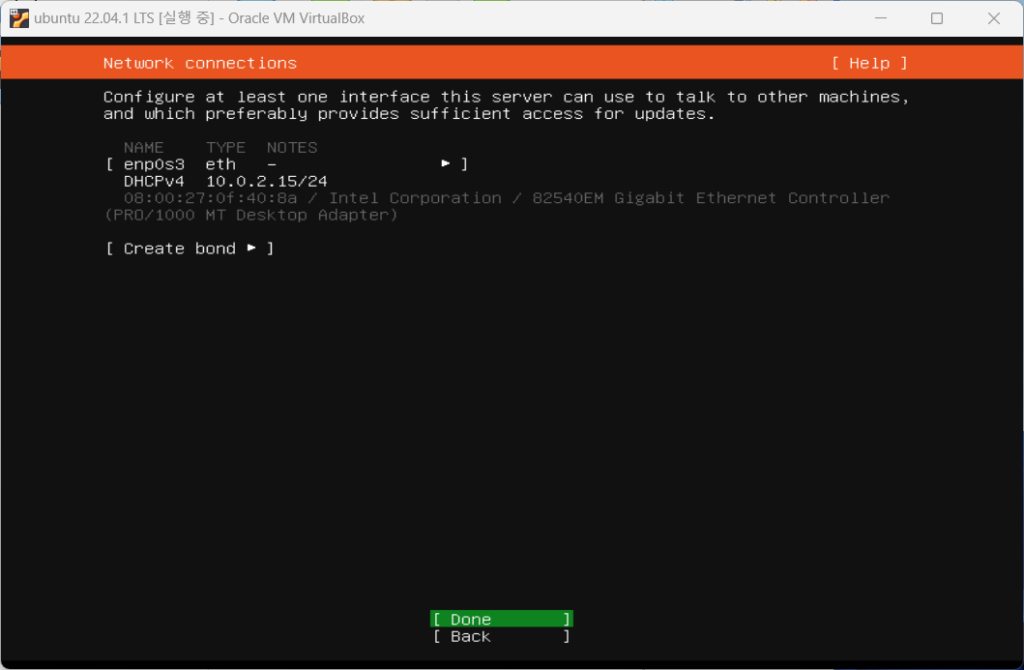
- Network settings are set to default settings. The IP address set automatically is the address assigned by Virtualbox.
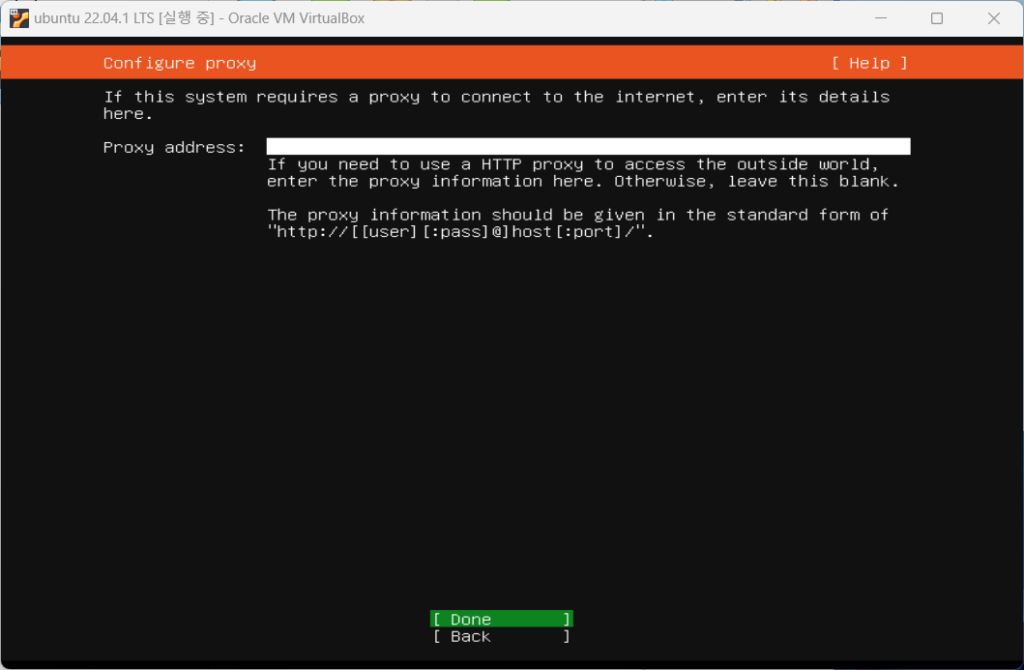
- Click Done without entering the proxy address for proxy settings.
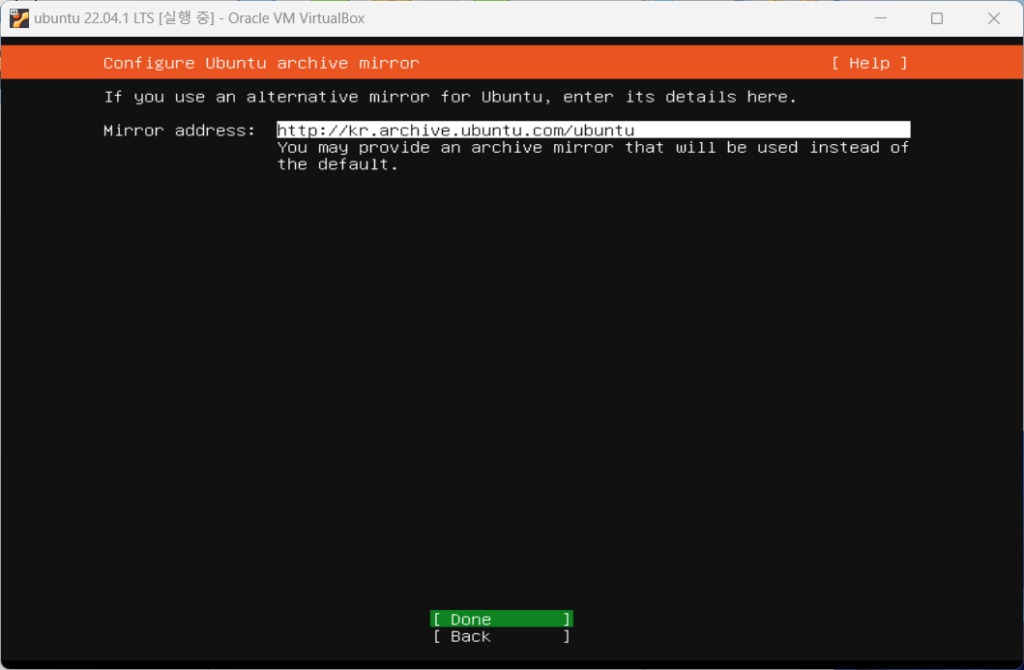
- For Ubuntu archive mirror, select the default settings and click Done.
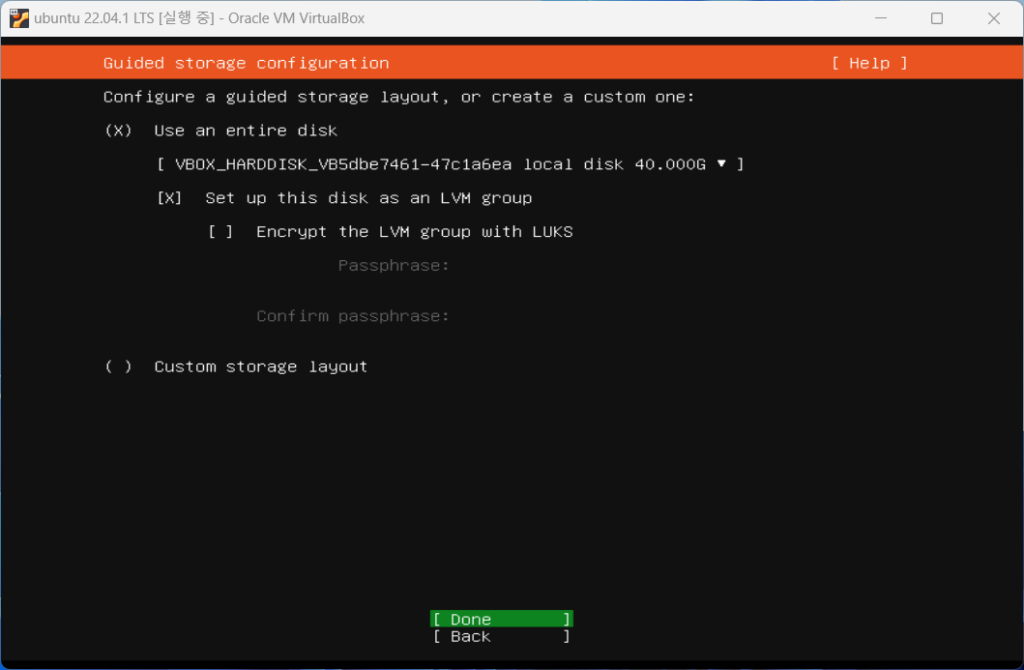
- Depending on your configuration, you can set the storage settings to a custom storage layout, but since we are using a new disk, select the default settings and click Finish.
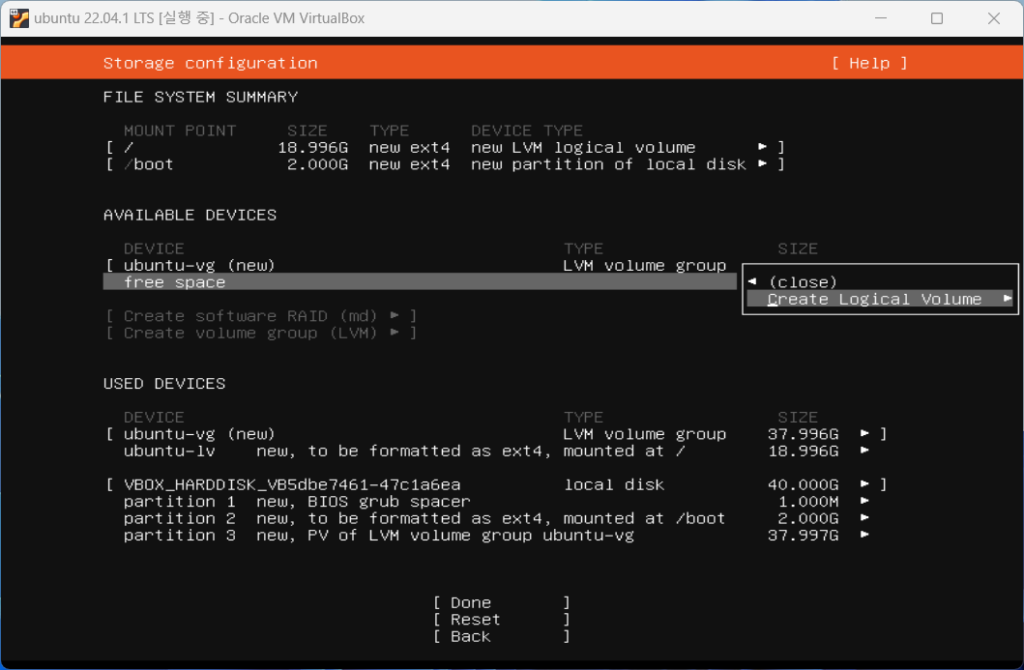
- The default partitions are shown, and you can see that the root partition and boot partition consist of 20G, and there is 20G of free space.
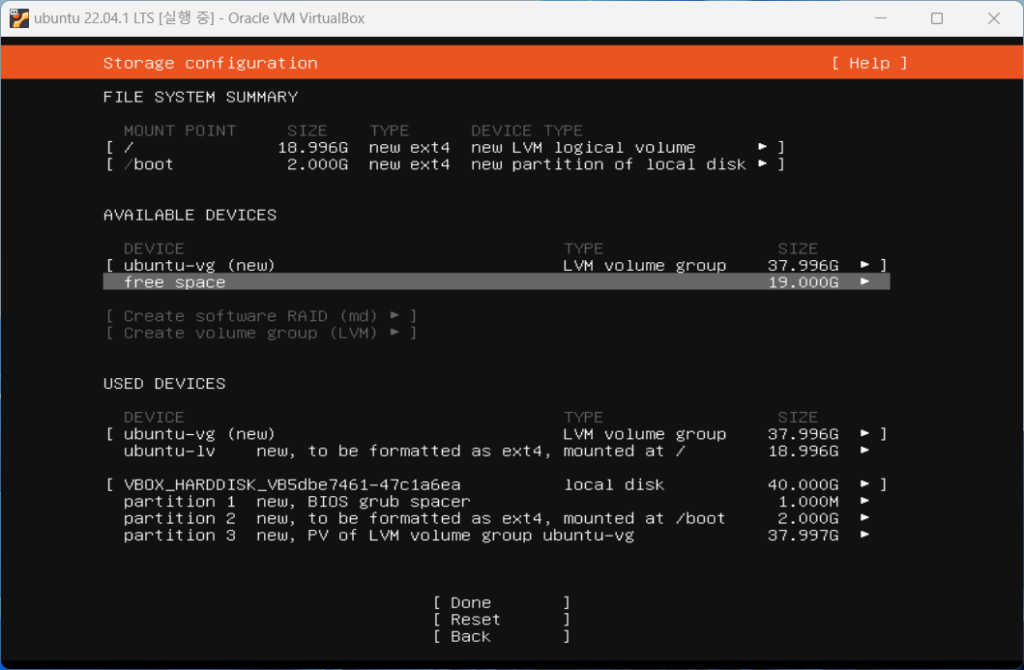
- Select Create Logical Volume to configure the unallocated space into the /home directory.
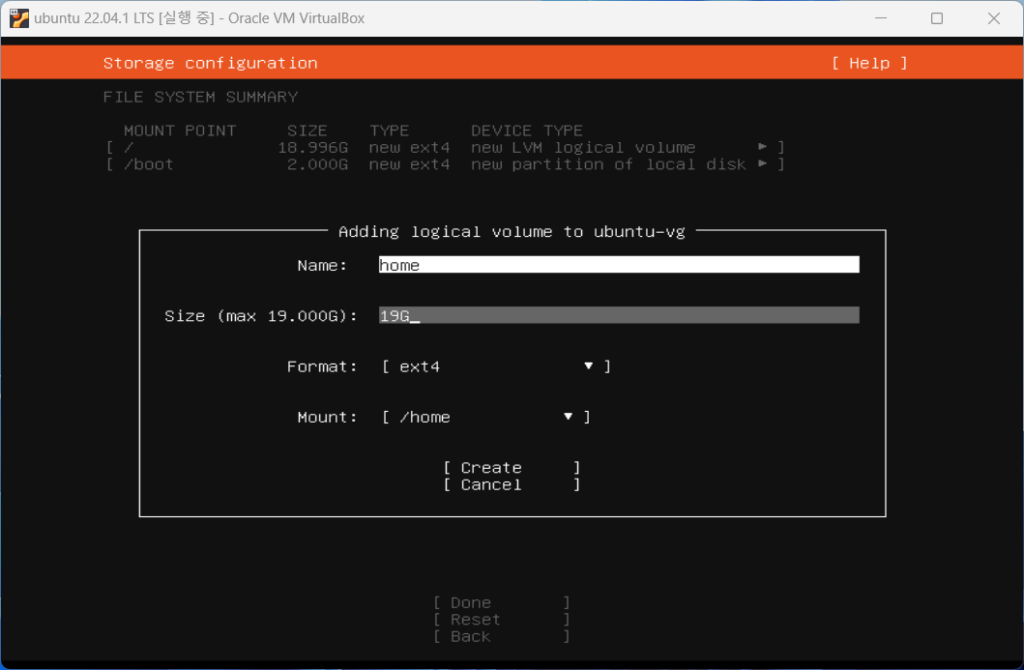
- Write name as home and allocate maximum space as shown below. If left blank, maximum space will be automatically allocated. Select ext4 as the Format and /home as the Mount and click Create.
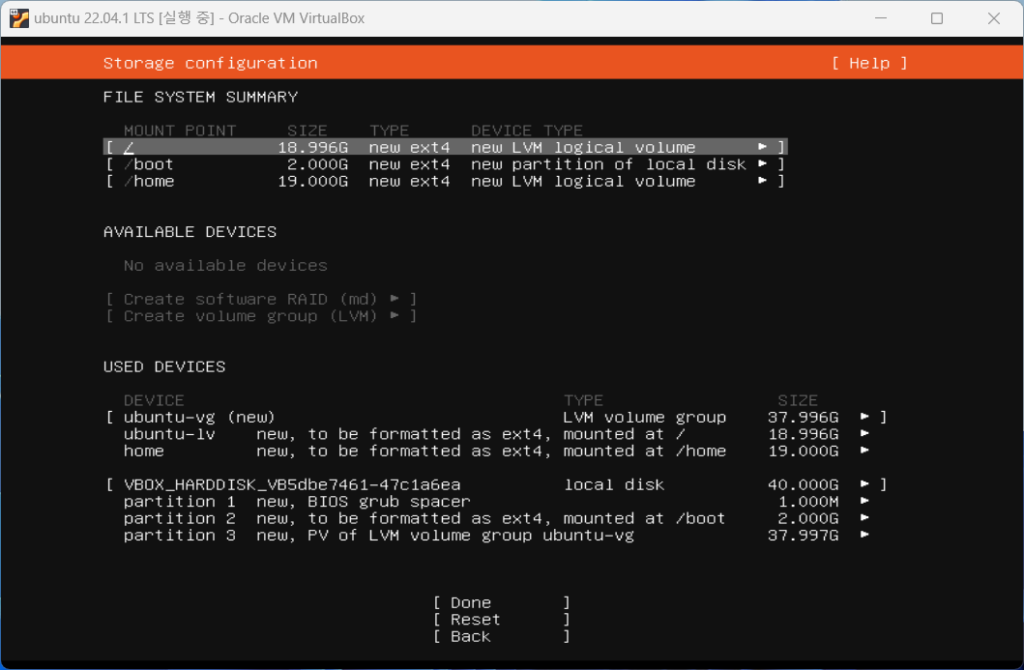
- You can see that the /home directory has been added in the partition configuration information. Click Done.
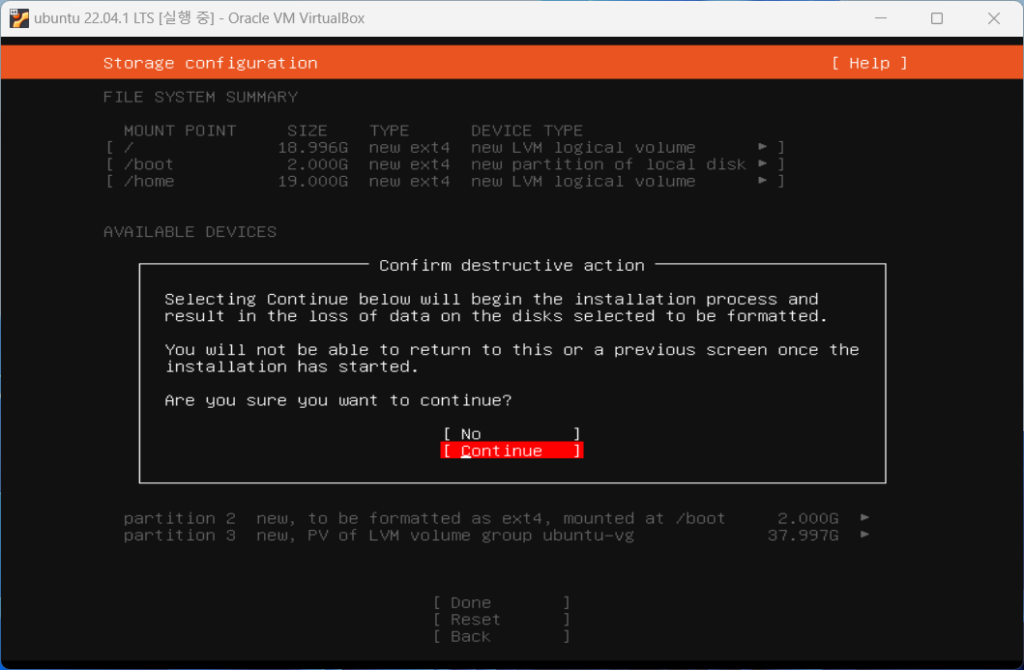
- In the confirmation window, select and click Continue.
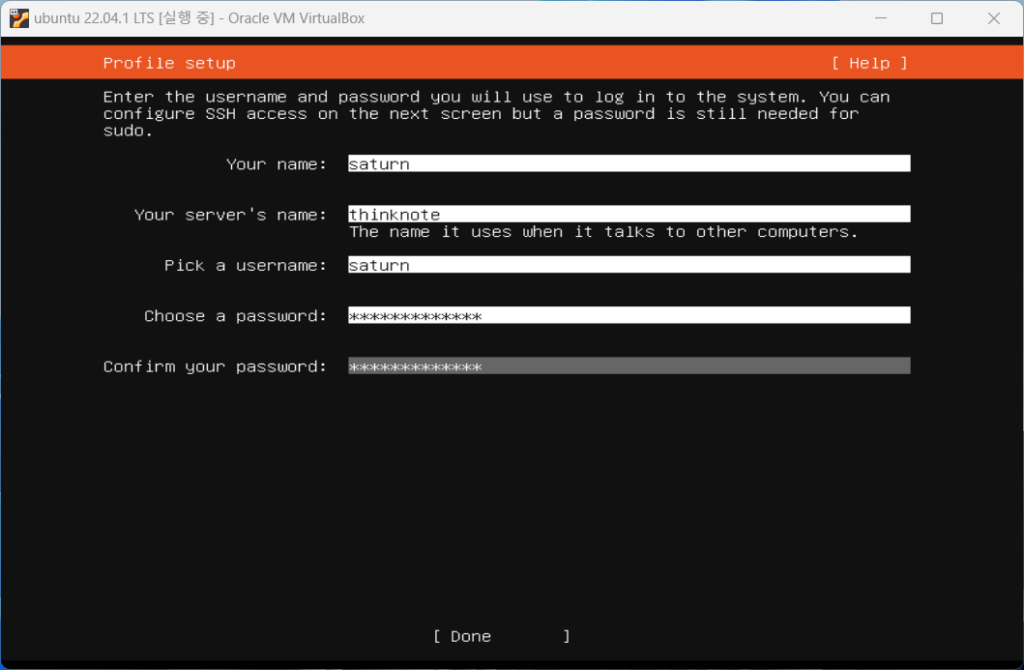
- Enter the name of Ubuntu and the server name. Additionally, enter your username and password. The user name and password entered here will be used as the login ID and password.
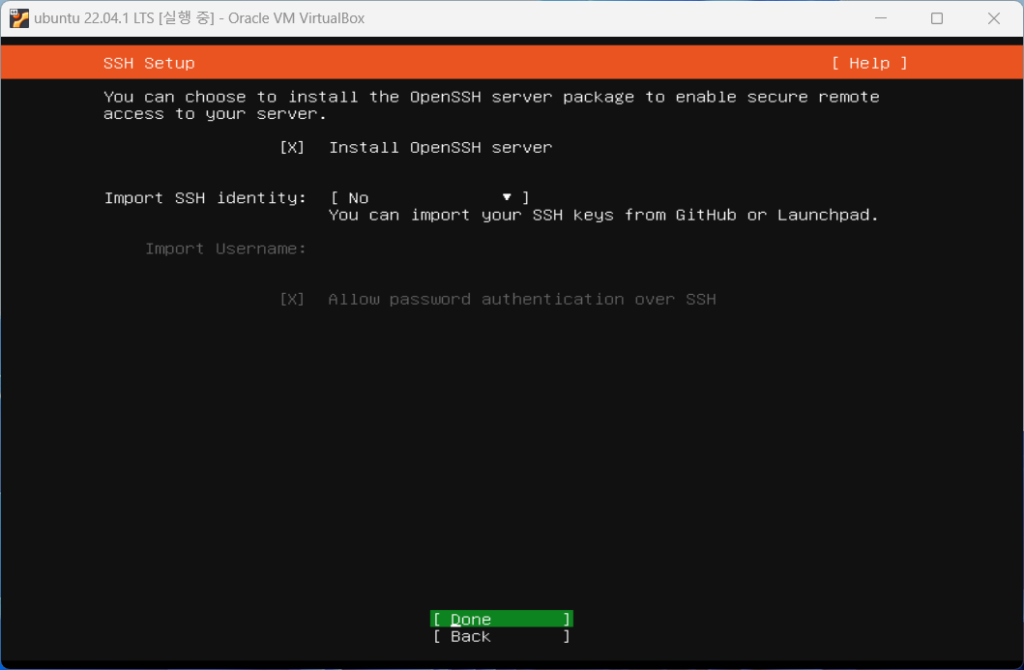
- OpenSSH Server is a package for external connection using the SSH program. To connect to the terminal, select OpenSSH server and click Done.
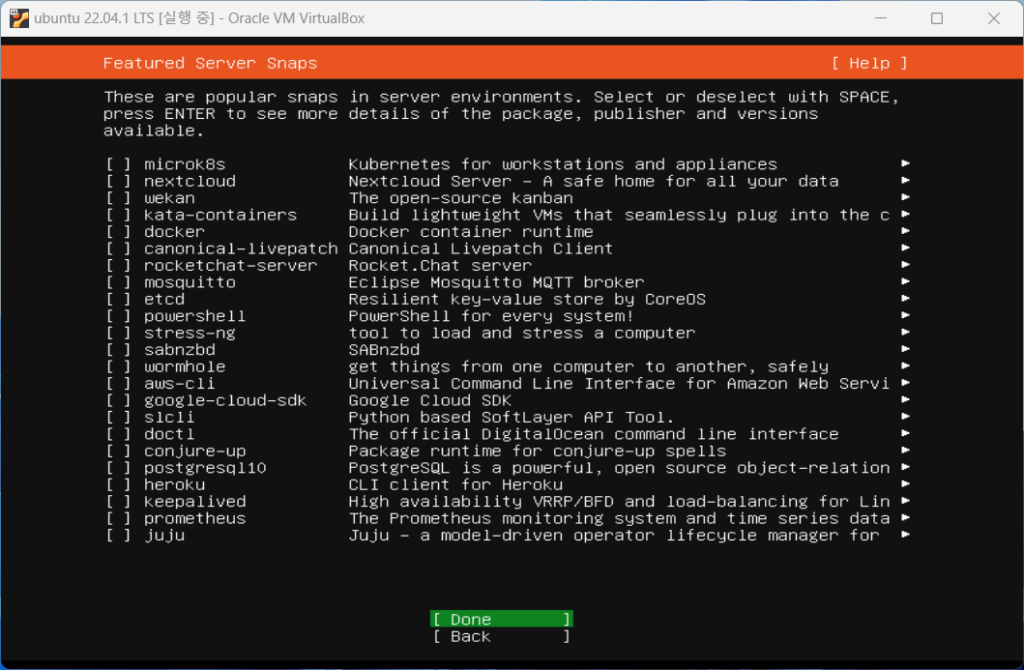
- Select the Server Snaps you want to further configure. Click Done without installing here.
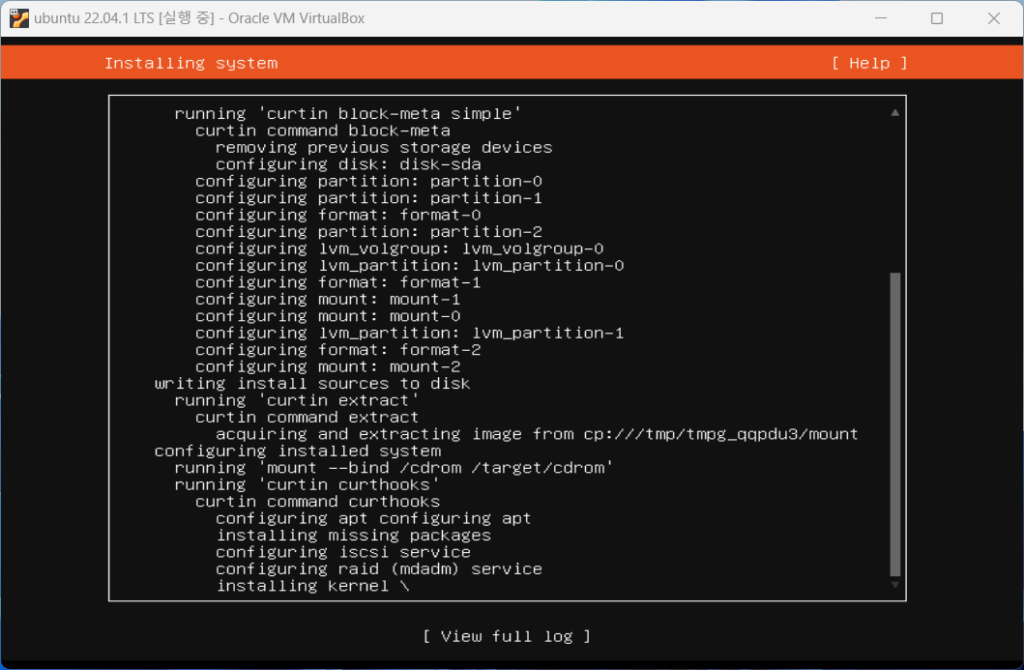
- Installation will begin, and if you want to see the installation details, click view full log.
- Once the installation is complete, you will see the Cancel update and reboot menu, click on it to restart the server.

- When the restart is complete and the login terminal appears, log in with the username and password you entered in [Step 15].
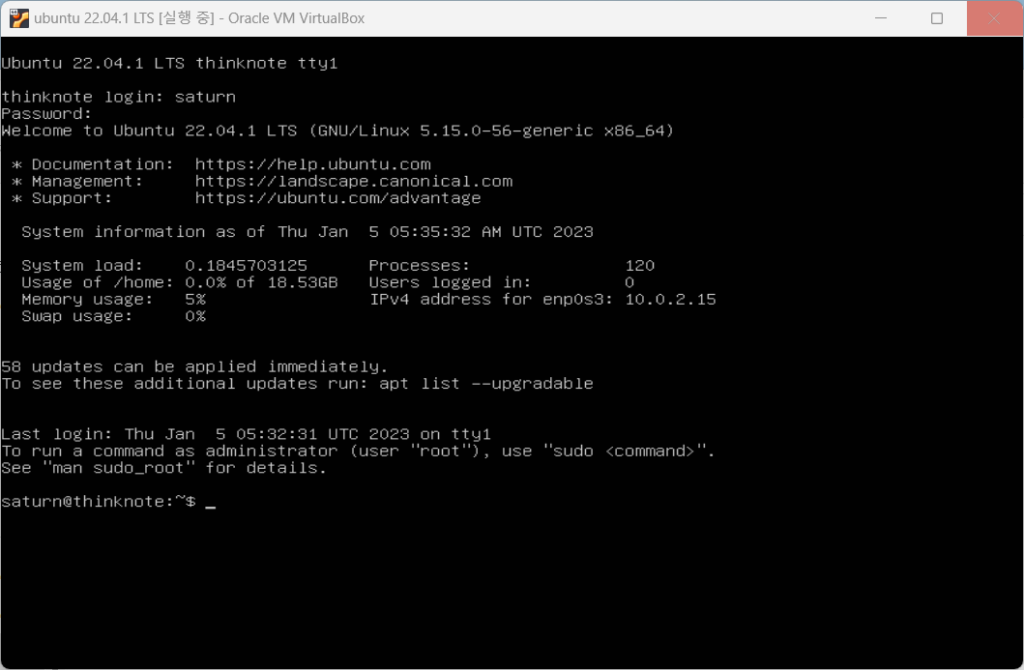
- Once login is complete, enter ‘username@hostname:~’ terminal and a command line will appear and installation is complete.
Good article to read together
- VirtualBox Virtual Box virtual machine download and installation
- Install OpenSSL
- Installing and managing MariaDB (MySQL)
- Activate Centos 8 RHEL & REMI Repository
- Linux administrator tool – enable cockpit
Related Reading
Continue with these related Thinknote English articles in the Server & Infrastructure cluster.
- Nextcloud installation and settings
- Install memory caching APCu, Redis, Memcached
- Free HTTPS setup (Let’s Encrypt, Cloudflare)
- Install OpenSSL
- Installing and managing MariaDB (MySQL)
- Setting up Nginx + Php8
FAQ
What is this article about?
This article is part of Thinknote’s English server and infrastructure archive. It focuses on practical Linux, Ubuntu, web-server, database, SSH, firewall, or hosting operations that readers can adapt to their own environment.
How should I use this guide?
Use it as a practical checklist and concept guide. Before applying commands on a live server, verify package names, OS versions, ports, and backup requirements for your own setup.
Where can I read the original Korean article?
The original Korean article is available here: Original Korean article.